Learn about the human anatomy with this easy skeleton handprint x-ray craft for kids. After you finish, hang it up at a window and look at it with the sunlight shining through the paper just as a doctor would with a light box!
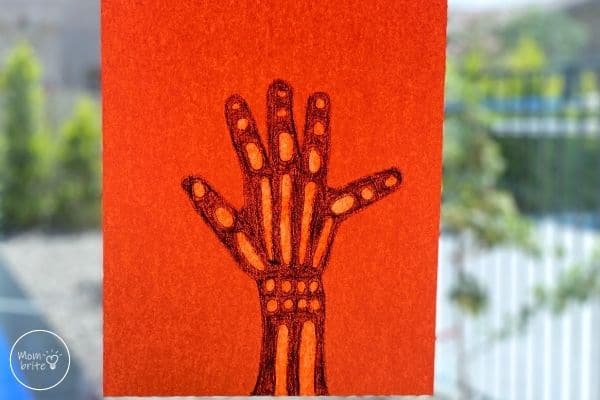
Did you know that there are 206 bones in a human adult body? And that the human hand itself has 27 bones?
Your bones are essential because they provide support for your body, facilitate movement, and protect the internal organs. As we found out in the Play-Doh skeleton activity, we will not be able to stand without our bones.
In this easy skeleton handprint x-ray craft activity for kids, we will focus on the bones of our hands. Not only will we draw all the bones of our hands plus 2 of our arm bones, we will also make it look like it’s a real-life x-ray scan that you would see at the doctor’s office!
Besides learning about the human anatomy, this x-ray craft is perfect for letter x activities. You can also use it as an spooky Halloween decoration!
Skeleton X-Ray Craft for Preschoolers
Materials:
- Colored construction paper (orange, red, yellow, and pink work the best)
- A dark crayon (black, dark blue, or dark purple)
- Vegetable oil
- A small bowl
- Q-tip
- Tape
Instructions:
1. Place your child’s hand on the construction paper. You want the entire hand on the paper along with about 2″ of the arm.
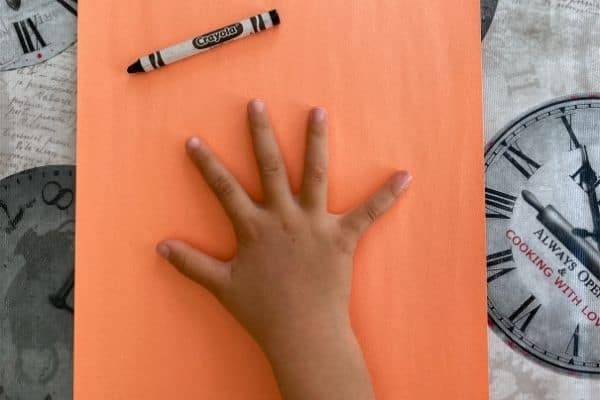
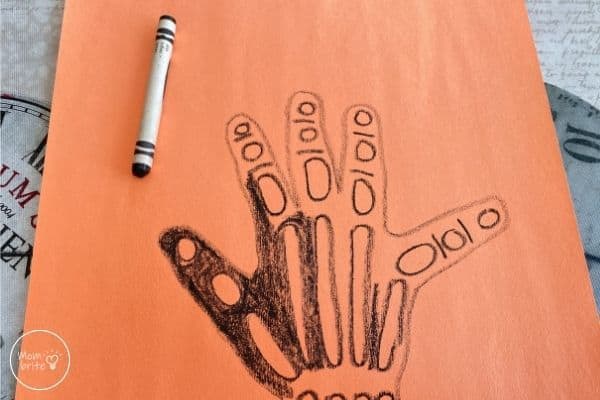
2. Carefully trace the outline of your child’s hand on the paper with a dark crayon.
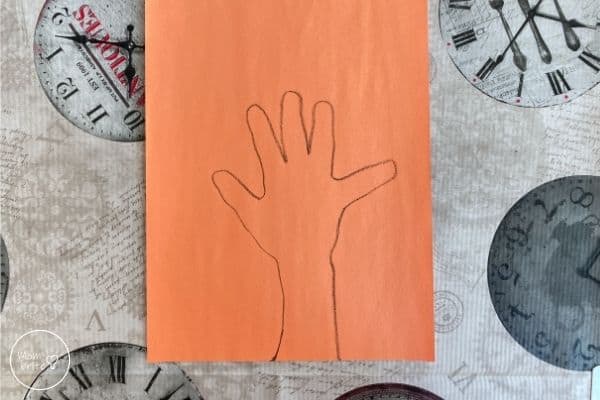
3. Mark the interphalangeal digital creases with a line. We are marking the distal and middle creases, where the distal interphalangeal joints and proximal interphalangeal joints are located. There should be two lines for every finger except the thumb because the thumb only has one interphalangeal joint.
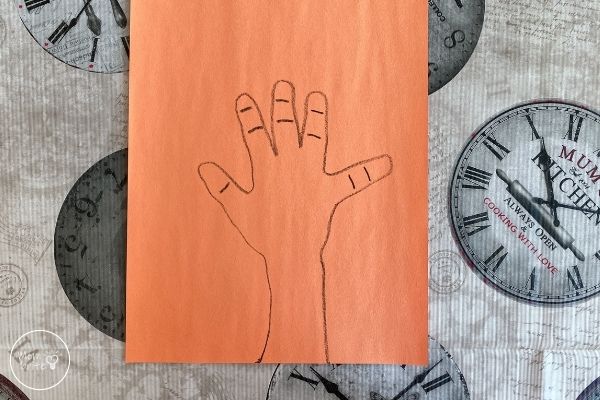
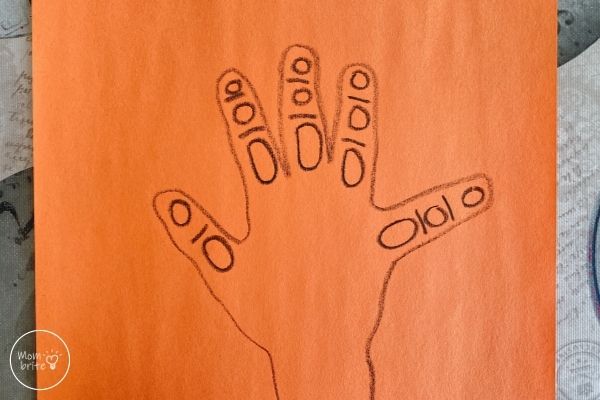
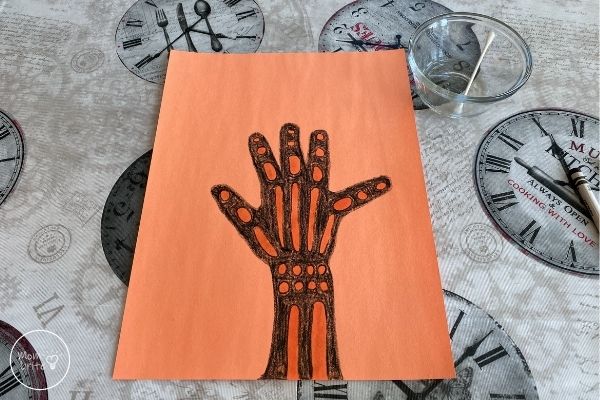
4. Draw the phalanges, or the finger bones. If you are doing this with older kids, they can draw the bones as realistically as possible. I was helping my daughter, a preschooler, with this craft, so we drew circles and ovals to represent the bones.
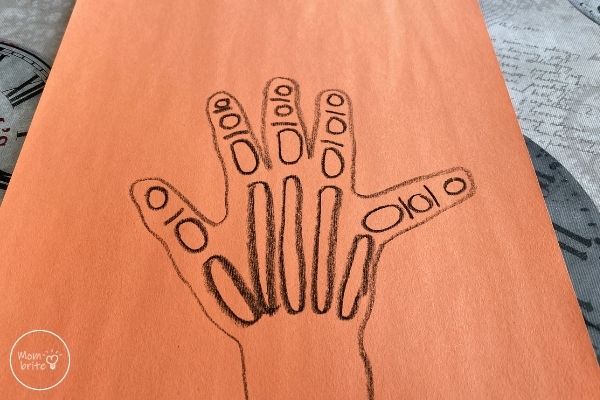
5. Draw the 5 metacarpal bones, which should look like long ovals that go from the bottom of the finger bones to the wrist.
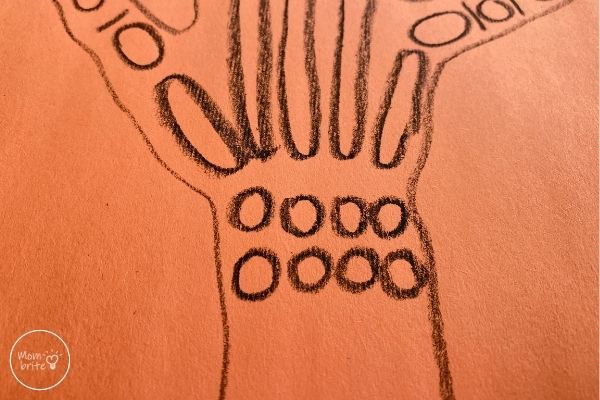
6. Draw the carpal bones. There are 8 small carpal bones in our wrist, so we drew 8 circles.
7. Finally, draw the two long bones in your forearm – the radius and the ulna.
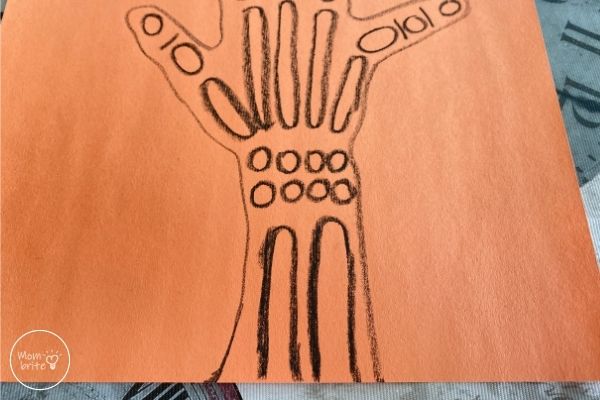
8. Using the dark crayon, color everything in the hand outline except the bones.
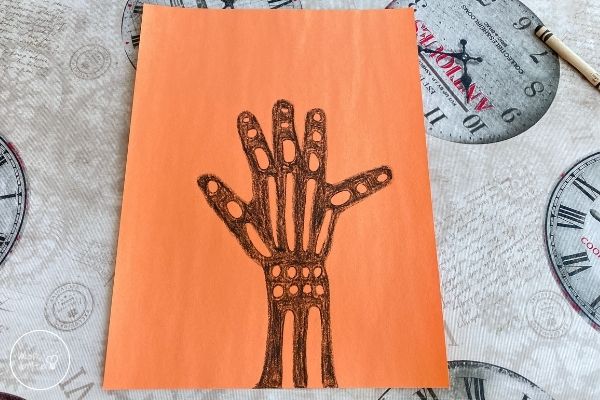
9. Prepare a small bowl with a little bit of vegetable oil. A little will go a long way.
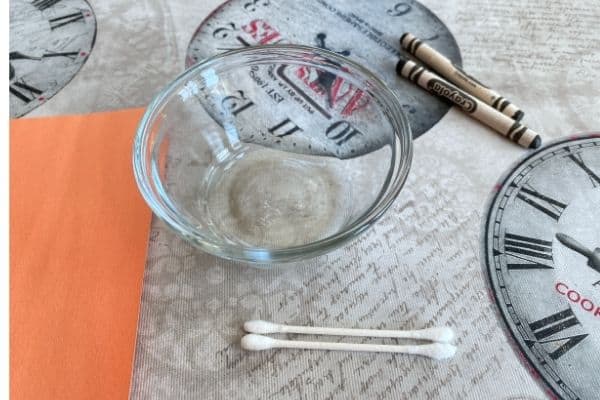
10. Dip your Q-tip in the oil. Make sure the Q-tip is not soaked and dripping oil. If there is too much oil on the cotton swab, then you want to press the Q-tip against the side of the bowl to squeeze some oil out.
Paint the bones with the oil.
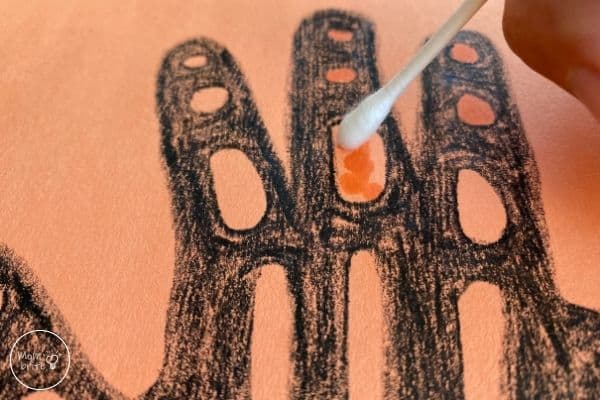
11. Continue painting with the Q-tip and oil until you finish with all the bones.
12. Tape your skeleton handprint painting up on the window. The oil should have made the paper translucent so when the sunlight hits the bones, it should look like a realistic x-ray scan!
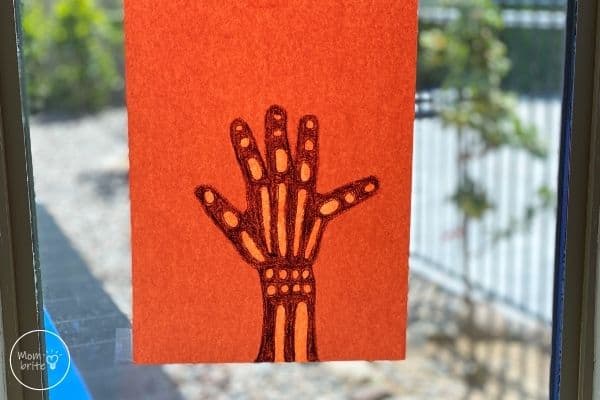
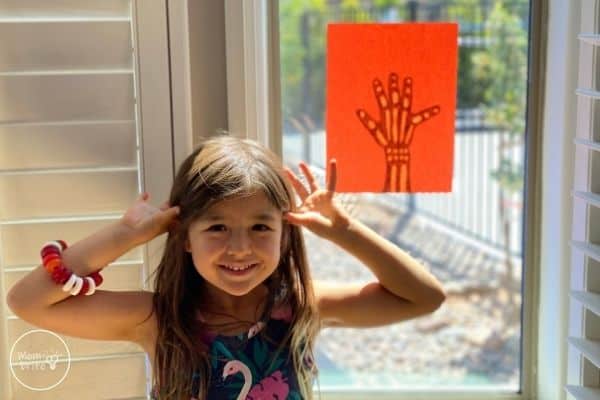
How cool does this hand x-ray craft look? The picture doesn’t do it justice! When you look at the drawing in person, you can really see the sunlight shining through the paper.
It’s so easy that even preschoolers can do it as an introduction to human anatomy. For elementary school kids, you can really get into the different bones in the hands and their names.
And by the way, my windows are covered with these hand x-ray crafts because my kids won’t stop making them!
Related Posts:
