
This simple embroidery project is a fun sewing project for 4 year olds and up. Try stitching and beading with burlap on an embroidery hoop.
Before the shutdown this past spring, we did this simple stitching & beading project at our last preschool art class. This project takes major inspiration from Shannon at Hatch Studio and the tutorial she wrote over on Art Bar.
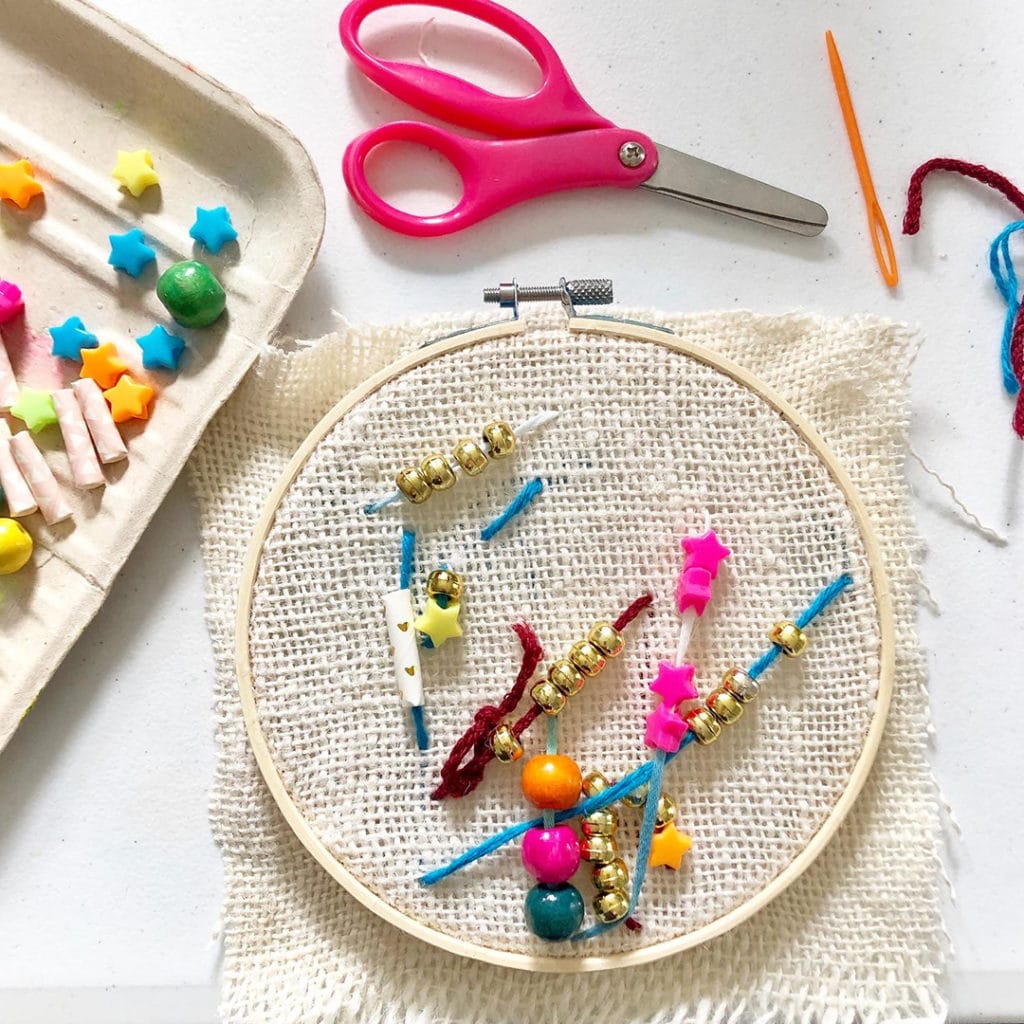
Although the kids had never stitched before, they had so much fun with this simple embroidery project. The room was quiet with concentration as they practiced moving the needle up & down through the burlap. This class in particular reminded me how capable kids are if only we give them the opportunity.
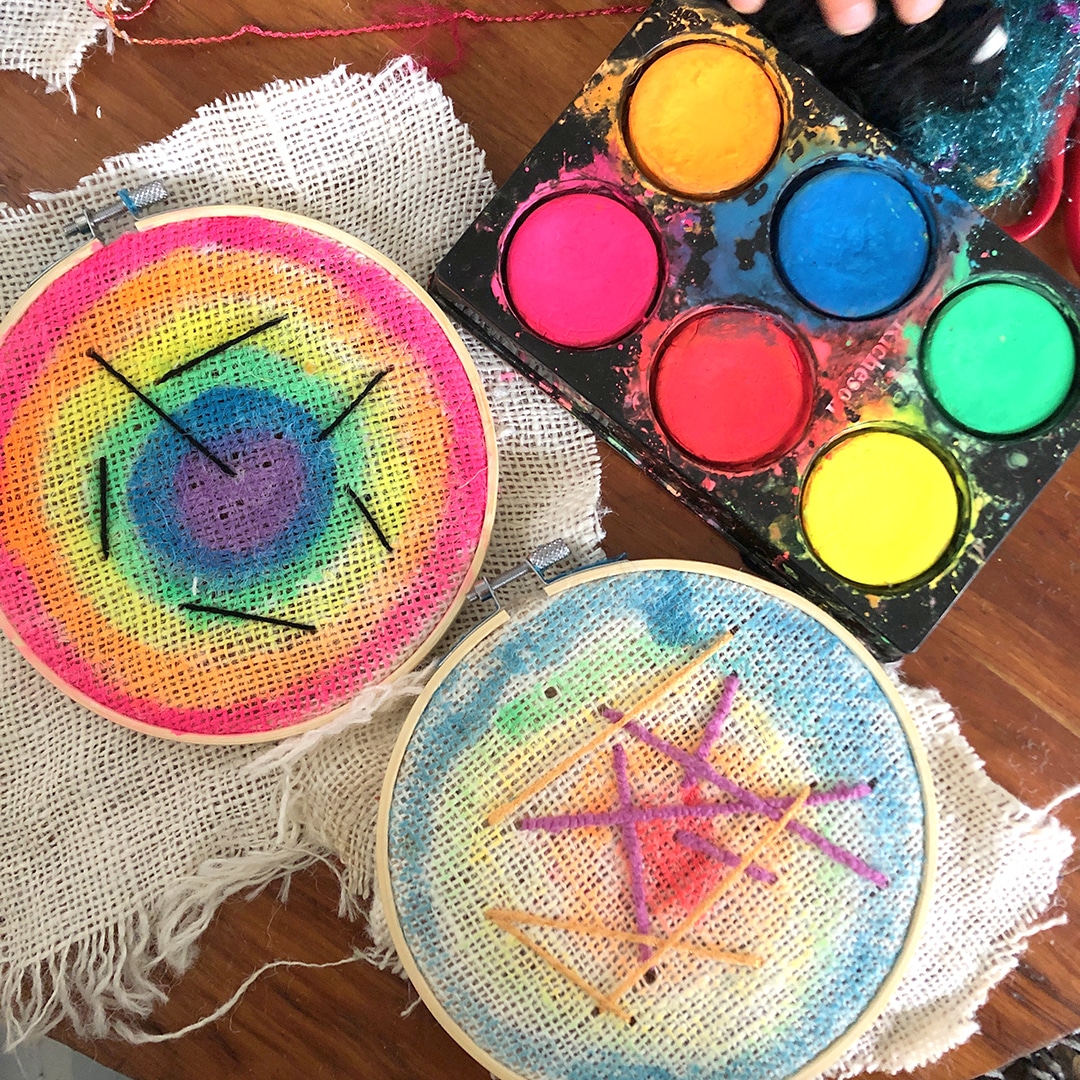
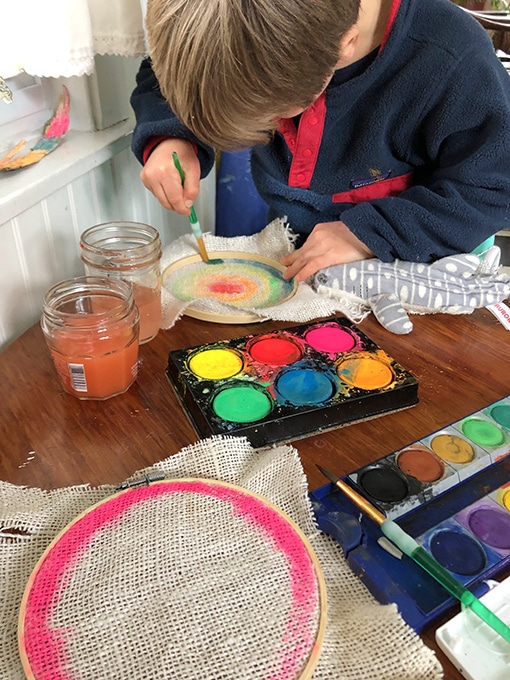
A few months later, I wanted to try another stitching project with my 4 yr old son. But this time we added a painting element (inspiration thanks to @mericherryla & @thecreatiivenatiive & @makersri ) which was fun to experiment with as well.
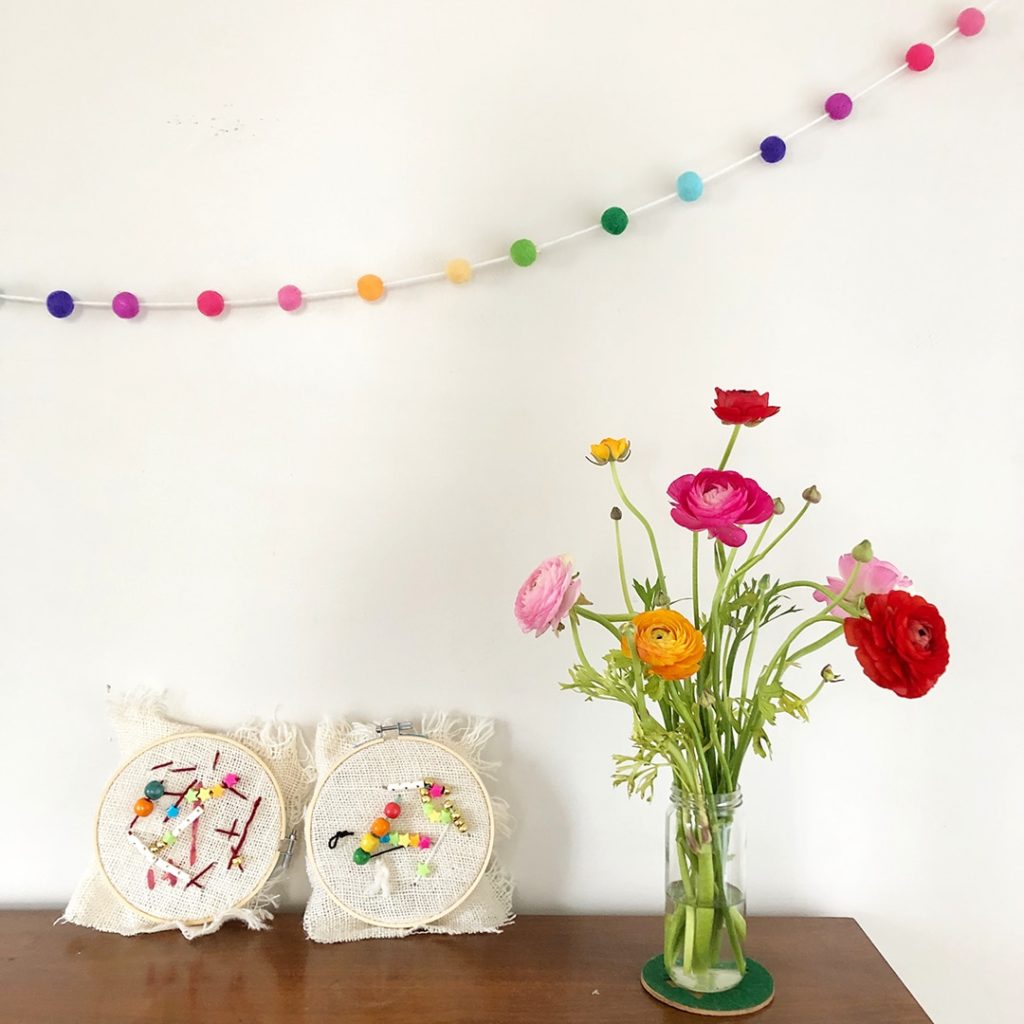
Now personally, I could sit and make these all day! After all, they are easy to make with just a few supplies. And I think the little hoops look amazing hung together for some new wall art. It’s definitely a project we’ll be revisiting again and I hope you try it too!
Stitching and Sewing Projects for 4 year Olds
MATERIALS

- embroidery hoop
- burlap fabric
- watercolor paints and brushes
- plastic crochet needles
- yarn
- wooden beads or star beads or pony beads (optional)
Time needed: 30 minutes.
-
Thread the crochet needles with yarn.
Now thread the plastic crochet needles with yarn and double knot the ends. You may wish to have a bunch of needles prepped with multiple colors, especially if you’re doing this with multiple kids or in a class setting. (Thanks to Erin at Makers for this tip!)
-
Stretch burlap across embroidery hoop.
First place the burlap into an embroidery hoop. Then make sure the burlap is snugly stretched in place. Finally, trim the excess fabric leaving an 1-2 inch border.
-
Paint the burlap with watercolor paints.
Begin painting the burlap with watercolors. Then let the fabric dry completely.
-
Now begin stitching!
When the burlap is dry, kids can begin to stitch the burlap. I led the kids through the first few times––the needle pops up through the burlap and grows up like a plant. Then send the needle back down into the ground.
After a little practice, the kids quickly got the hang of this motion and could do stitching more on their own.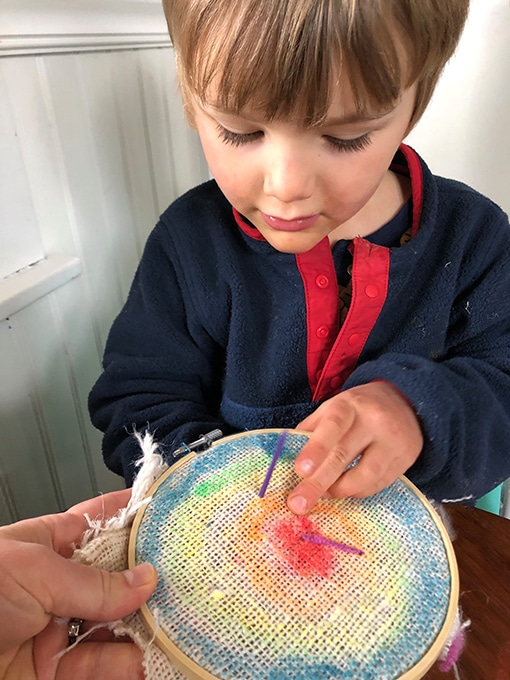
-
Last, add beads as desired.
Since beads make really fun embellishments, kids can add them to the plastic needle and stitch into the burlap.
There are so many choices for beads: wooden or plastic beads–glitter, neon, star shapes. Be sure the bead hole is wide enough to easily slide over the plastic needle.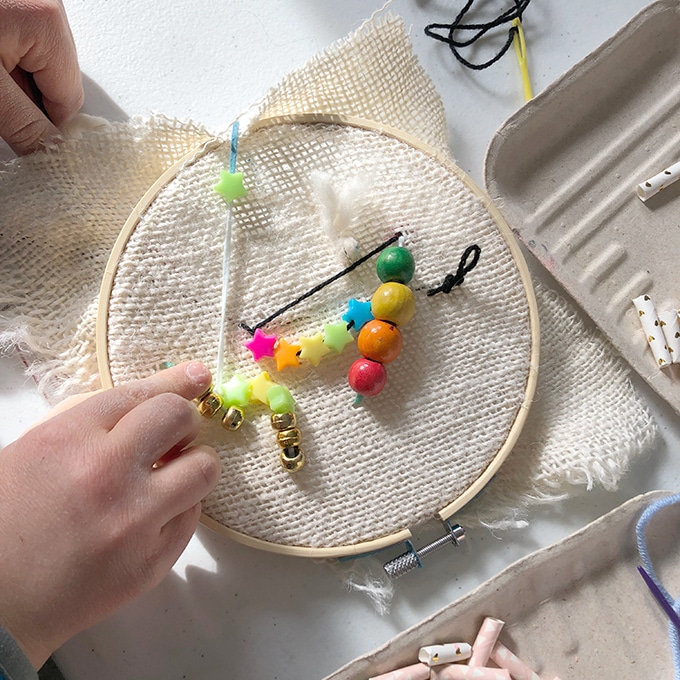
Finally, I hope you give this a try as it’s a great bonding activity and intro sewing project for 4 year olds and up!
More Textile Projects for Kids
- How to Do Glue Batik with Kids
- 5 BEST Tips to Teach Sewing for Kids
- How to Paint Lace with Kids
- How to Tie Dye Shirts
- How to Make Cardboard Looms
- How to Make a Circular Weaving for Kids
Pin It For Later
The post Embroidery for Kids with Simple Stitching appeared first on The Artful Parent.