
Ever since the melted crayon rocks activity, my kids have been itching to melt more crayons.
Since we don’t use our crayons anymore, I don’t see why not let the kids have fun and melt some old crayons down to make new, unique, beautiful ones.
The main reason why the kids no longer use crayons is that most of them are broken. What to do with old crayons? I have contemplated tossing them out multiple times, but if you love crafts and science experiments, you know that they will of use one day.
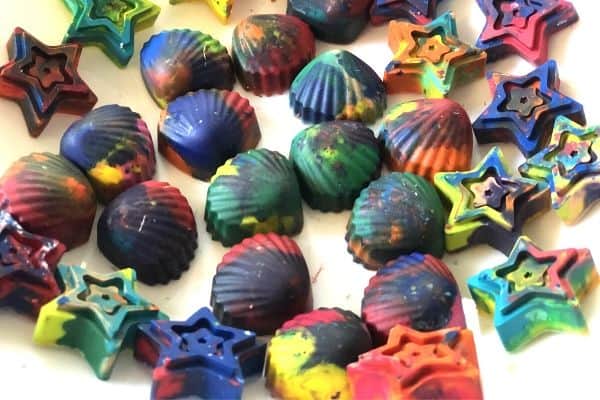
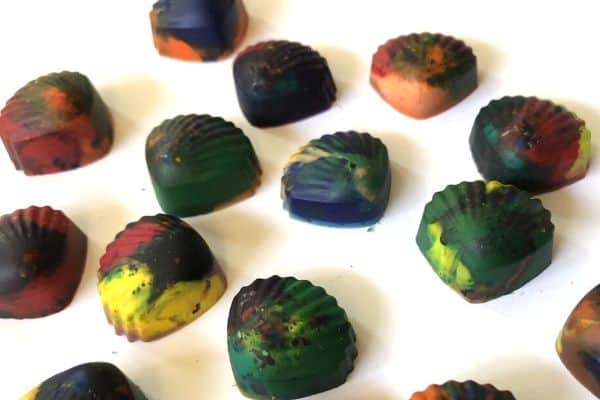
And today is the day! I love that we are recycling old crayons and giving life to them. The colorful new crayons you create can be used for party favors, Valentine’s Day gifts, or even fun alternatives to candy on Halloween!
How to Melt Crayons in an Oven
Materials:
- Crayons
- Optional: water
- Optional: X-ACTO knife
- Silicone molds
- Cookie sheet
Instructions:
- Preheat the oven to 275 degrees F.
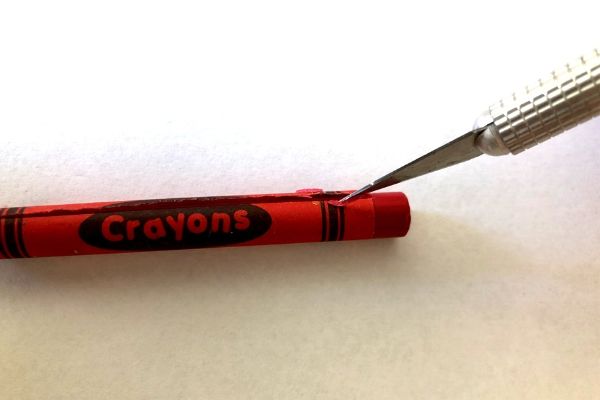
- Remove the paper wrappers from each crayon.
- If you have an X-ACTO knife, running the blade down the length of the wrapper will make peeling the wrapper off nice and easy.
- If you do not have an X-ACTO knife, put your broken crayons in some water. The water will loosen the paper wrappers and make them easier to remove.
- If you have an X-ACTO knife, running the blade down the length of the wrapper will make peeling the wrapper off nice and easy.
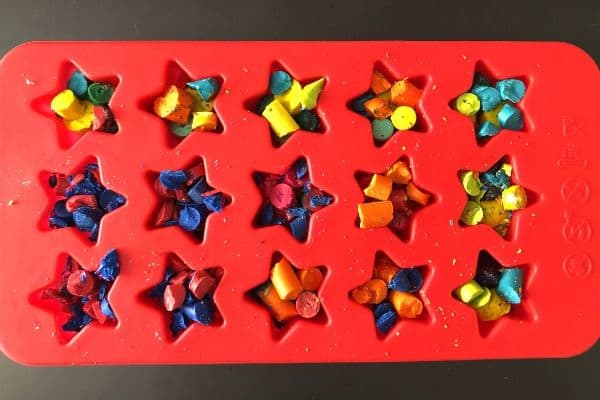
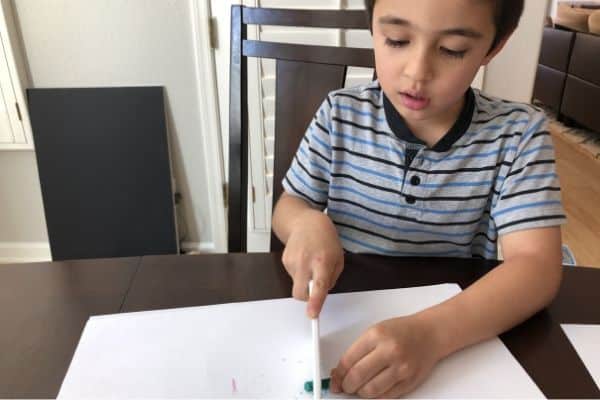
- Cut your crayons into little pieces. You can break the crayons by hand, or use knives to cut the crayons.

- Fill the silicone molds with crayons. Since there are holes between the crayon pieces (unless you cut them very fine), the crayons will melt down and take up less space. Therefore, I recommend slightly overfilling each mold so you get a thick piece of crayon.
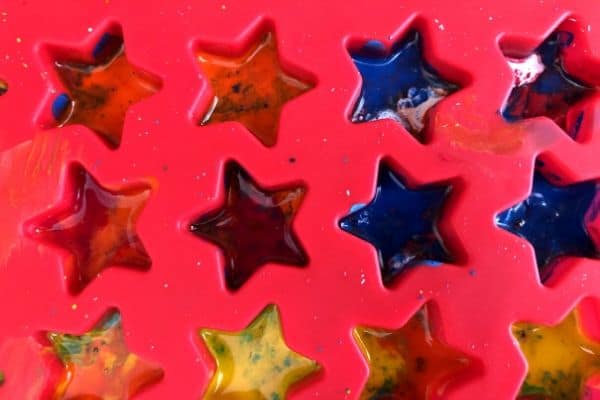
- Place the molds on a cookie sheet and bake them in the oven for 5-8 minutes or until the crayons are completely melted.
- Carefully remove the mold from the oven and let it cool completely.
- Take out your new crayons from the silicone molds.
My kids had so much fun cutting the crayons. We have these awesome Curious Chef knives for kids at home that my kids use often to cut their own fruits or help with prep work.
I do recommend using silicone molds versus metal ones because they are so much easier to pop out. Some of the crayons seem pretty set in the molds and I can’t imagine having to take them out of a rigid mold.
I also recommend not omitting the cookie sheet. The silicone molds are flexible and it’ll be very difficult to hold a burning hot silicone mold full of melted hot wax flat as you remove the mold from the oven. Trust me, you do not want to risk getting melted crayon on yourself, the oven, or the floor.
The Science Behind Melting Crayons
I bet you think melting crayons is more of an art lesson than a science lesson. But there is a key concept here we need to explore, and that is reversible changes.
A change that can occur backward, or can be reversed, is called a reversible change.
If you keep water in the freezer for a few hours, it turns into ice. However, once you take it out and let it sit at room temperature, the ice will melt back into water. No chemical change has happened.
Similarly, the old crayons were melted, but when they cool down, they were still crayons. The only thing that changed was the shape and colors of the crayons!
The crayons did not undergo a chemical change when they were melted. When a change which cannot happen backward, or reversed, then it’s an irreversible change.
For example, when you make plastic with milk and vinegar, you can’t reverse the process and make milk from plastic. Another example is when you erupt an apple volcano by pouring vinegar into baking soda, you can’t go backward and make baking soda and vinegar from the foamy lava.
If you watch the crayons melt in the oven carefully, you might notice that some colors melt faster than others. You have to compare two pieces with similar size and shape, but if you manage to find two with different colors, observe how fast each melt in the oven.
Crayons contain pigments, which give each crayon its color. You might notice that black crayons melt the fastest because it absorbs the heat quicker. This is the same reason why wearing black clothing on a sunny day makes you hotter when you stand outside than wearing light-colored clothing.
You can also experiment with different brands and see how the crayons hold up to heat. Find two crayons that have the same color but different brands. Place them in separate molds and see which one melts faster.
Final Thoughts on Melting Crayons
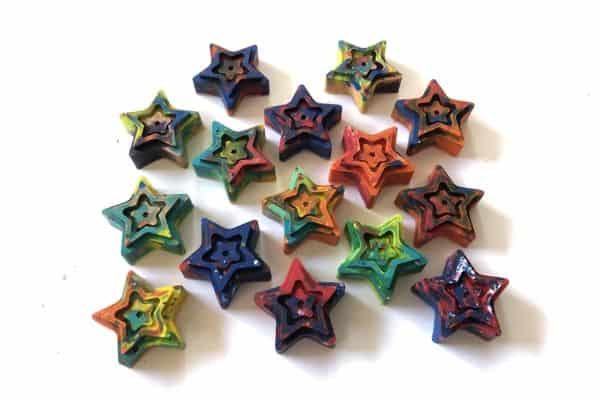
Recycling crayons by melting old, broken crayons in the oven and creating new, beautiful ones are so much fun. My kids spent more than an hour cutting and shaving down the crayons and they just love the new ones we made.
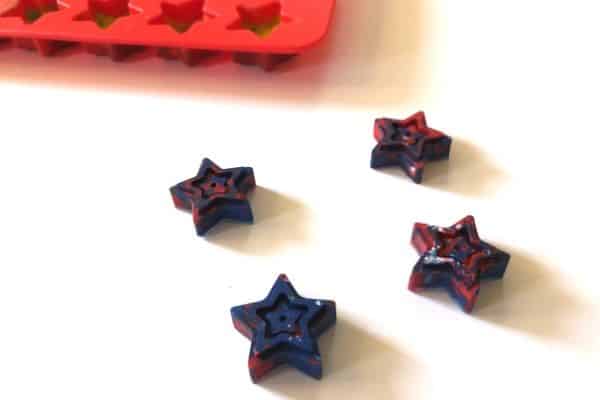
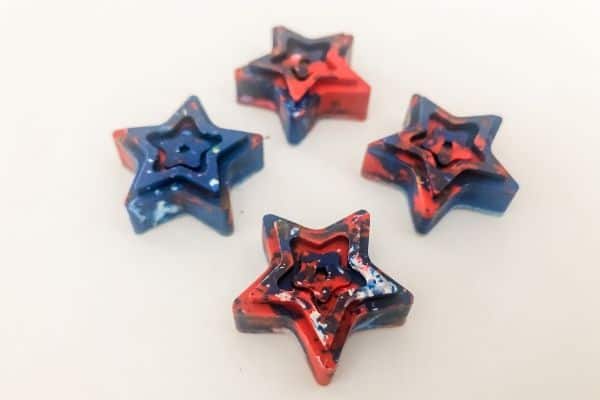
Try out different color combinations! Since July 4th is coming up, we made a few red, white, and blue ones to celebrate!
If your kids liked this activity, be sure to check out the melted crayon rocks!
Then for Halloween, you can melt crayons on a pumpkin with a hair dryer. Check out how here.
The post How to Melt Crayons (and Make New Ones) appeared first on Mombrite.