Skip the flowers and make your loved one a yummy DIY donut bouquet instead!

Donut bouquets are the perfect DIY gift for all of the pastry lovers in your life! 🍩
Instead of flowers, consider creating a stunning arrangement of fresh, delicious donuts to give on Valentine’s Day, a special birthday, or any other occasion you can think of.
I think everyone can agree that receiving a bundle of fresh donuts is better than flowers any time of the year! 😆
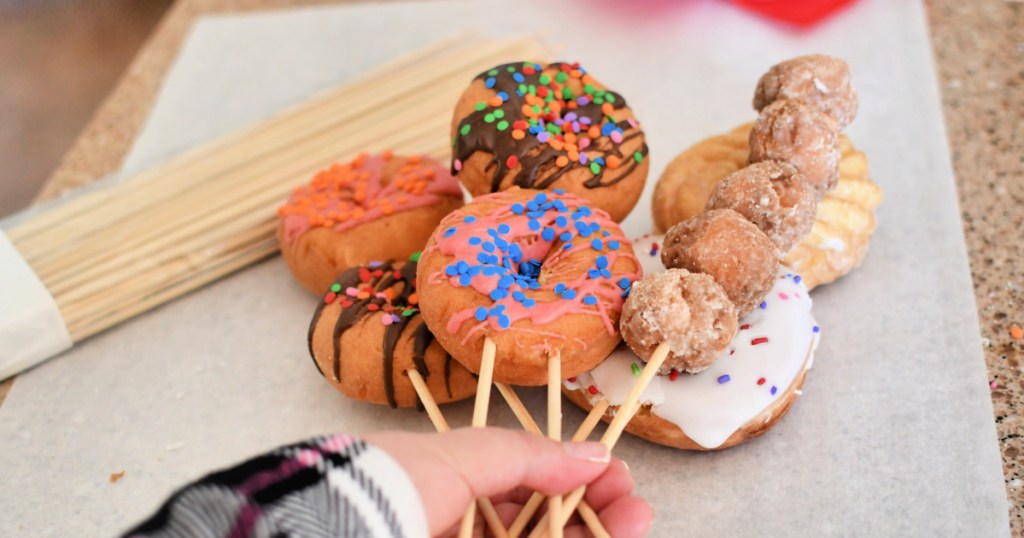
You asked and we listened!
Last year, we featured a post on Harry & David donut bouquets that you can send in the mail for around $50 😱 (yes, super pricey!), and readers suggested we do a DIY post on this topic! So… I’m sharing how to create a similar donut arrangement using wood skewers that looks similar to flowers!

Save money by making your own creations that look similar to Harry & David donut bouquets!
This is such a fun and unique project that I really enjoyed doing, and know you’ll have a blast too. Plus, it’s so much more economical to make your own bouquet at home, rather than buying online. I bought all my supplies at the grocery store, and estimate each bouquet to be about $10-$12 dollars in materials, which is around a $40 savings!
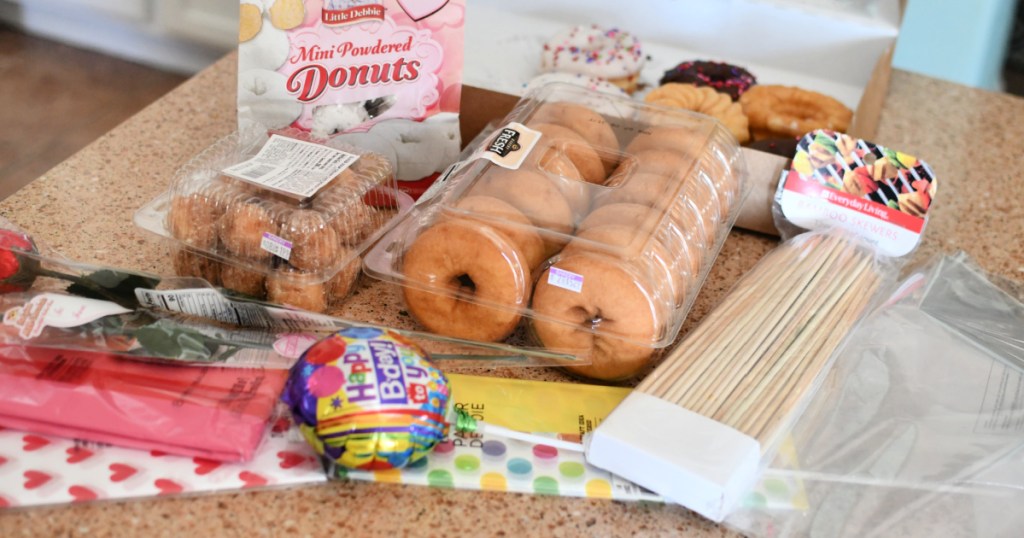
Which type of donuts work best for donut bouquets?
I ended up buying a variety of grocery store donuts from the bakery to experiment and see which ones work best. In general, the cake style donuts and donut holes seemed the most sturdy and easiest to work with.
The ones that didn’t work at all (and I don’t recommend trying) are the Little Debbie mini donuts. They crumbled easily and fell off.
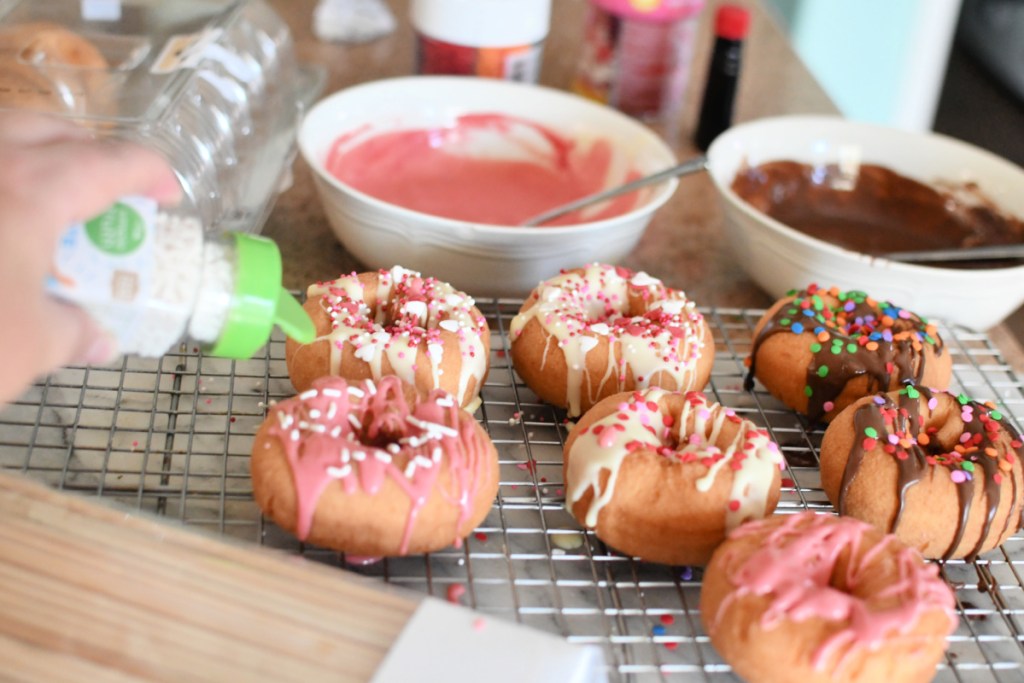
My favorite donuts were the medium-sized plain cake donuts from the bakery!
I thought they turned out so cute and were the easiest to work with and most stable. I highly recommend grabbing some plain donuts like this and jazzing them up with melted white and semi-sweet chocolate along with sprinkles! You can customize them for any occasion or holiday by using specific colored sprinkles or by coloring the melted white chocolate.
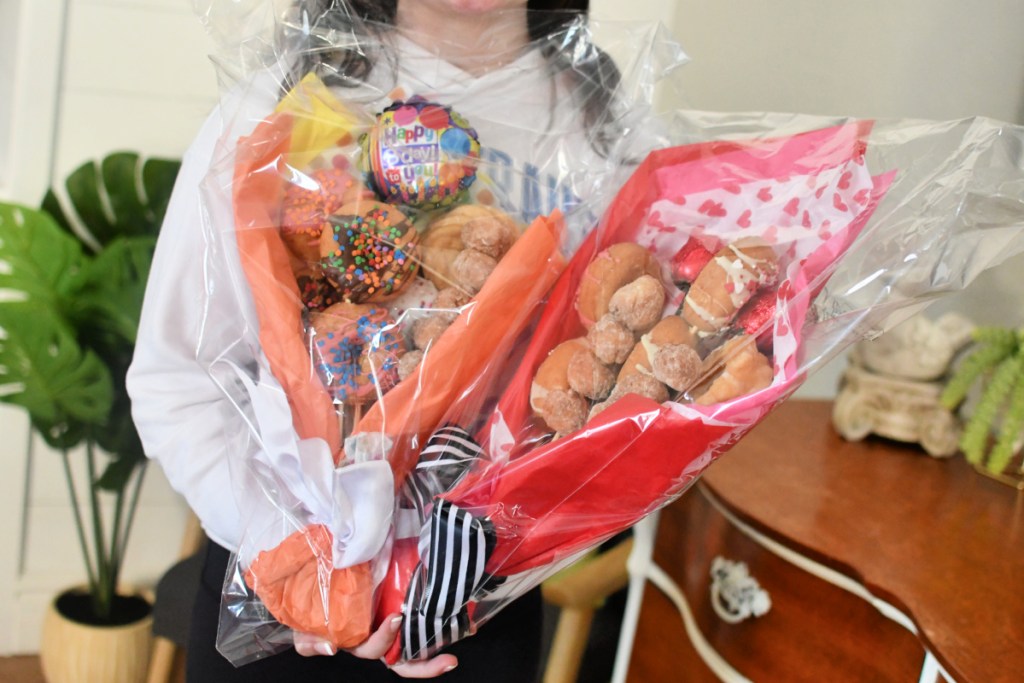
Tips to create the BEST DIY donut bouquet:
- For the melted chocolate drizzle: I added about a cup of chocolate chips to a bowl with 1/4 teaspoon of vegetable oil, melted it in the microwave 15 seconds at a time until fully melted, and then drizzled the chocolate over the donuts and topped with sprinkles. I also did the same thing with white chocolate chips and added red food coloring for pink color. You could do this using candy melts instead if desired!
- You’ll need to grab wood skewers to attach donuts. For the medium/large-sized donuts, I used two so that they were extra sturdy, and for the donut holes, I only used one.
- For transporting and keeping donuts fresh, consider placing your finished donut bouquet in a plastic floral sleeve. At the grocery store they usually have them in the floral department, and I just simply asked if I could have two.
- Feel free to add any other floral embellishments. For instance, I added a couple of chocolate roses on one, and a mini birthday balloon on a stick in the other.

DIY Donut Bouquet
PrintSupplies Needed
- wood skewers
- sheet of parchment paper
- About 6 medium sized decorated donuts
- around 8 donut holes
- any other decorative picks or balloons (optional)
- clear package tape
- 6 sheets of tissue paper
- ribbon
- plastic flower bouquet sleeves (optional)
Directions
1
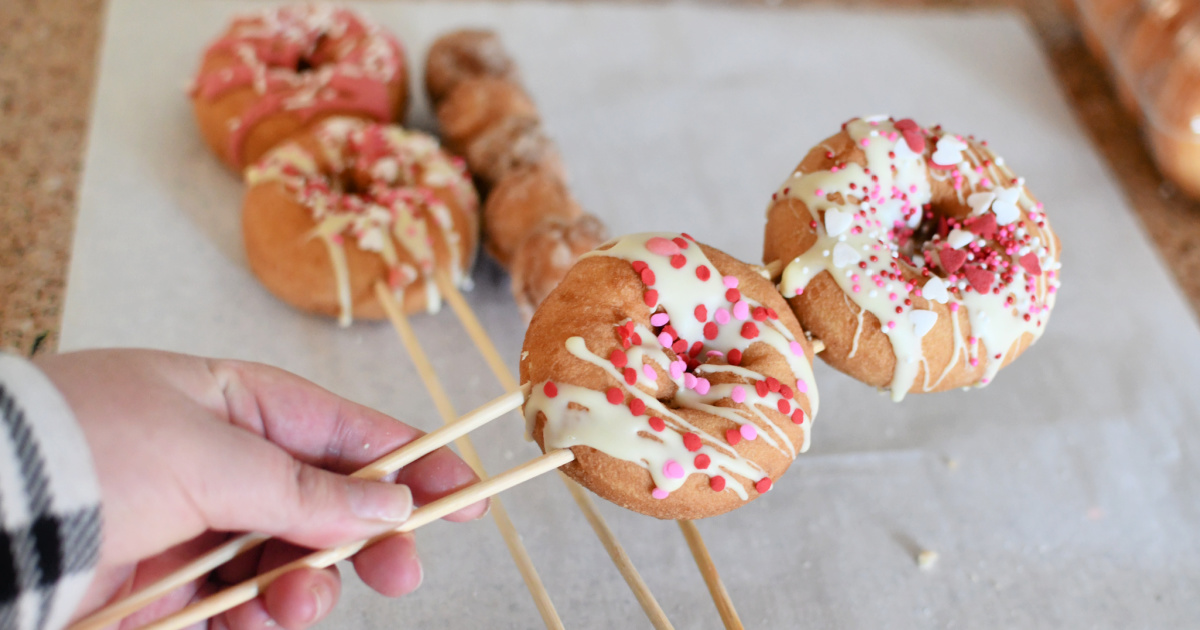
Place a piece of parchment paper on the counter. Poke two wood skewers through a donut and move it down the skewer. Poke a second donut on top so that it pierces, but doesn’t poke all the way through the top of 2nd donut. Repeat with a second set.
2
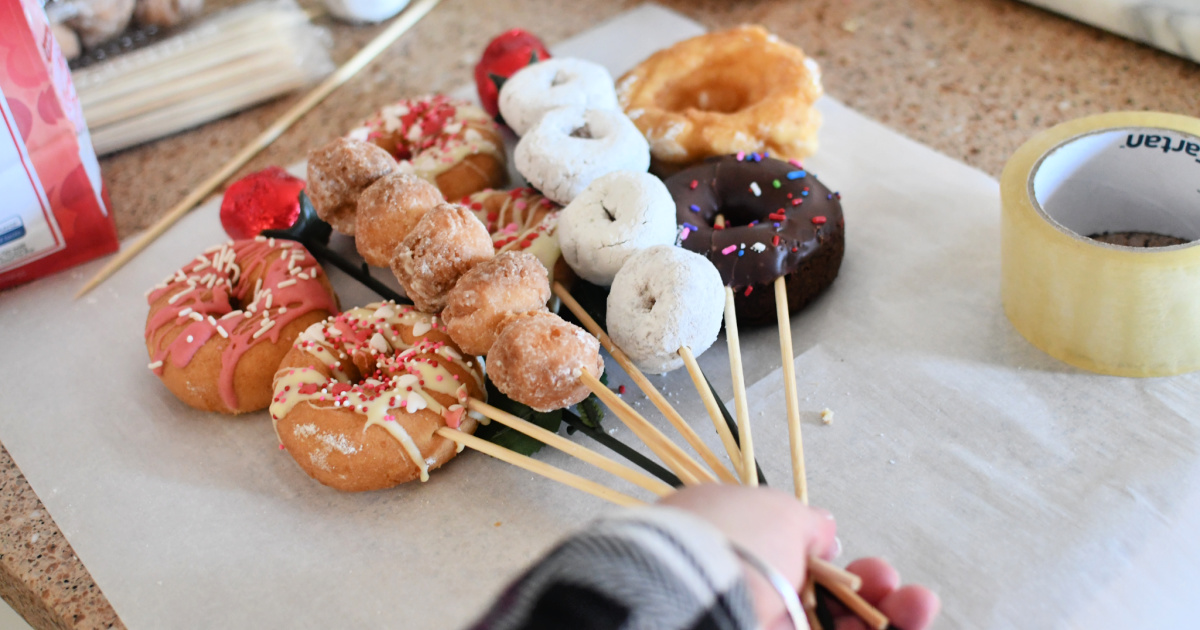
Do the same with about two skewers of donut holes (4-5 donut holes on each). Add any decorative picks or elements. I added two chocolate roses.
Note: The photo shows white mini donuts, that later fell off and I replaced them with more donut holes.
3
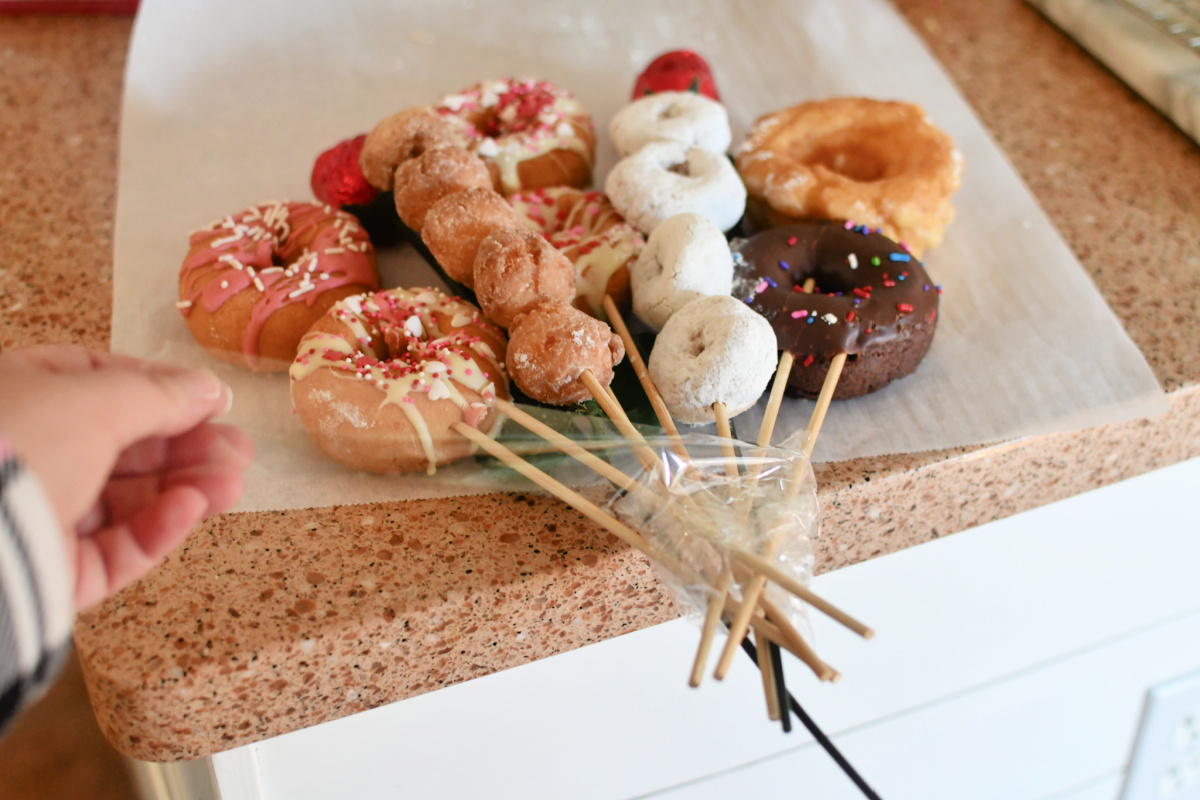
Set up your arrangement as desired on the parchment paper. Tape the arrangement together using clear packing tape.
4
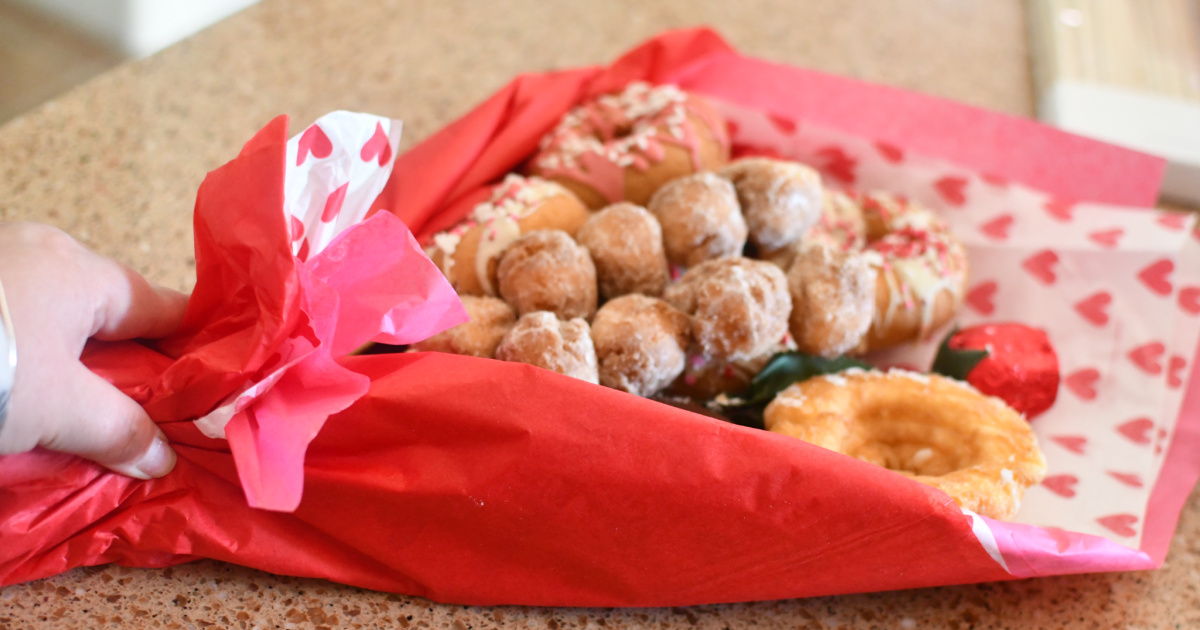
Lay out about 5-6 pieces of tissue paper vertically, and fan out a few pieces a bit. Then place the bouquet in the top left corner.

5
Fold and roll in the sides around the bouquet, and then fold the bottom up over the stems.
6
Secure the tissue paper with a ribbon and you’re done!
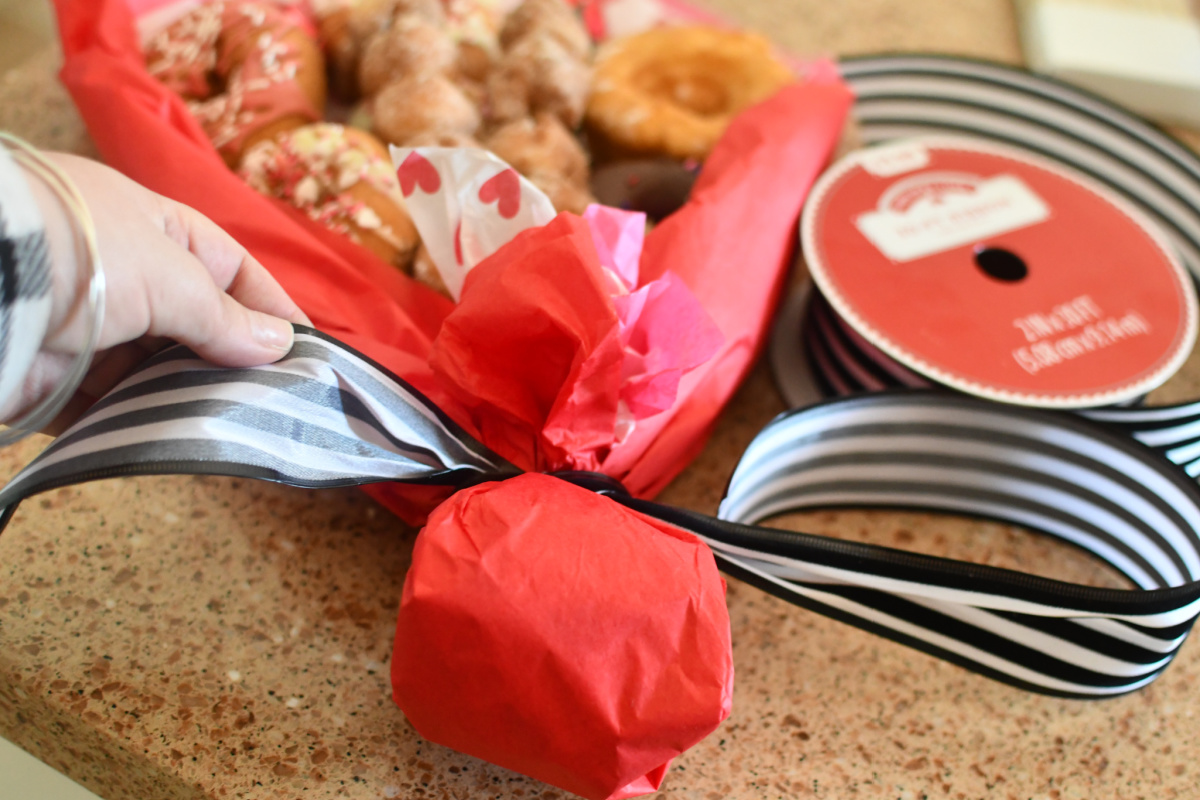

OH MY GOSH!! These donut bouquets are so darn cute!
Look how cute the birthday one turned out too! I was actually a little nervous that this food craft project could be a fail since I hadn’t made anything like this before, and I’m so pleased with how these turned out.
I think it’s such a creative little gift idea that is sure to make someone feel special and can be compiled for lots of occasions!

!doctype>
