
Florida is known for its warm and sunny weather, but did you know that it also experiences mild winters? While the temperatures may not reach the freezing point, the cooler weather and shorter days provide a perfect opportunity to enjoy indoor activities and make crafts. One popular winter activity in Florida is creating crafts with seashells, which are abundant on its beaches. This article will guide you through the process of making simple and fun seashell crafts with your kids.
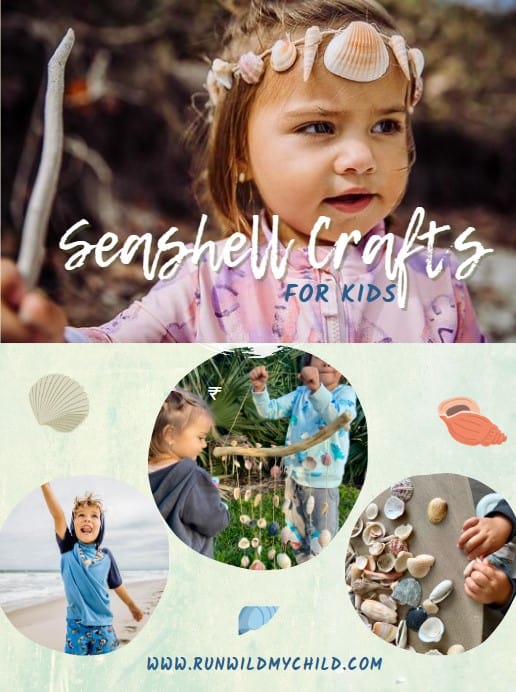
First things first, you need to set off and find as many seashells as you can! This is an engaging and fun experience for both parents and kids! My kids love finding different shapes, sizes and colors of seashells. When the water is too cold to swim in and the sky is cloudy, you can always find us at the beach, seashell hunting! Grab a bucket or a sustainable ocean-friendly bag, and enjoy the hunt!

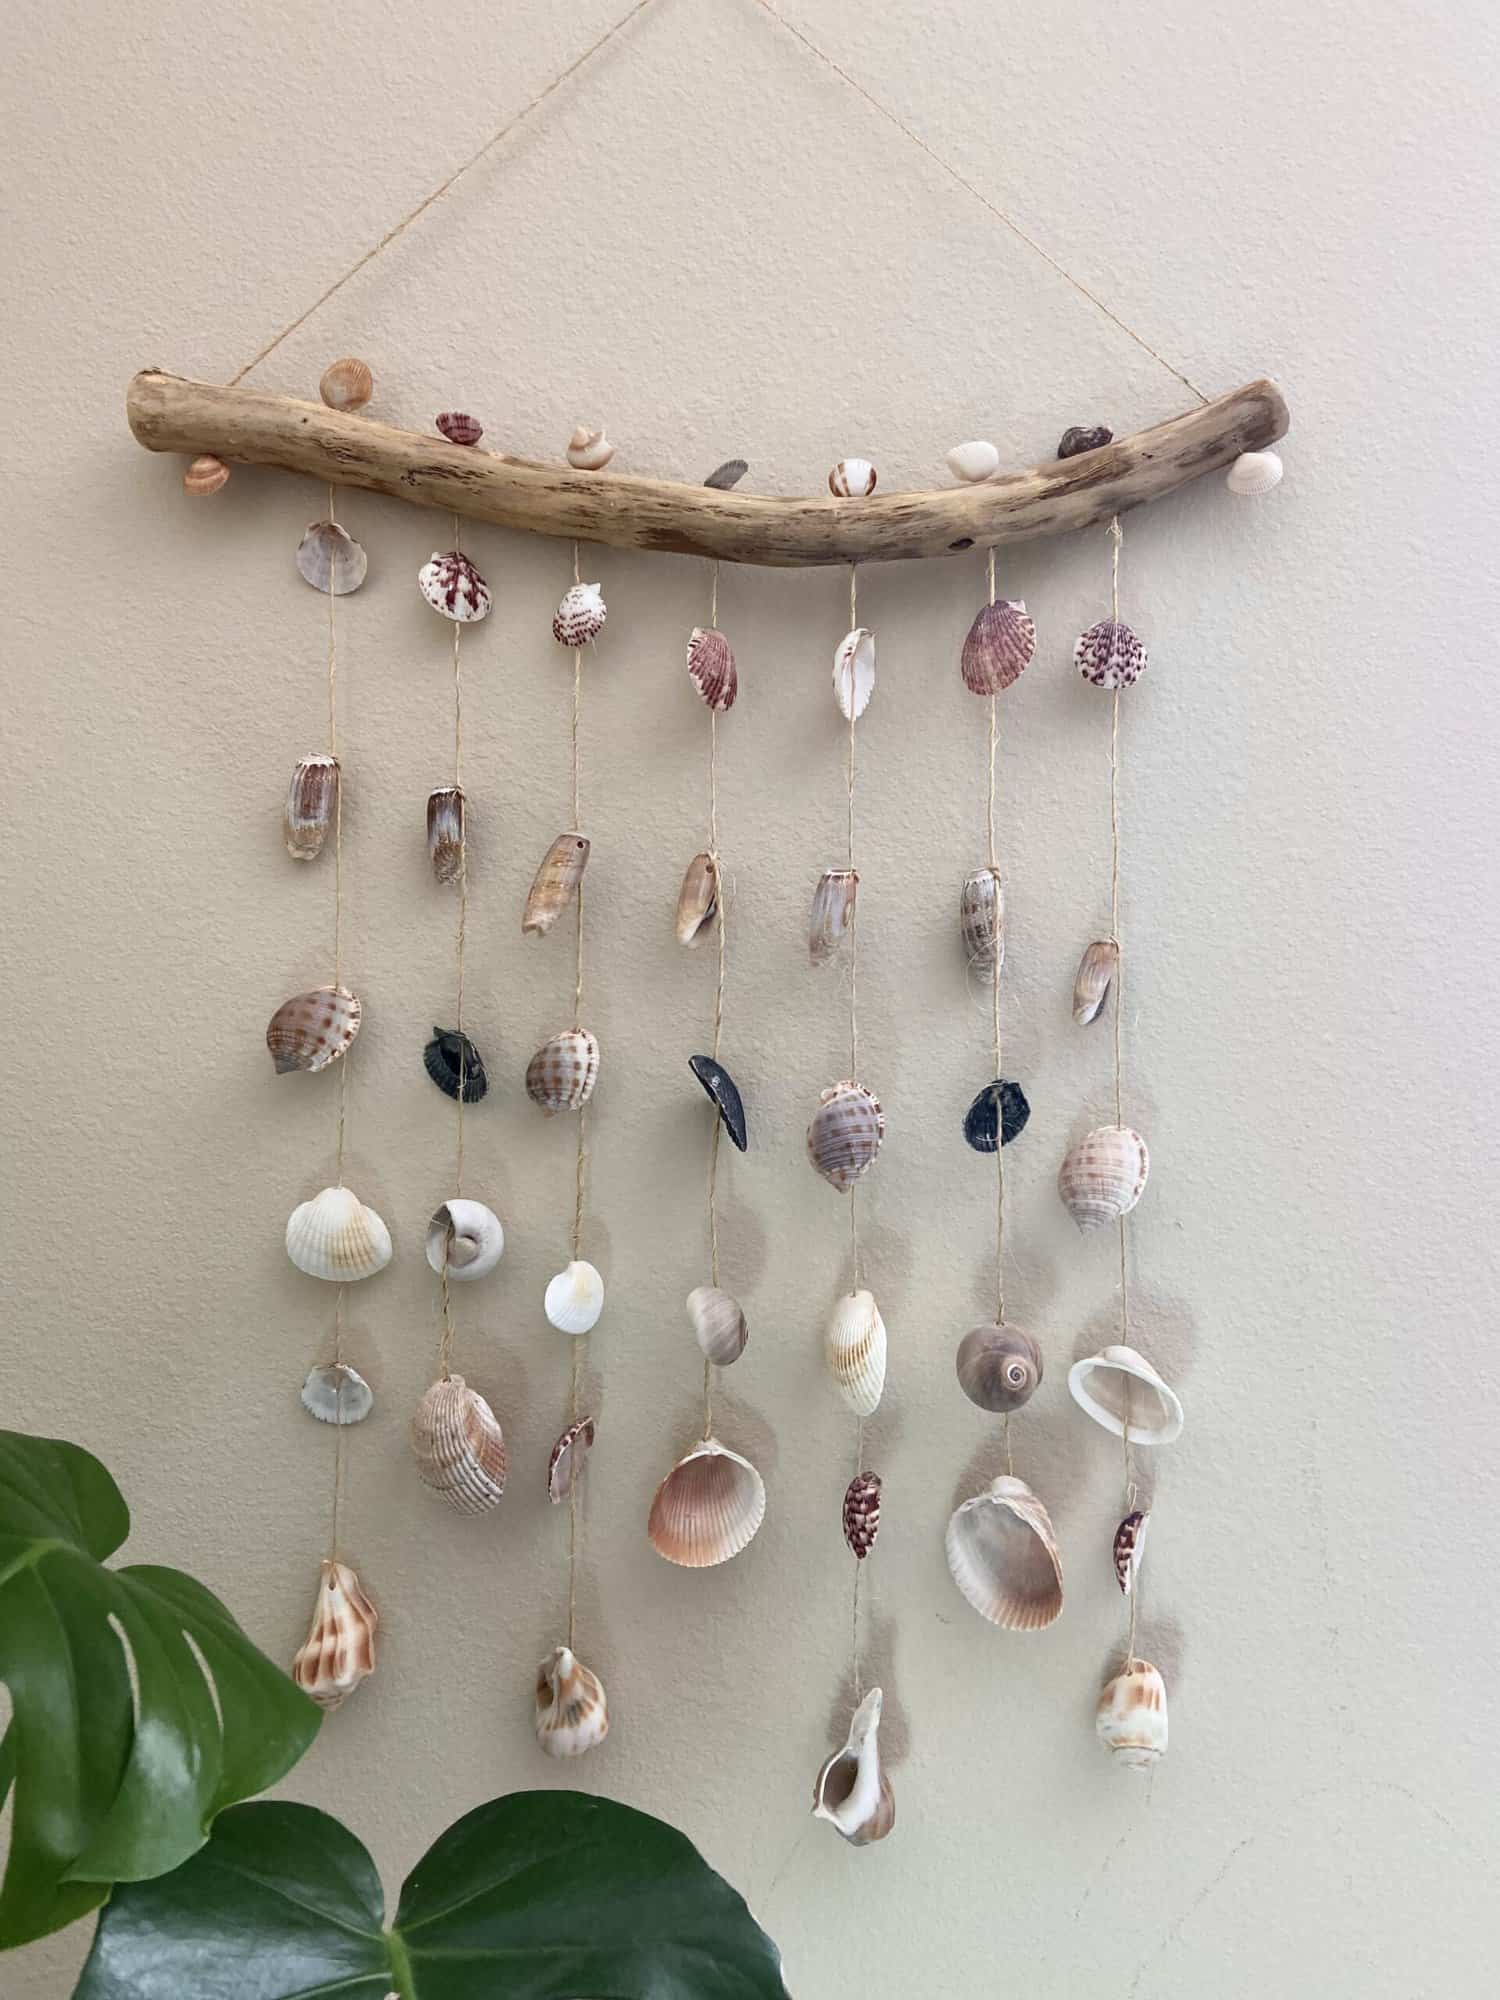
SEASHELL WIND CHIME
Wind chimes are an excellent way to bring a touch of nature into your home. They can be made with a variety of materials, including driftwood, seashells, string, and hot glue. This section will guide you through the process of creating your own unique wind chime from these materials.
Materials:
- Driftwood
- Seashells
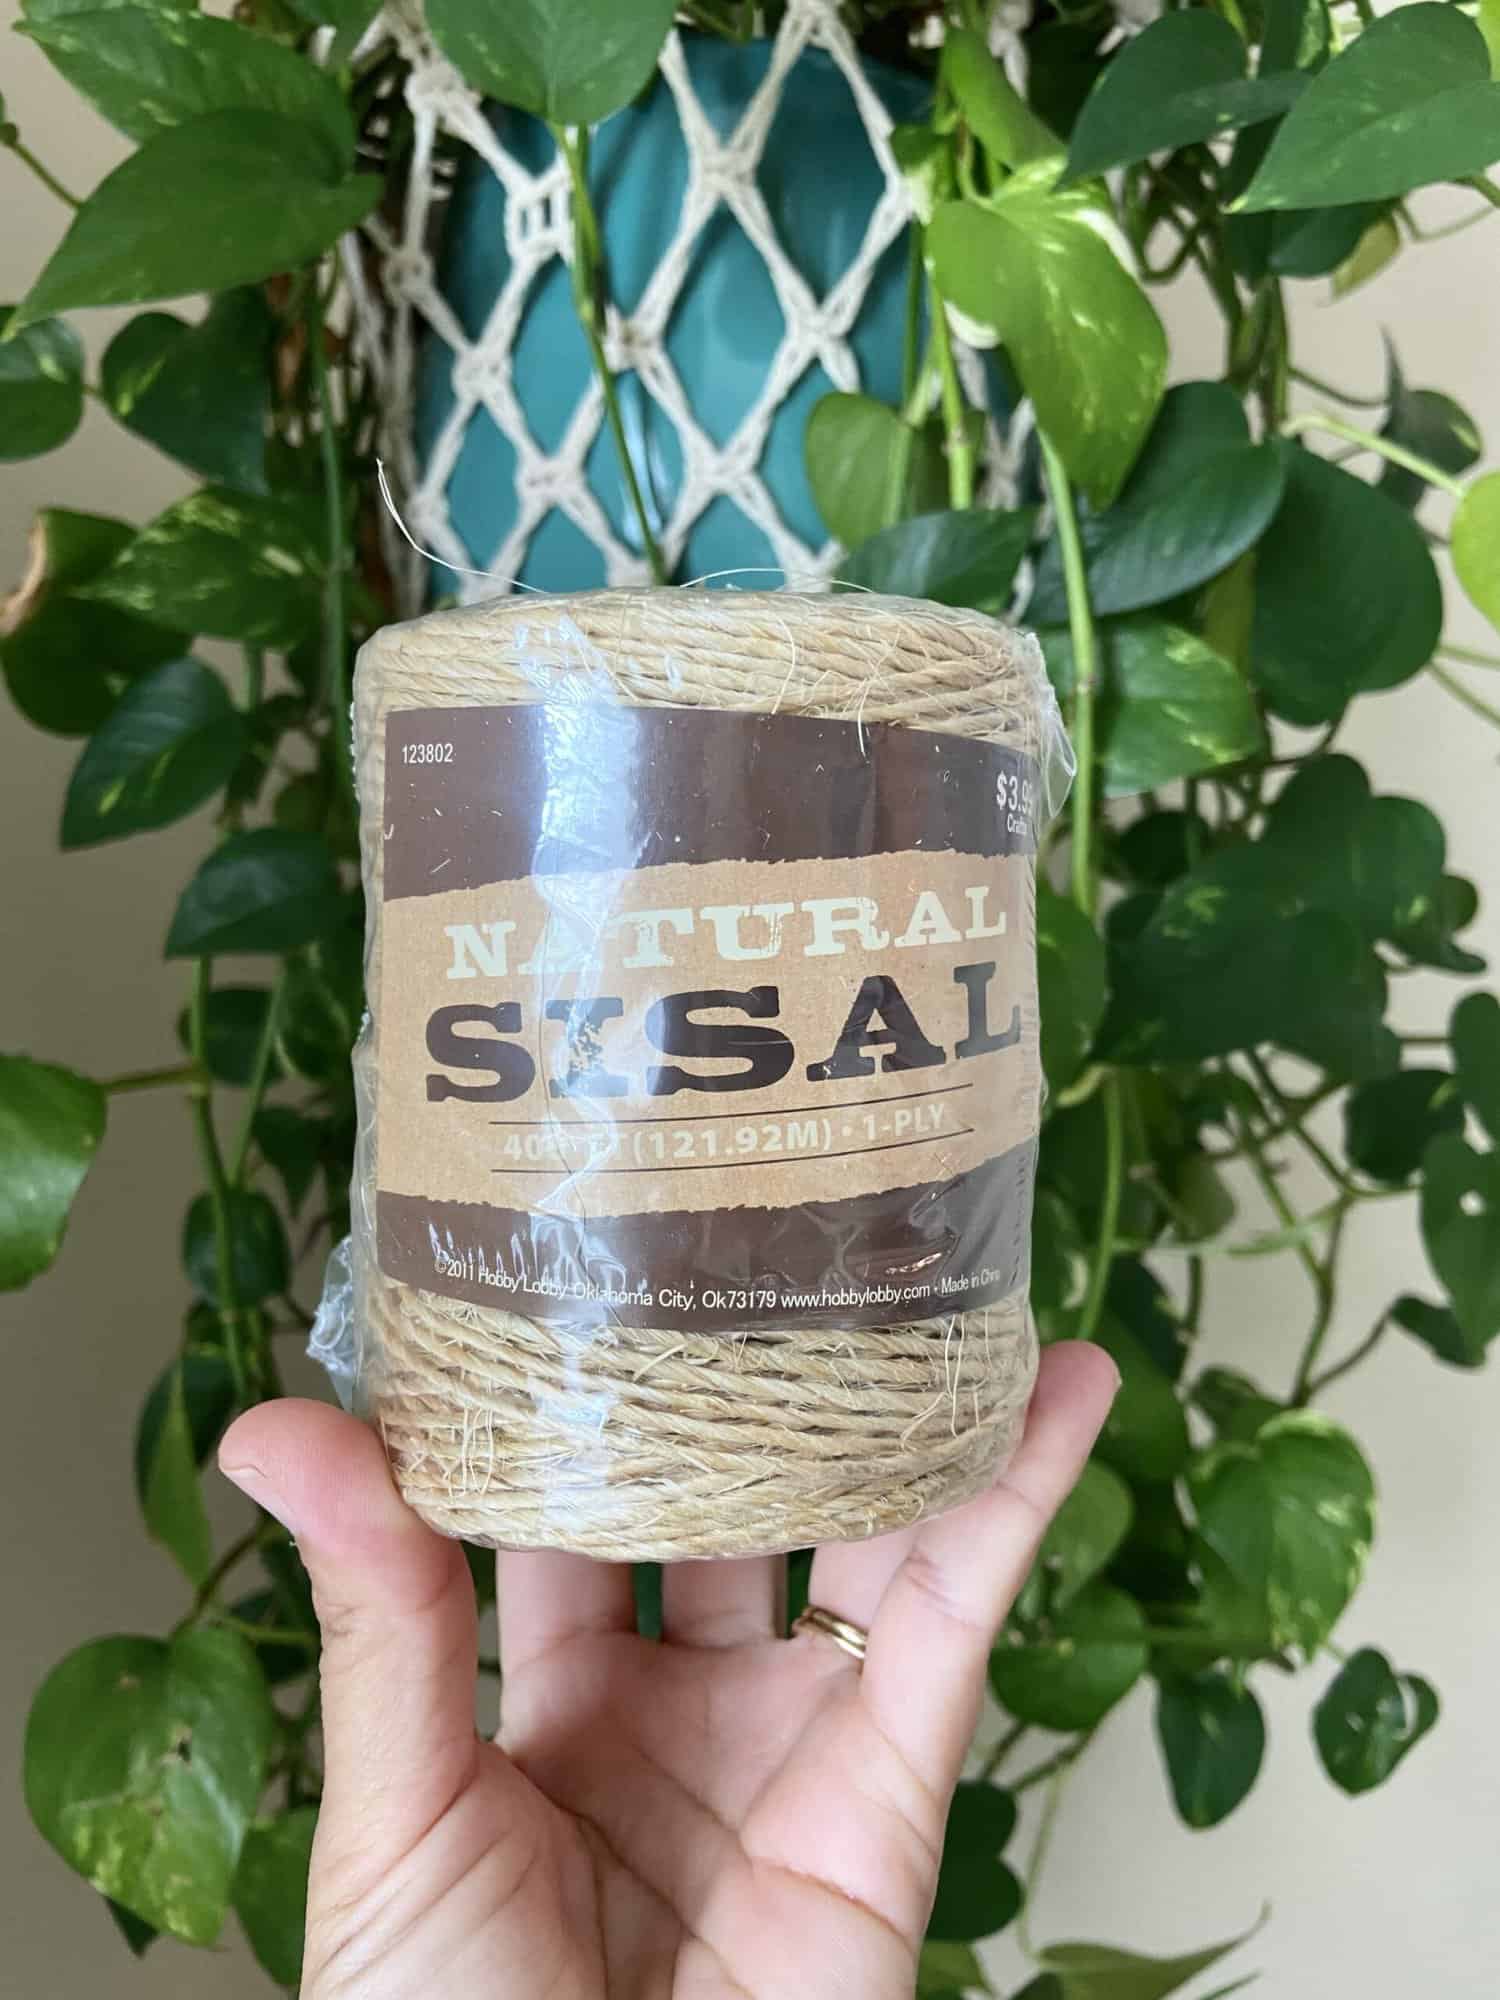
- String (We used natural sisal. It gives it a beachier look)
- Hot glue gun
- Scissors
- Ruler or measuring tape
- Drill (if you want to drill holes in your shells)
- OPTIONAL; colorful beads, Seaglass, shark’s teeth.
Instructions:
- Collect driftwood and seashells of various sizes and shapes.
- Cut strings to varying lengths, depending on the size and shape of the driftwood and seashells. We alternated the length of our strings.
- Choose your seashells. You can get as creative as you want. We decided we wanted it to look cohesive, so we chose multiple shells that matched and alternated them.
- Sand your driftwood (totally optional) for a beachier look. If you don’t have a sander, parents, you can use a knife to shave the top layer of wood off.
- Drill small holes into each end of the driftwood.
- Thread string through holes and tie a knot at each end. You can create this piece as long or as short as you want. This will be the part that you hang.
- Now to decorating! We chose to drill a small hole into each shell and thread the string through. The easiest way to do this, is to apply hot glue to the back of each seashell and glue it to the string. You cna leave as much space between each shell as you would like.
- Repeat steps 6 with the remaining seashells and strings, spacing them evenly along the driftwood.
- Use hot glue to secure the knots and any loose strings.
- Hang the wind chime in a location where it will receive gentle breezes, such as a porch or tree branch.
Tips:
- Experiment with different lengths and combinations of string and shells to create a unique and personalized wind chime.
- If you have trouble finding driftwood, you can use other types of wood, such as bamboo or branches.
- To make your wind chime extra special, you can paint or decorate the driftwood or shells before assembling.
Creating a wind chime from driftwood, seashells, string, and hot glue is a fun and simple project that can be completed in a few hours. It’s a great way to upcycle materials and bring a touch of nature into your home. The resulting wind chime will be a beautiful and unique decoration that you can enjoy for years to come.


SEASHELL EDUCATIONAL CARDS
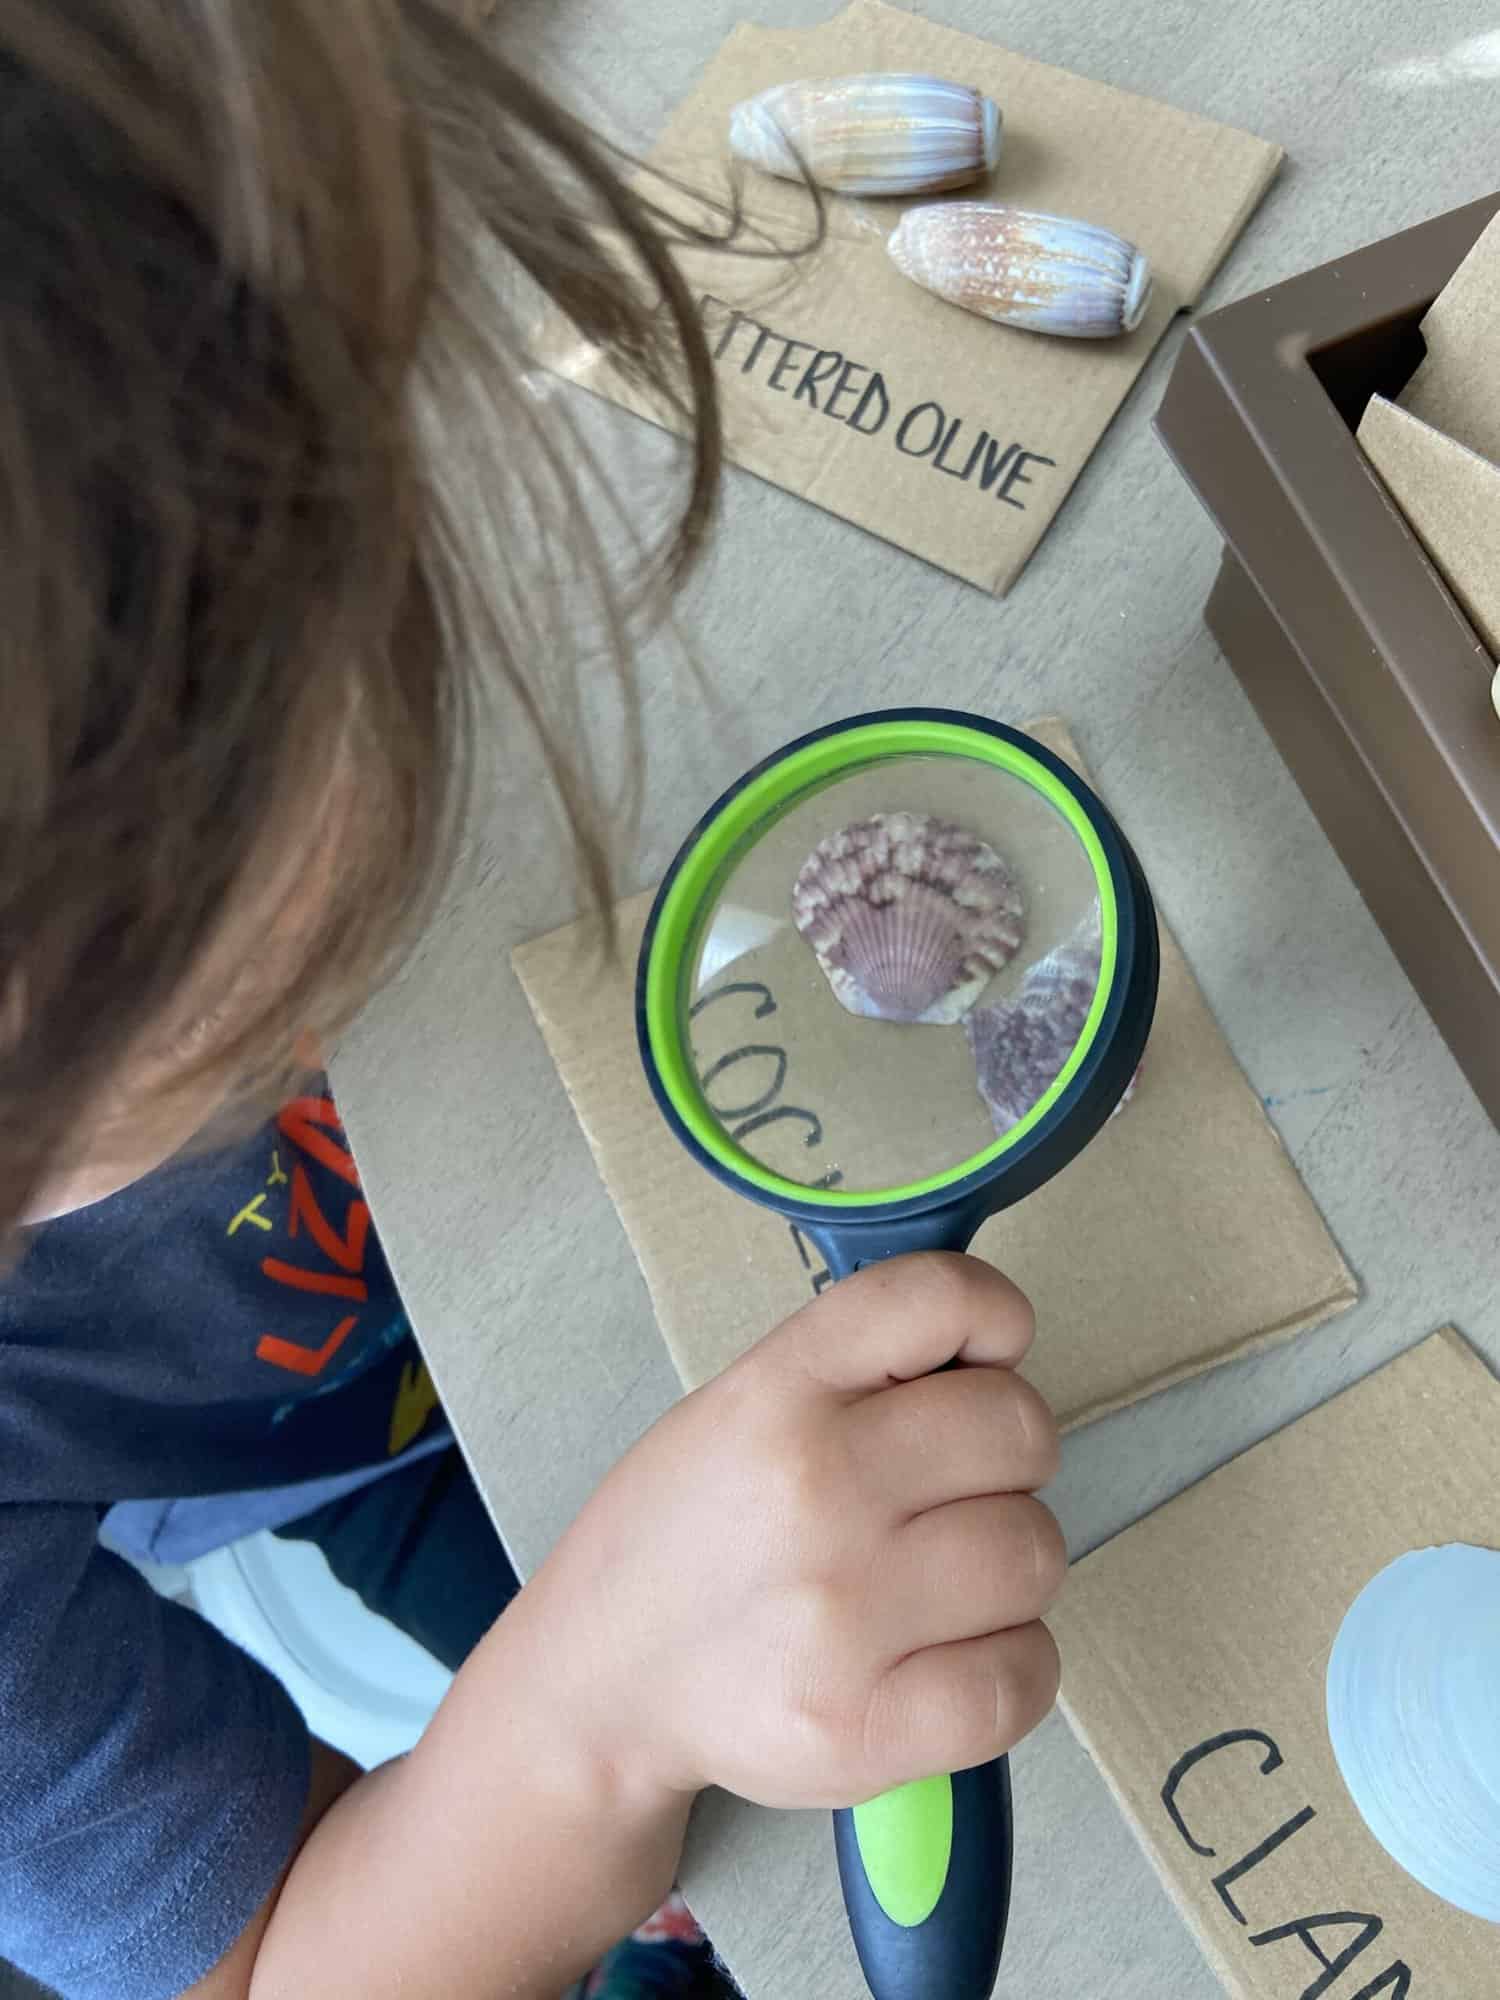
Seashells are fascinating natural wonders that have captivated people for centuries. They come in a variety of shapes, sizes, and colors, and each one has a unique story to tell. To help children and students learn about these fascinating creatures, educational cards made about seashells can be a valuable tool. This section of the article will guide you through the process of creating your own set of seashell educational cards.

Materials:
- Seashell specimens
- Heavy cardstock or paper
- Ruler or measuring tape
- Scissors
- Markers or colored pencils
- hot glue gun
Instructions:
- Collect a variety of seashell specimens. Make sure to choose shells that are different in size, shape, and color.
- Cut heavy cardstock or paper into 3 x 5 inch rectangles. We used an old shoe box. You can make as many cards as you have shells.
- Hot glue your seashell to the cardstock.
- Write the name of the seashell on the front of the card, along with any other information you wish to include, such as the location where it was found, its scientific name, or interesting facts about the species.
- On the back of the card, write more in-depth information about the seashell, including its habitat, diet, and behavior.
- Organize them in a binder or box for easy access.
Tips:
- You can also include images or diagrams of the seashell’s anatomy or life cycle to enhance the educational value of the cards.
- To make the cards more durable, you can laminate them or cover them with clear contact paper.
- Consider adding quizzes or games to the cards to encourage students to actively engage with the information and retain it better.
Seashell educational cards are a great way to help children and students learn about these fascinating creatures and the important role they play in our ecosystem. The process of creating the cards is simple, yet educational and fun, and the end result is a valuable tool for learning and discovery. So go ahead and make your own set of seashell educational cards today!
SEASHELL PICTURE FRAMES

Decorating picture frames with seashells is a fun and easy way to add a touch of the beach to your home decor. This project is perfect for anyone looking to add a personal touch to their frames and create a unique piece of home decor. They make the perfect gift too!
Materials:
- Picture frame(s)
- Seashells (in a variety of sizes and shapes)
- Hot glue gun and hot glue sticks
- Scissors or wire cutters
- Optional: decorative ribbon, beads, or other embellishments

Instructions:
- Choose your frame. Select a picture frame that fits the style of your home decor and the size of the photo you want to display. You can use a single frame or multiple frames for a more dramatic display.
- Gather your seashells. Collect a variety of seashells from your local beach or craft store. Make sure to choose shells that are similar in size and color to create a cohesive look.
- Preparing the frame. Remove the glass, picture, and backing from the frame. Clean the frame thoroughly to remove any dirt or dust. If desired, wrap the frame with decorative ribbon or paint it to match the seashells you have chosen.
- Attaching the seashells. Begin by hot gluing the largest shells first, starting at one corner and working your way around the frame. Make sure to apply enough hot glue to securely hold each shell in place.
- Filling in the gaps as you add more shells, fill in any gaps with smaller shells or embellishments of your choice. You can also mix and match different sizes and shapes of shells for a more interesting and unique design. We added some awesome shark’s teeth, Seaglass, and coral reef to ours.
- Finishing touches. When all the gaps are filled and you are happy with the overall look of your frame, it’s time to add any final embellishments such as decorative ribbon or beads.
- Reassemble the frame. Replace the glass, picture, and backing into the frame, making sure to secure it tightly in place.
And that’s it! Your seashell-decorated picture frame is now ready to display. You can also use this technique to decorate other items, such as mirrors or picture frames made from other materials, such as wood or metal. The possibilities are endless!
Adding seashells to picture frames is a simple and creative project that can add a touch of the beach to any room in your home. Whether you use a single frame or multiple frames, this project is a great way to display your favorite memories while bringing the beauty of the ocean into your home. We created these as Christmas gifts for families this past holiday and our families loved them. Nothing feels more personable than a personalized, DIY gift.
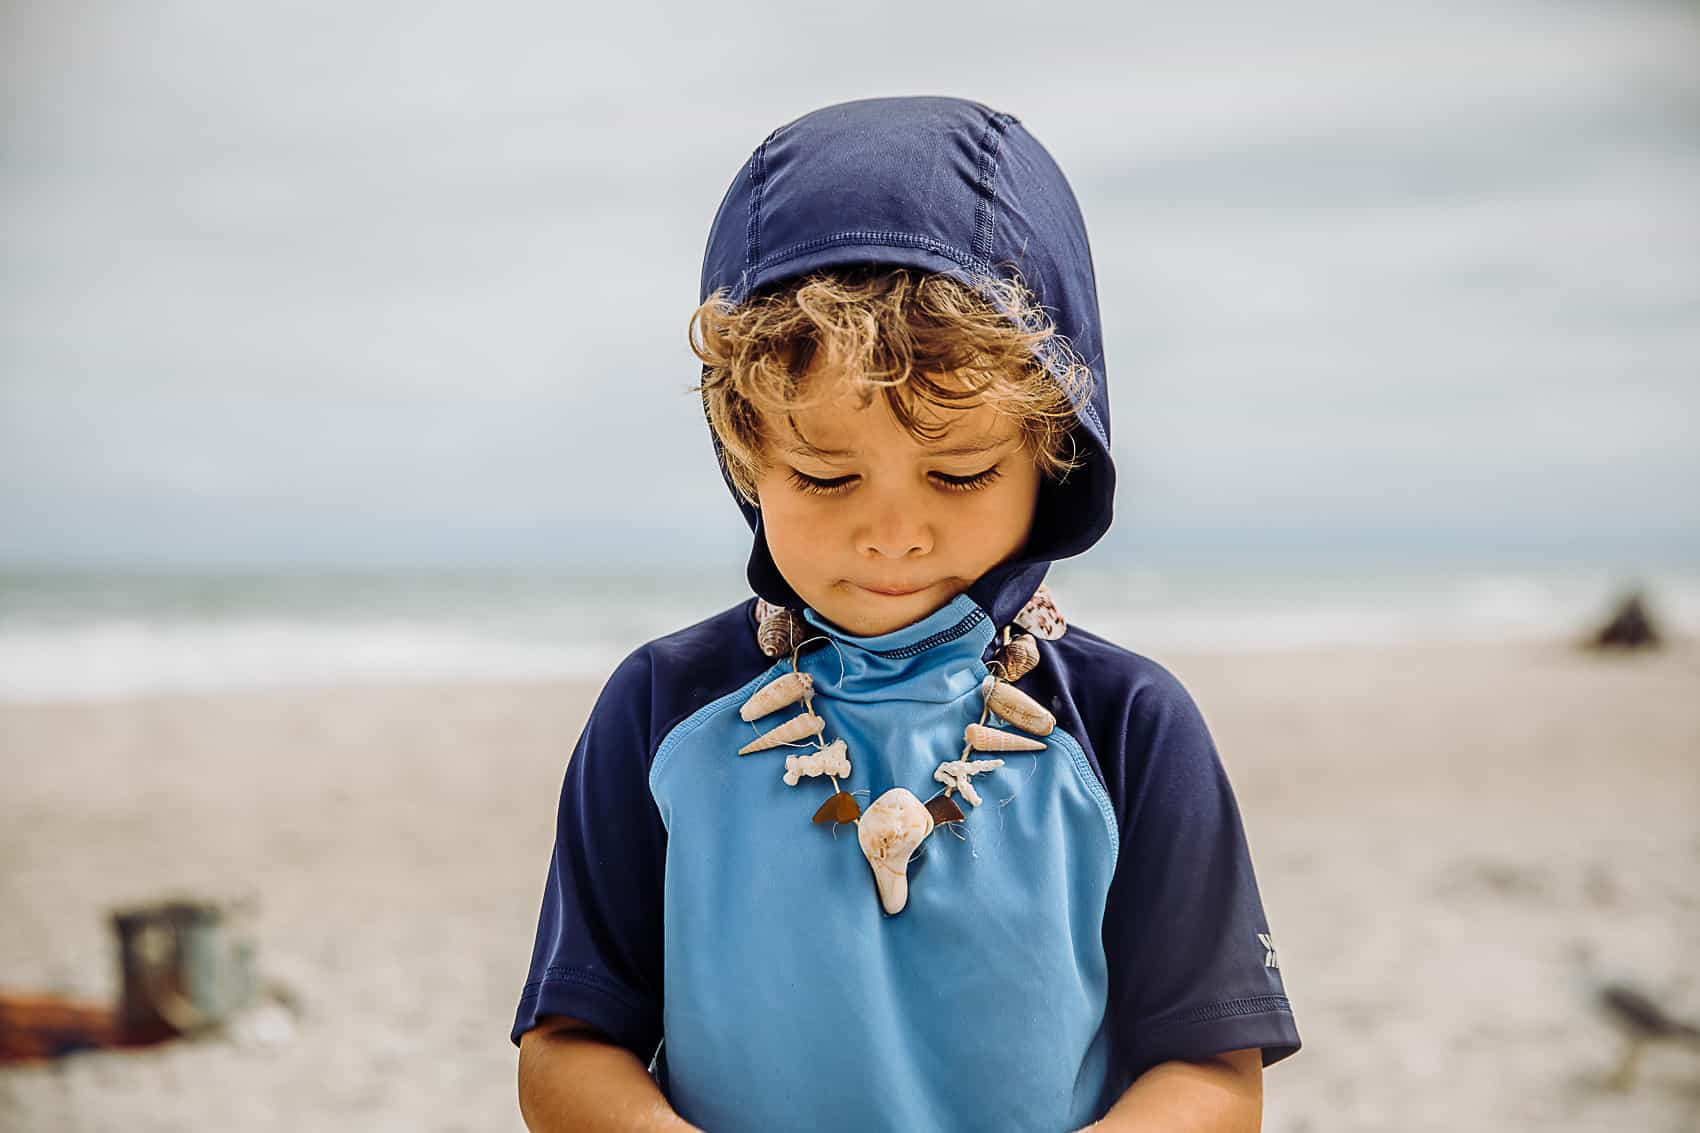
MERMAID CROWN AND AQUABOY NECKLACE
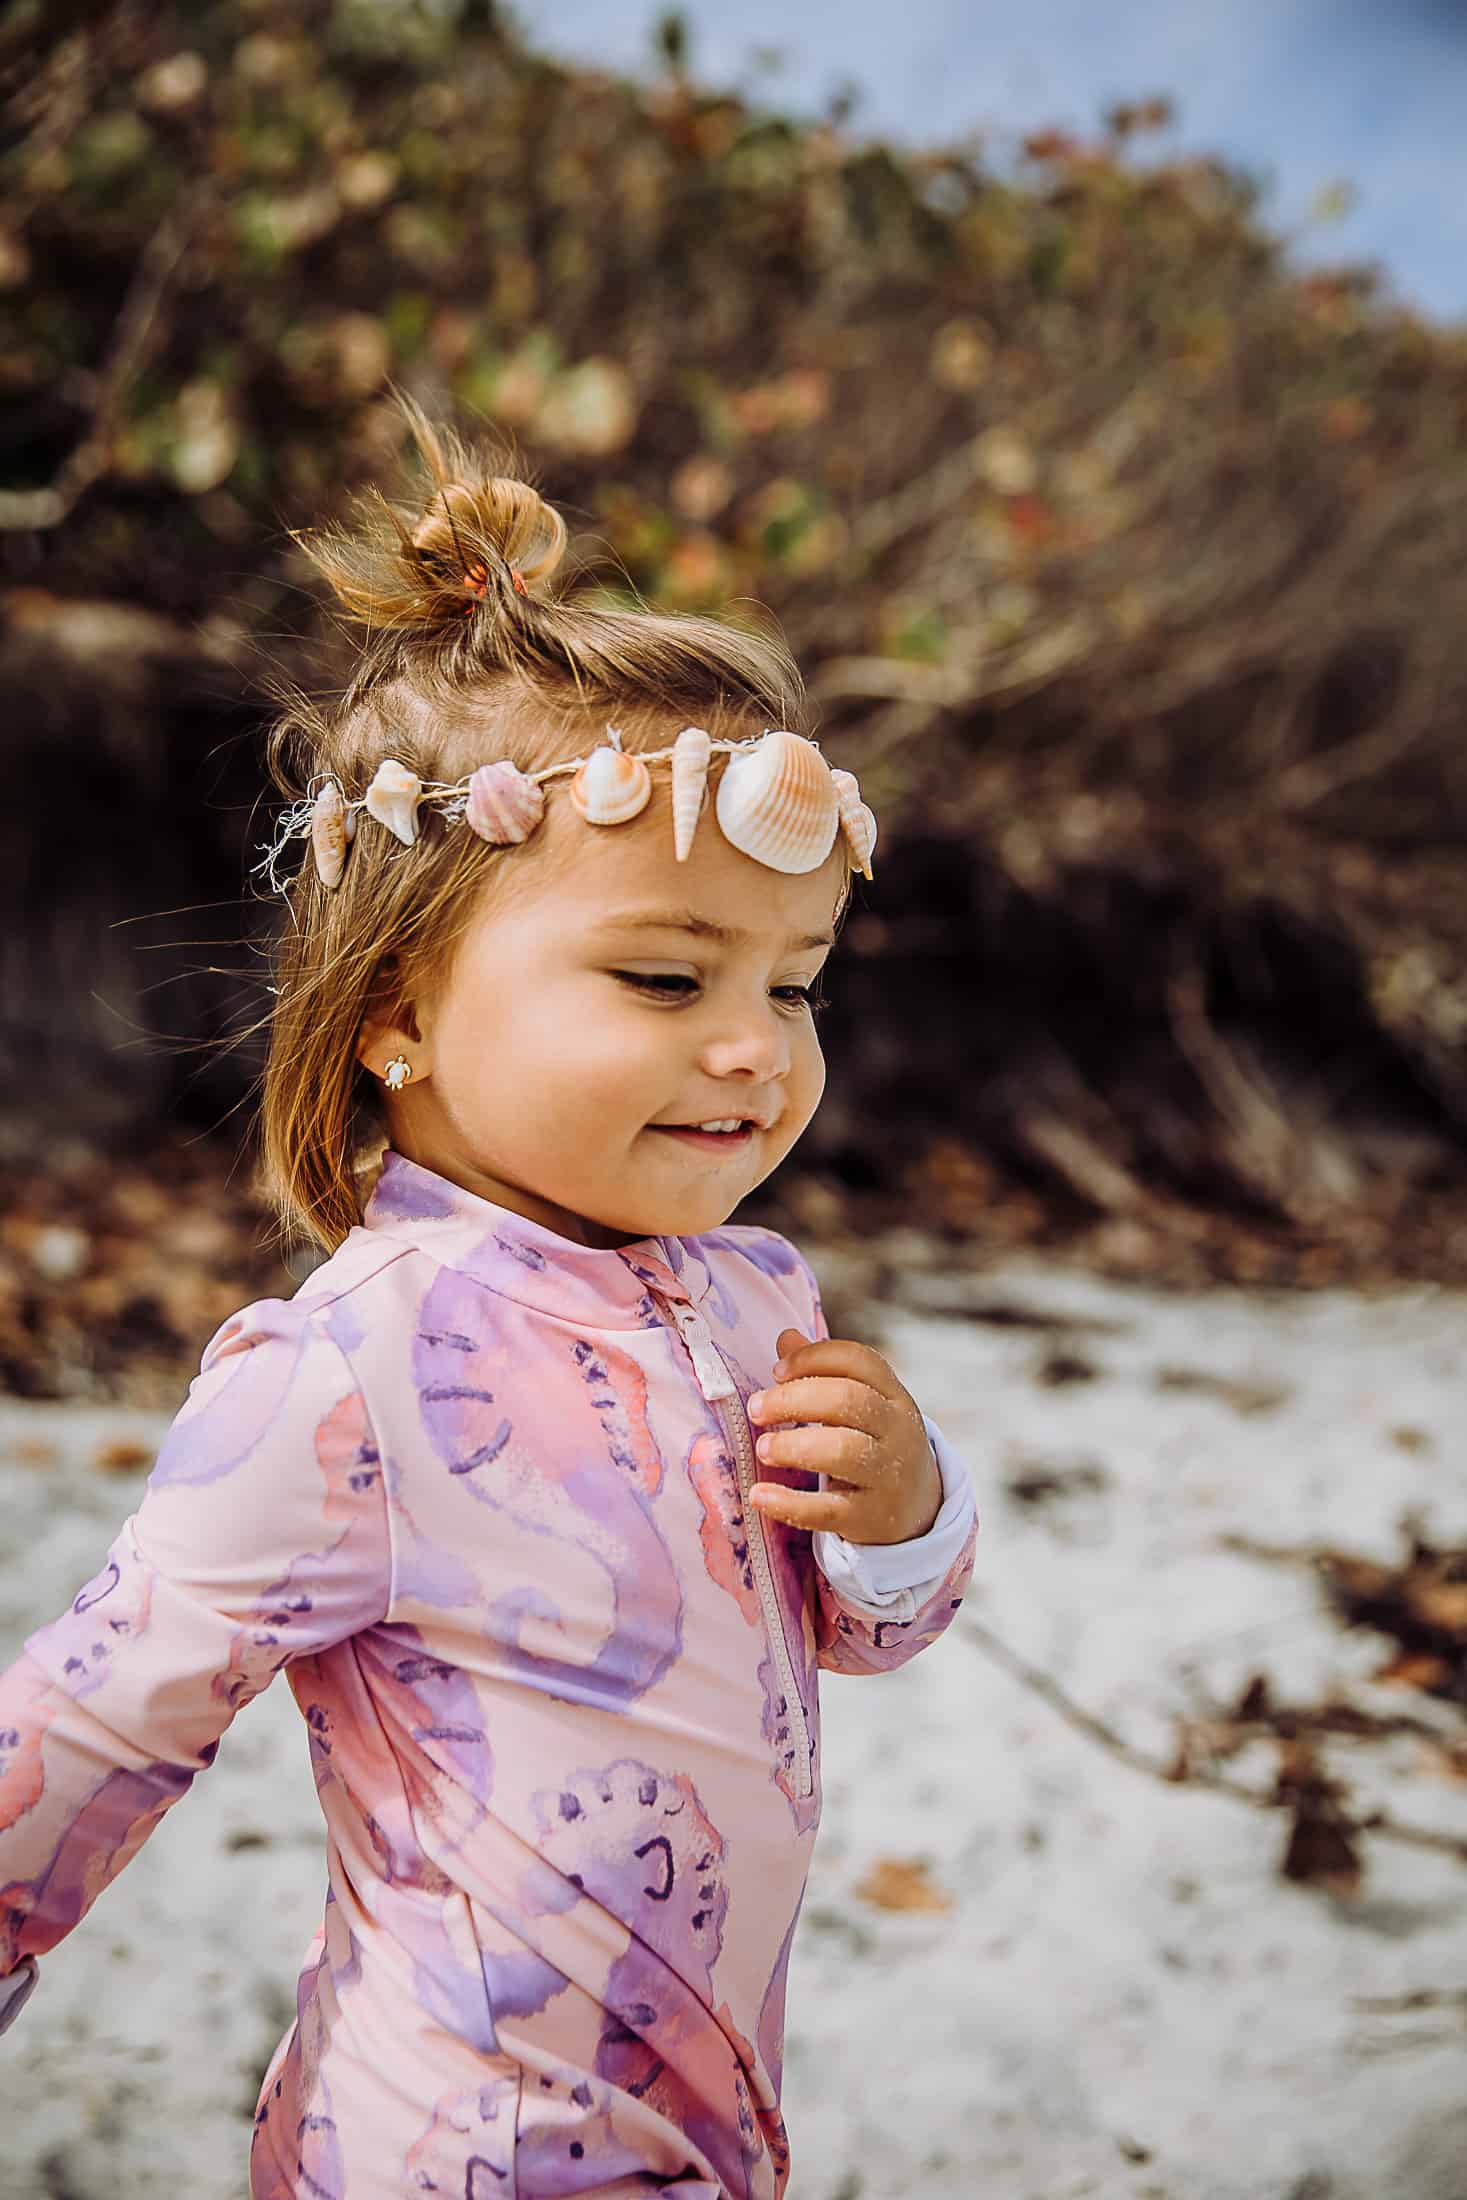

A seashell crown or seashell necklace is a beautiful and unique accessory that can be worn on special occasions or simply as a fun, summery addition to an outfit. Creating a crown using seashells is a simple and creative project that can be completed in just a few hours and with a few basic materials.
Materials:
- Seashells
- Hot glue gun
- Scissors
- String, floral wire or headband
Instructions:
- Gather your seashells. Collect a variety of seashells from your local beach or craft store. Make sure to choose shells that are similar in size and color to create a cohesive look.
- Preparing your base. If using a headband, wrap it with ribbon to match your seashells and hot glue it in place. If using a wire wreath form, bend the wire into a circular shape to fit your head comfortably and cut off any excess wire.
- Attaching the seashells. Begin by hot gluing the largest shells first, starting at the front and working your way around to the back. Make sure to apply enough hot glue to securely hold each shell in place.
- Filling in the gaps As you add more shells, fill in any gaps with smaller shells or embellishments of your choice. You can also mix and match different sizes and shapes of shells for a more interesting and unique design.
- Finishing touches. When all the gaps are filled and you are happy with the overall look of your crown, it’s time to add any final embellishments such as decorative ribbon or beads.
- And that’s it! Your seashell crown is now ready to wear. You can personalize it further by adding feathers, beads, or even artificial flowers to match your outfit or occasion. Making a seashell crown is a fun and creative project that can be done by anyone, regardless of skill level. It’s also a great way to bring a touch of the beach to any outfit, making you feel like a true mermaid or Aquaboy!
There are countless crafts you can make with your kids using seashells. You can paint them, make personalized greeting cards with them, glue them to cups and make pencil holders or plant pots, even make one-of-a-kind jewelry! They provide hours of engagement, creativity and hands on learning! Happy seashell crafting!

The post Seashell Crafts for Kids appeared first on RUN WILD MY CHILD.