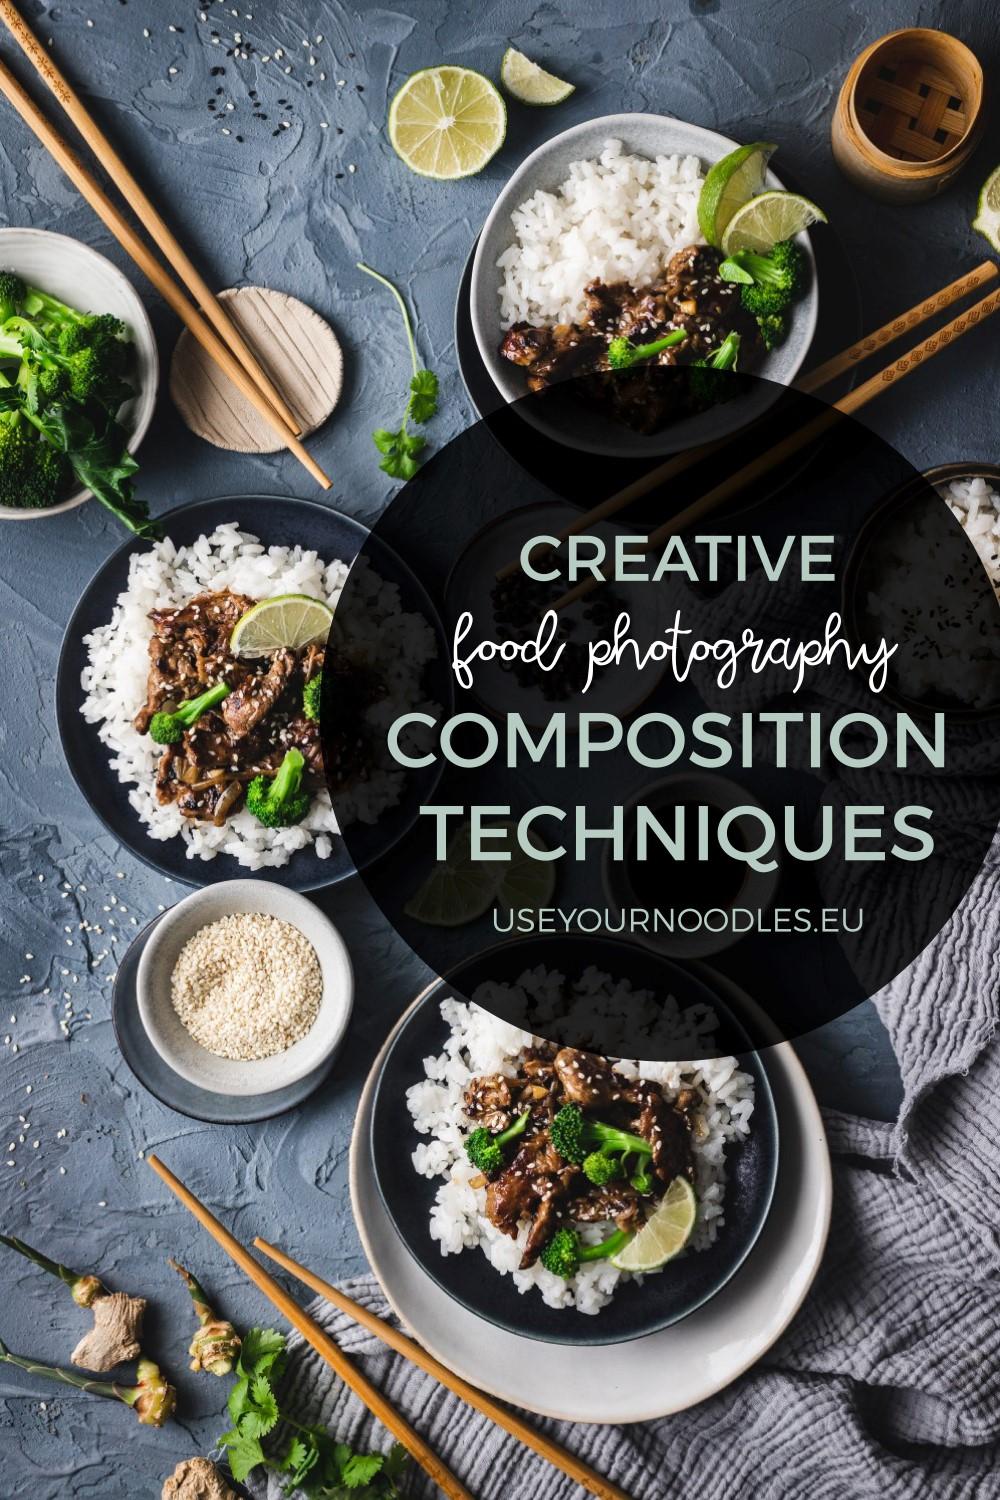
With these nine food photography composition techniques youll be able to add an extra zing to your photos.

Im sure youve heard of the rule of thirds, golden ratio or others. We are not going to talk about them today. Today its all about forgetting the grid. Well, not forgetting but rather focus on other powerful food photography composition techniques that add something extra to your food photos.
While you still want to keep those grids in the back of your mind, I want you to focus on details. Here are a few composition techniques that will add interest to your photos and help you bring your delicious dish to life.
Diagonals and movement
This is probably a #1 mistake I see with new food photographers (hello, I was there too). We were taught to place things parallel to the table or any edge. Your mom probably didnt say: Make your bed and make sure the lines are diagonal or did she? Probably not. Were used to placing things straight, which is great in real life because this means order and cleanliness and we love to have a tidy (or at least a tidy looking) home.
But when it comes to food photography using only parallel lines is usually very boring and doesnt create interest or dynamic.
On the other hand use of diagonals can be a really effective composition technique, since diagonals create movement and dynamic tension.
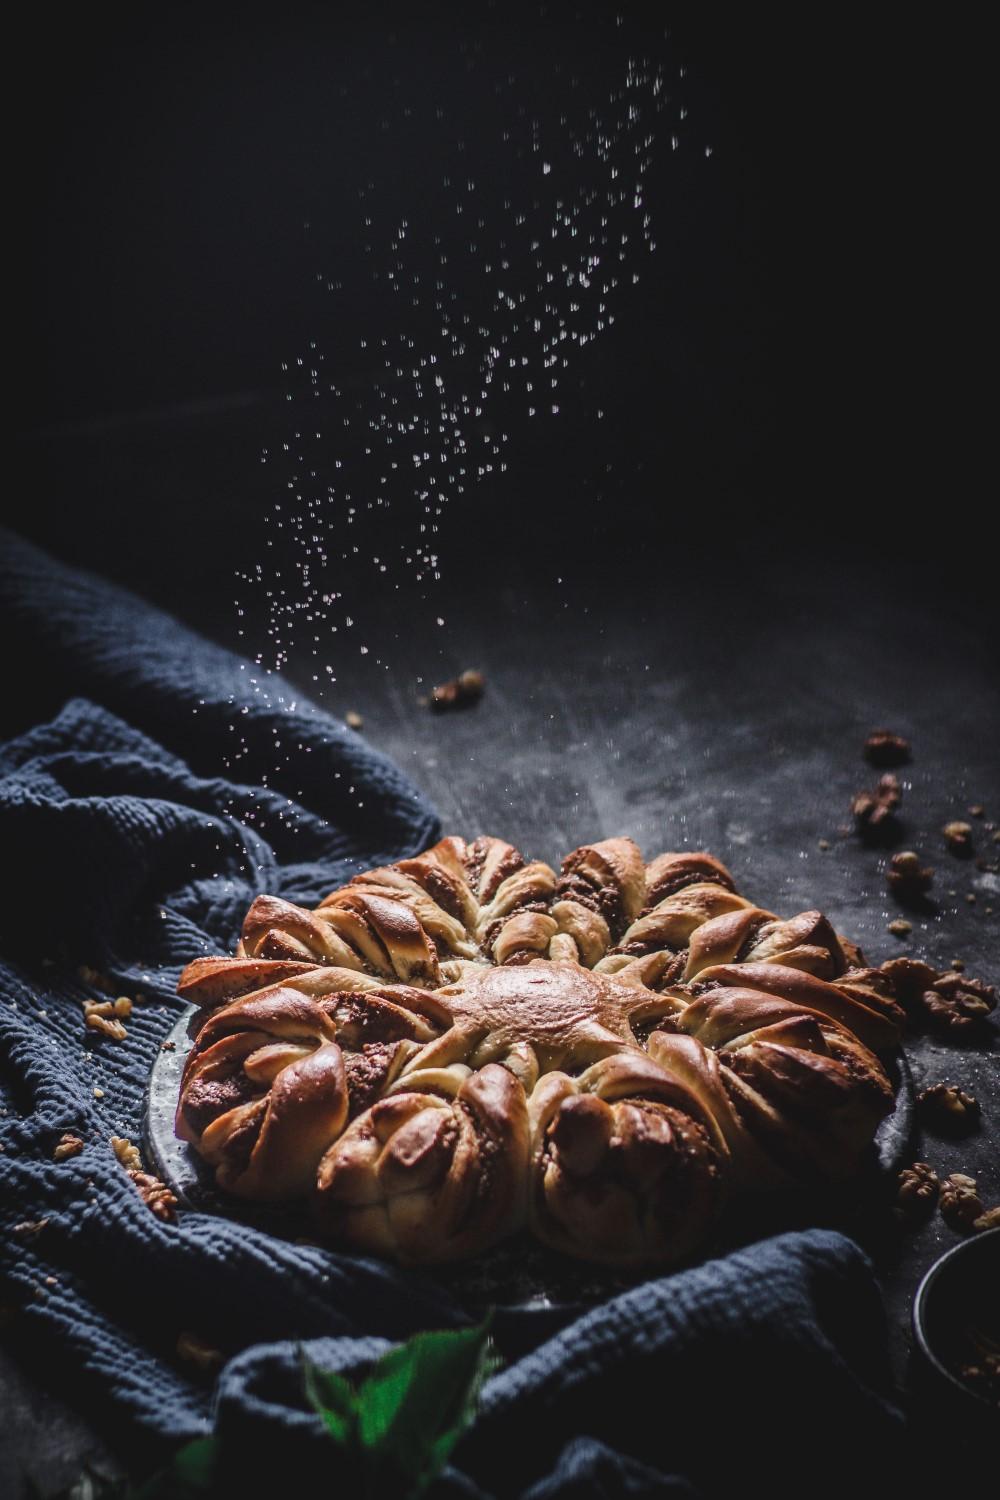
In the photo below you can see how I used two different diagonals. The napkin is placed diagonally and the dusting of sugar is following the other diagonal.
Negative space
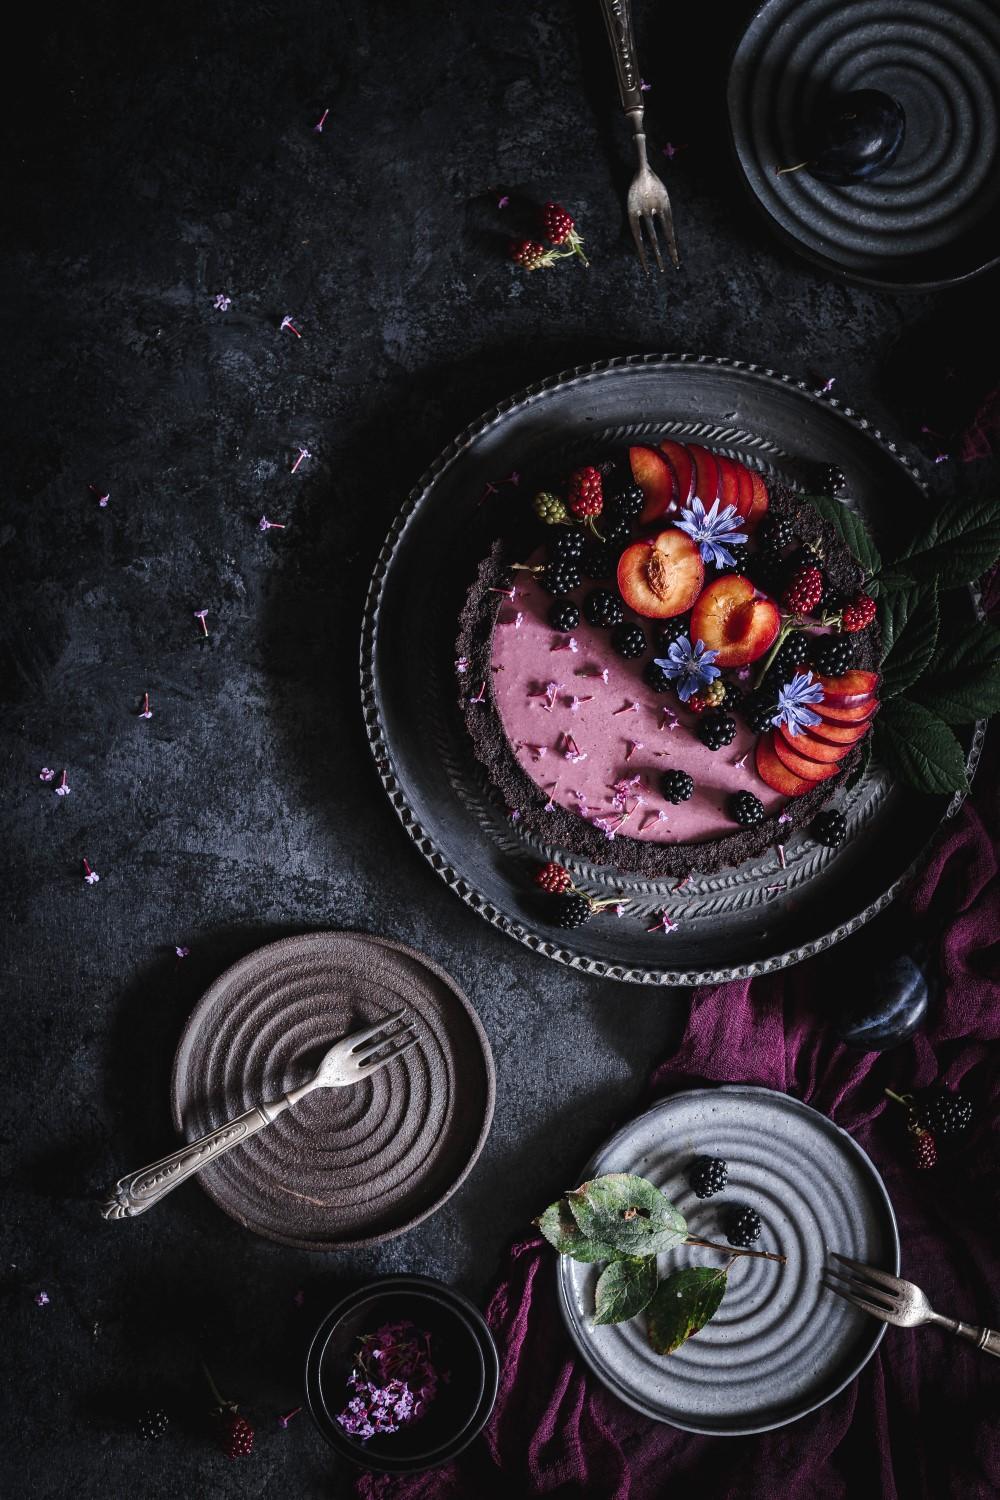
Using space, that isnt crowded with props is another great composition technique. If used wisely it can lead the viewers eye straight to the main subject. It adds harmony to an image and gives a sense of cleanliness and simplicity.
Negative space is not only a plain backdrop, but it can also be a part of the image where the props are very neutral or of a color thats not distracting from the food but rather emphasizes it.
The great thing about negative space is that it creates a clean space for adding a copy.
This is the number one composition technique that I suggest new food photographers use. When I started out, I had almost no props that would actually be fit for food photography. I had things I used in real life and those are not always great in food photos.
By eliminating or using fewer props you can really focus on the dish itself without being distracted by the props that dont really look good.
Go off-center
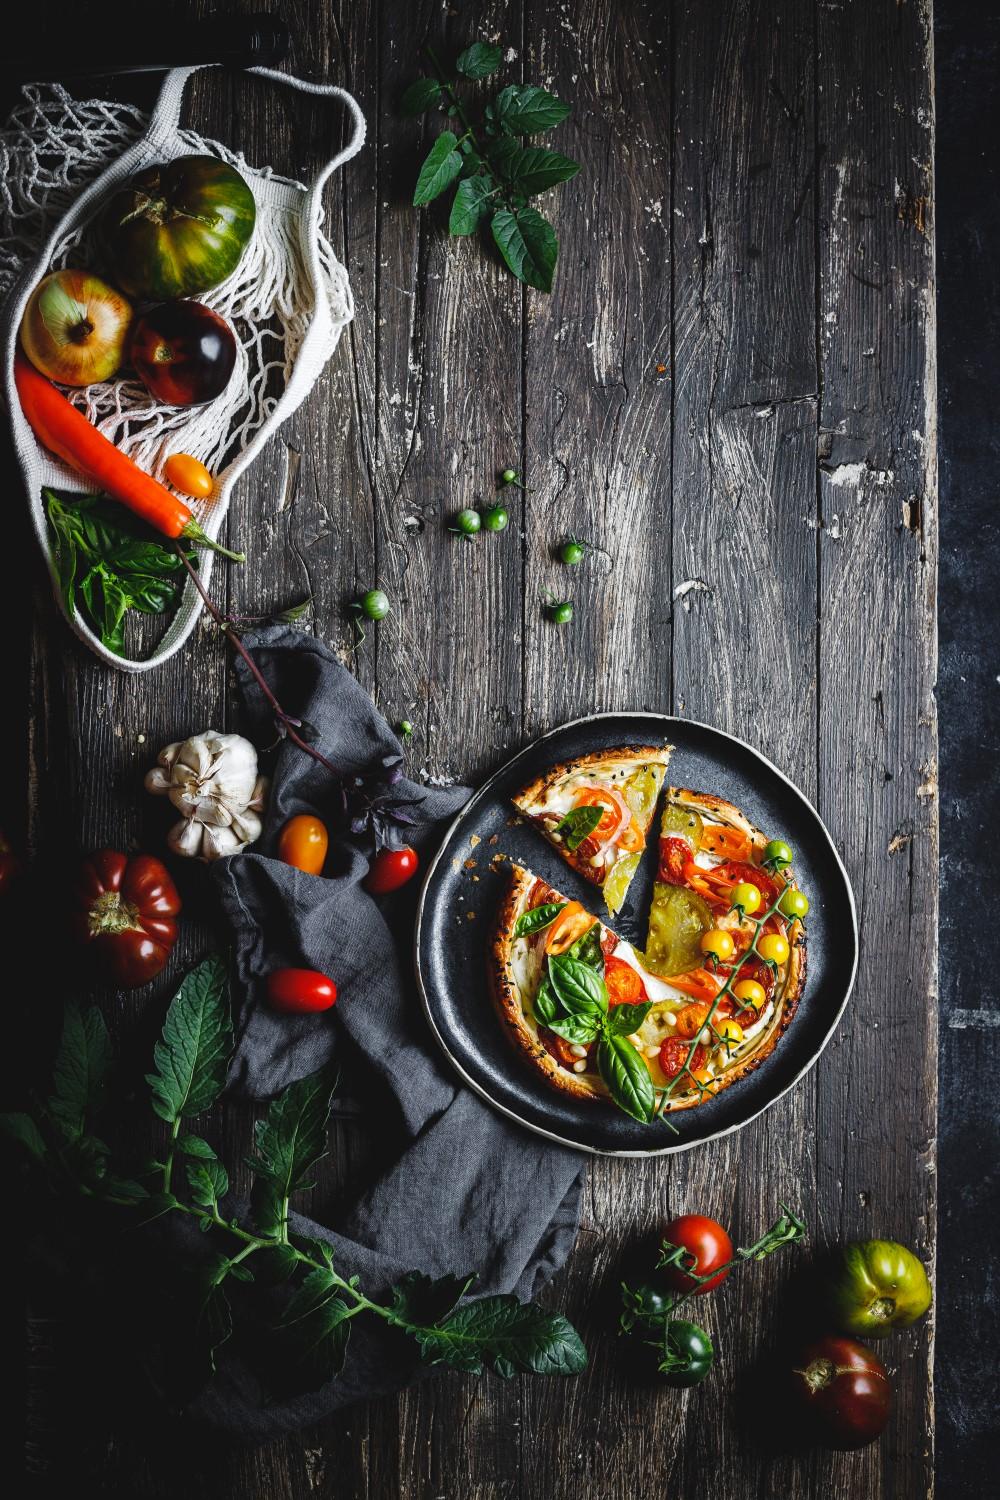
When you take a photo of someone, where inside the frame do you place that person? Was your answer in the middle? Yeah, we all do that. Its natural to do that. But it doesnt always make the biggest impact when we look at a photo like that, does it?
The same goes for food photography. Placing the subject in the center can be powerful when you know what youre doing, but most of the time placing it off-center will lead the viewers eye around the image and to that main subject placed off-center.
Lines
Lines are a powerful technique of placing objects in the frame in such a way that they lead the viewers eye towards the main subject.
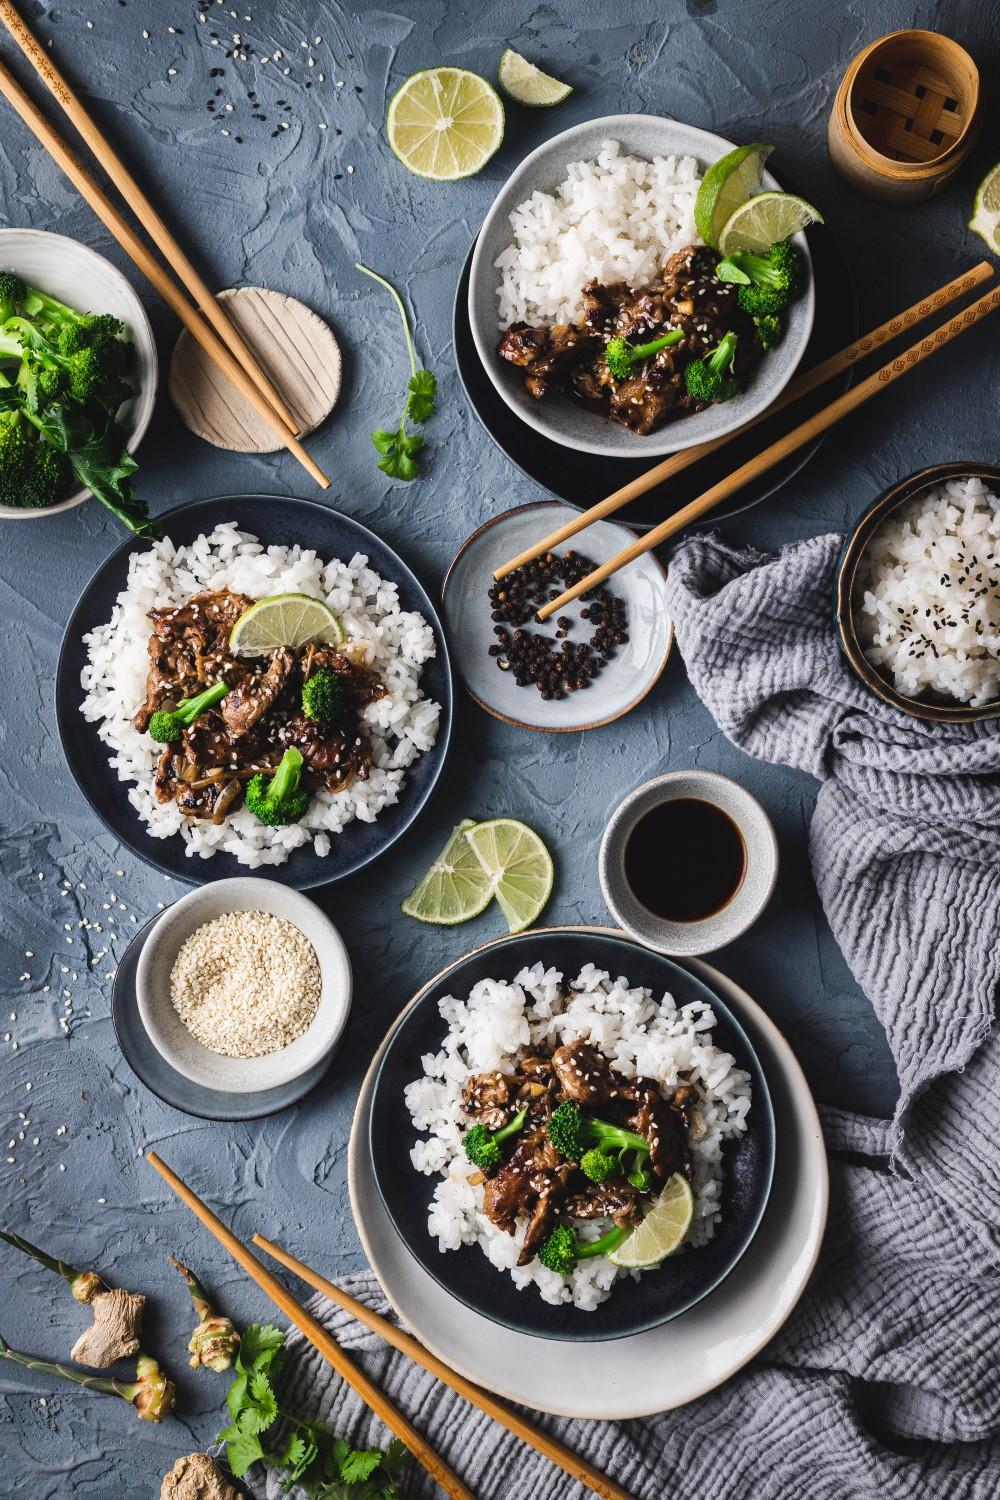
As in the photo below. There are chopsticks leading to the bowl on the left, the napkin is placed so that it creates a line leading to that plate. The rice and meat in the top right plate are styled so that they form a line in the middle. And this line is leading towards the main subject the plate on the left.
One word of caution. I never set all the lines in a photo to lead towards the main subject. This would inevitably end up looking fake and unnatural.
Layers
This is my favorite composition technique when I want to tell a story. It allows you to add multiple props or layers of food that work cohesively together and tell a story about food. The great thing about layers is that they add texture to a photo. Using layers works miracles with flat foods, that dont have a very distinct texture.
Layers can be anything. A backdrop, fabric, props, the food itself when it creates a nice texture and so on.
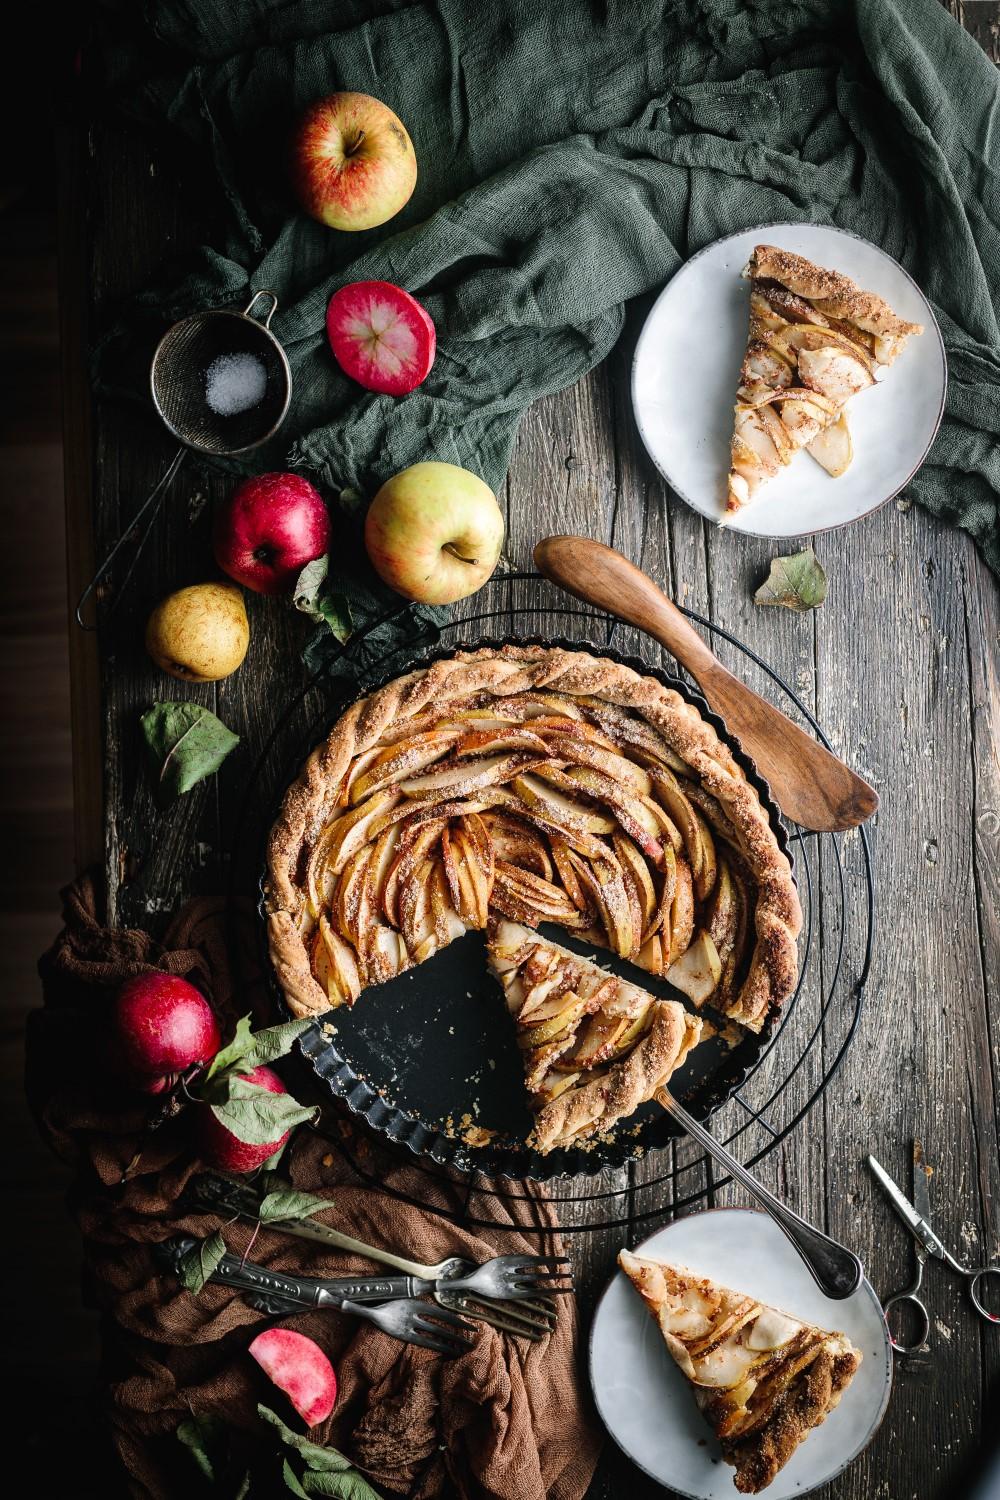
In the photo below you can see a few layers. Theres a wooden backdrop with lots of texture, two pieces of gauze napkins, a cooling rack, a pie pan, the pie itself and extra sugar on top. All these layers add another dimension and texture to the photo. However, they are not distracting since they are neutral in regards to the main subject the pie.
Framing
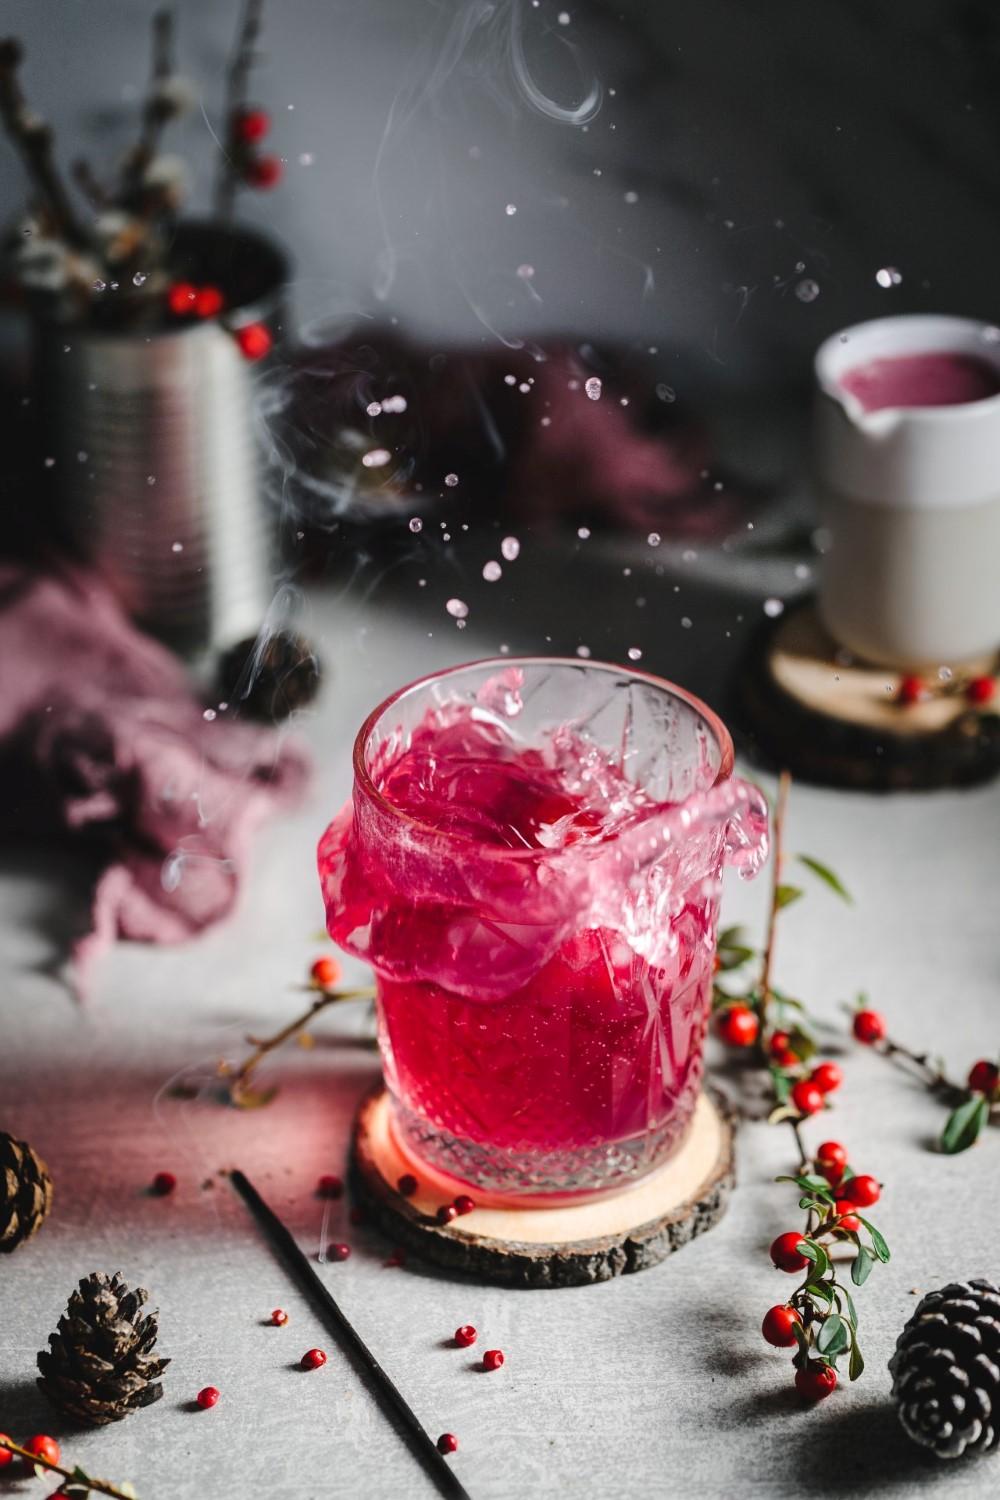
Framing is a very simple concept. It literally means creating a frame around your subject so it creates a visual frame and leads the eye towards the main subject inside that frame.
Framing is very useful for dishes where it is not clearly visible what is in the dish. By placing the ingredients around to form a frame they let the viewer know whats inside a dish and at the same time show where the hero of the image is.
It is also great for storytelling since the objects around your main subjects can tell a story of that dish while still emphasizing the main subject instead of distracting from it.
Repeat patterns
Patterns are one of the most if not the most graphical food photography composition technique of them all, especially when all the elements in the frame are the same.
Repeat patterns can be simply repeating objects of the same shape, like round objects or long objects.
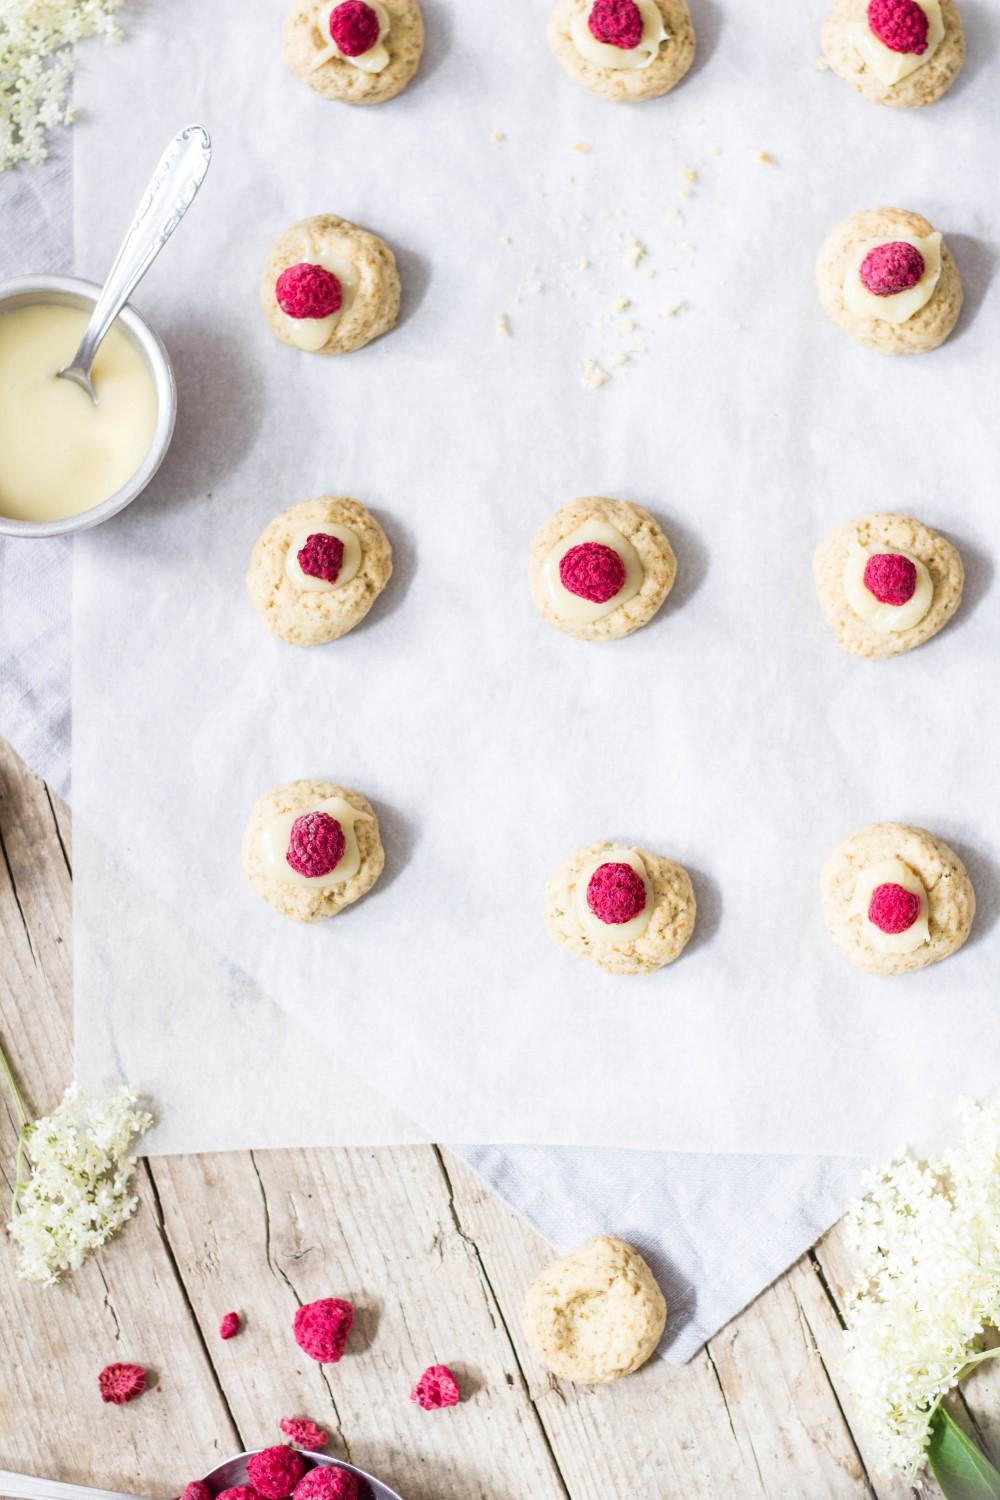
Another powerful way to use patterns is to add something unexpected to the image. Like in the image below. Theres a cookie missing. This is breaking the pattern and adds interest to the image. It makes the viewer wonder where did it go. Did someone eat it?
Foreground
One of my favorite storytelling composition techniques.
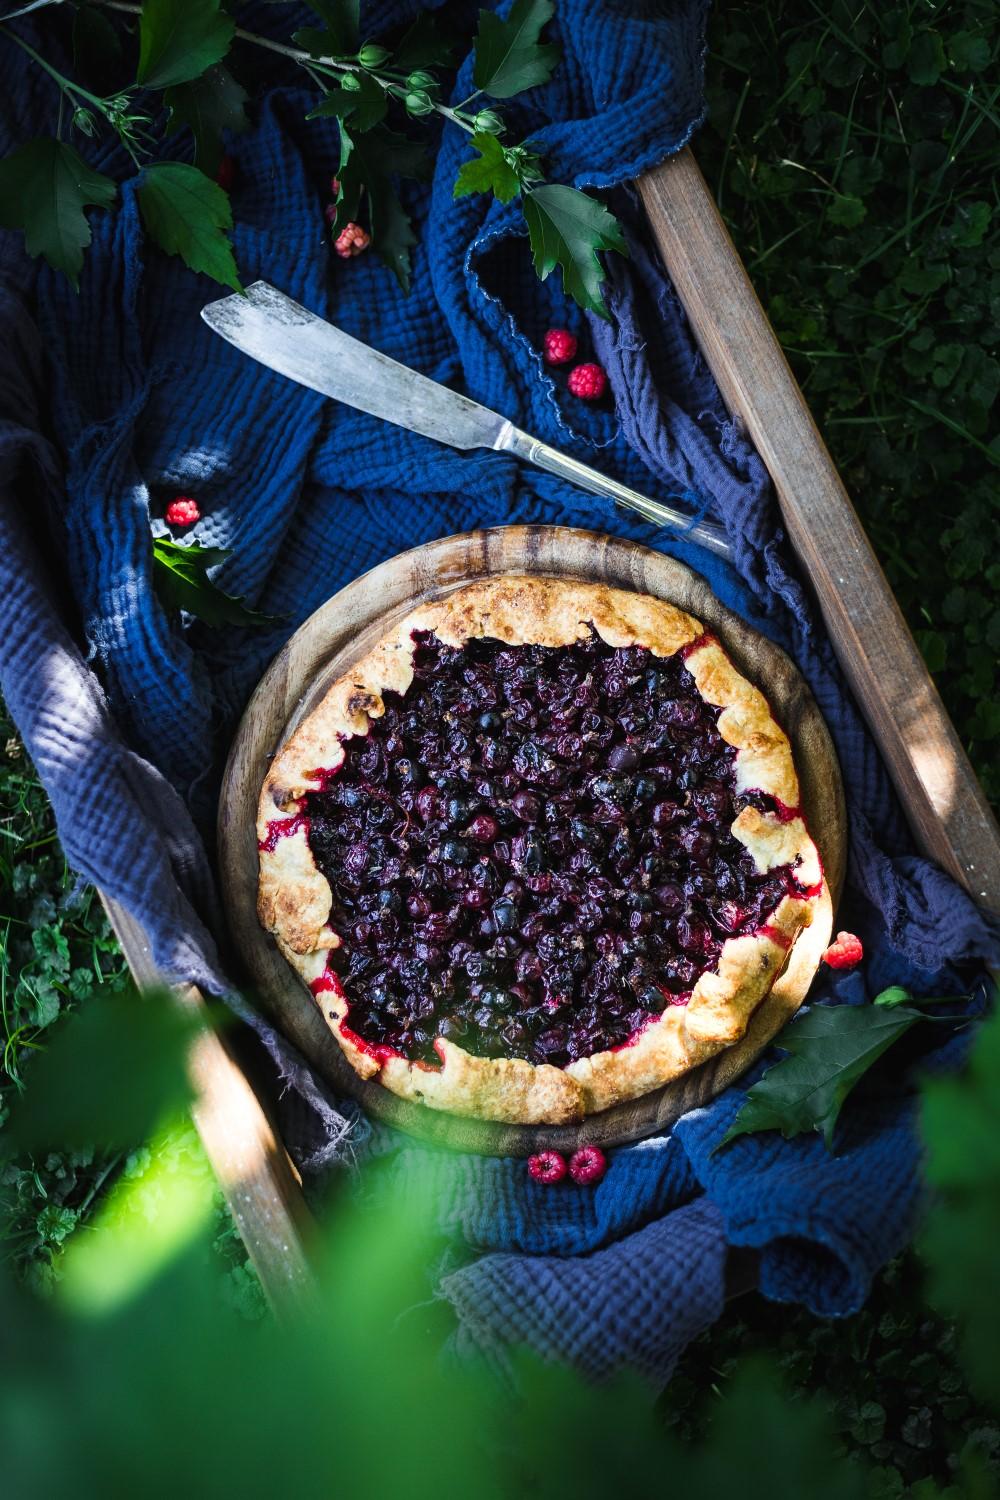
The foreground is the part of the image that is closer to the camera as the main subject. While it is normal to use the space in front of the subject it is less usual to extend the foreground to the point where it looks like theres an object very far away from the main subject.
This technique adds a sense of space and depth to an image.
Mixing shapes
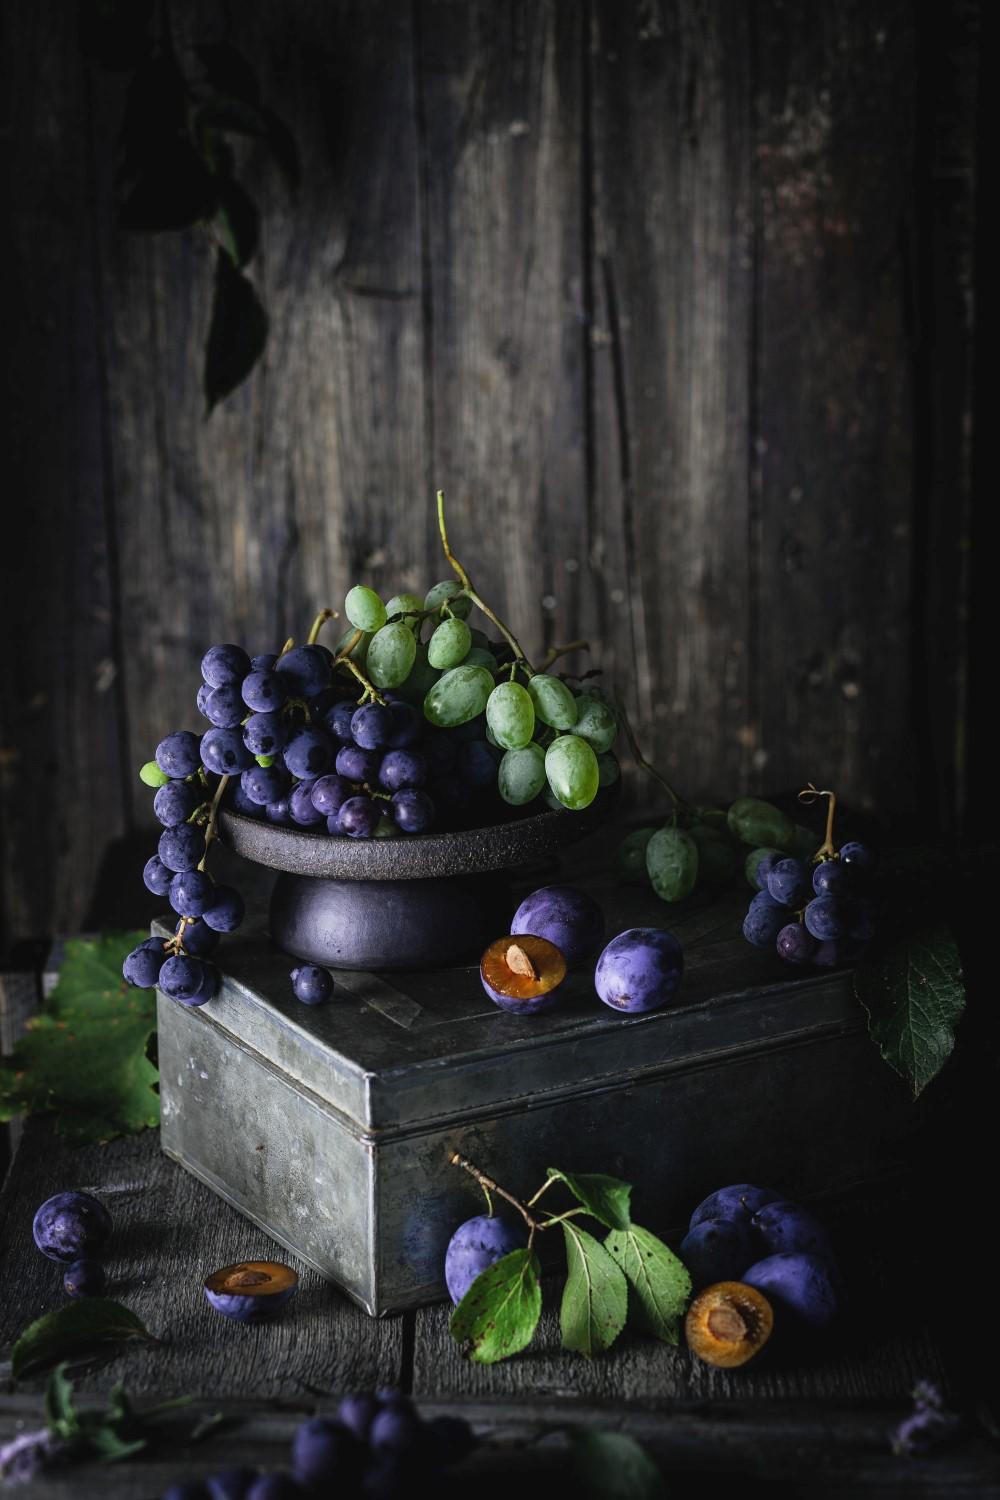
If with repeating pattern technique is to mix objects of the same shapes, this is the total opposite. By using objects of different shapes you can create visual interest.
This is the most obvious in a top-down photo, but you can do the same with any other angle, like in the photo below. By using a square box instead of something round, I was able to create a line that leads the eye to the main subject the fruits on the plate. But it also adds contrast to all the round shapes in the frame.
Give these food photography composition techniques a try
I hope you enjoyed my guide and if you try some creative food photography composition techniques, let me know in the comments below.
One more thing, I highly recommend (as I always do) using a tripod or something to stabilize your camera.
I know setting up the scene before setting up the camera is tempting, but in order to take full advantage of powerful composition, placing the camera in its position is the key. Then once the camera is set, start setting up the scene.
And here are some extra thoughts because I love planning 
Planning and sketching
Whenever I can I draw a sketch of the shot. Heres the reason why?
I could easily rely on creating a beautiful composition by looking at the screen of my camera. But I dont want to be stuck with the same rule of thirds with all my photos. Most of the cameras these days offer a rule of thirds grid option, so you can see the lines through the screen while you style. And I find this very very useful. But I dont always follow the rule of thirds. In this case, its hard to imagine, where all the props and dishes will go. Thats why I draw a grid or print it out.
The post Creative food photography composition techniques appeared first on Use Your Noodles.
