
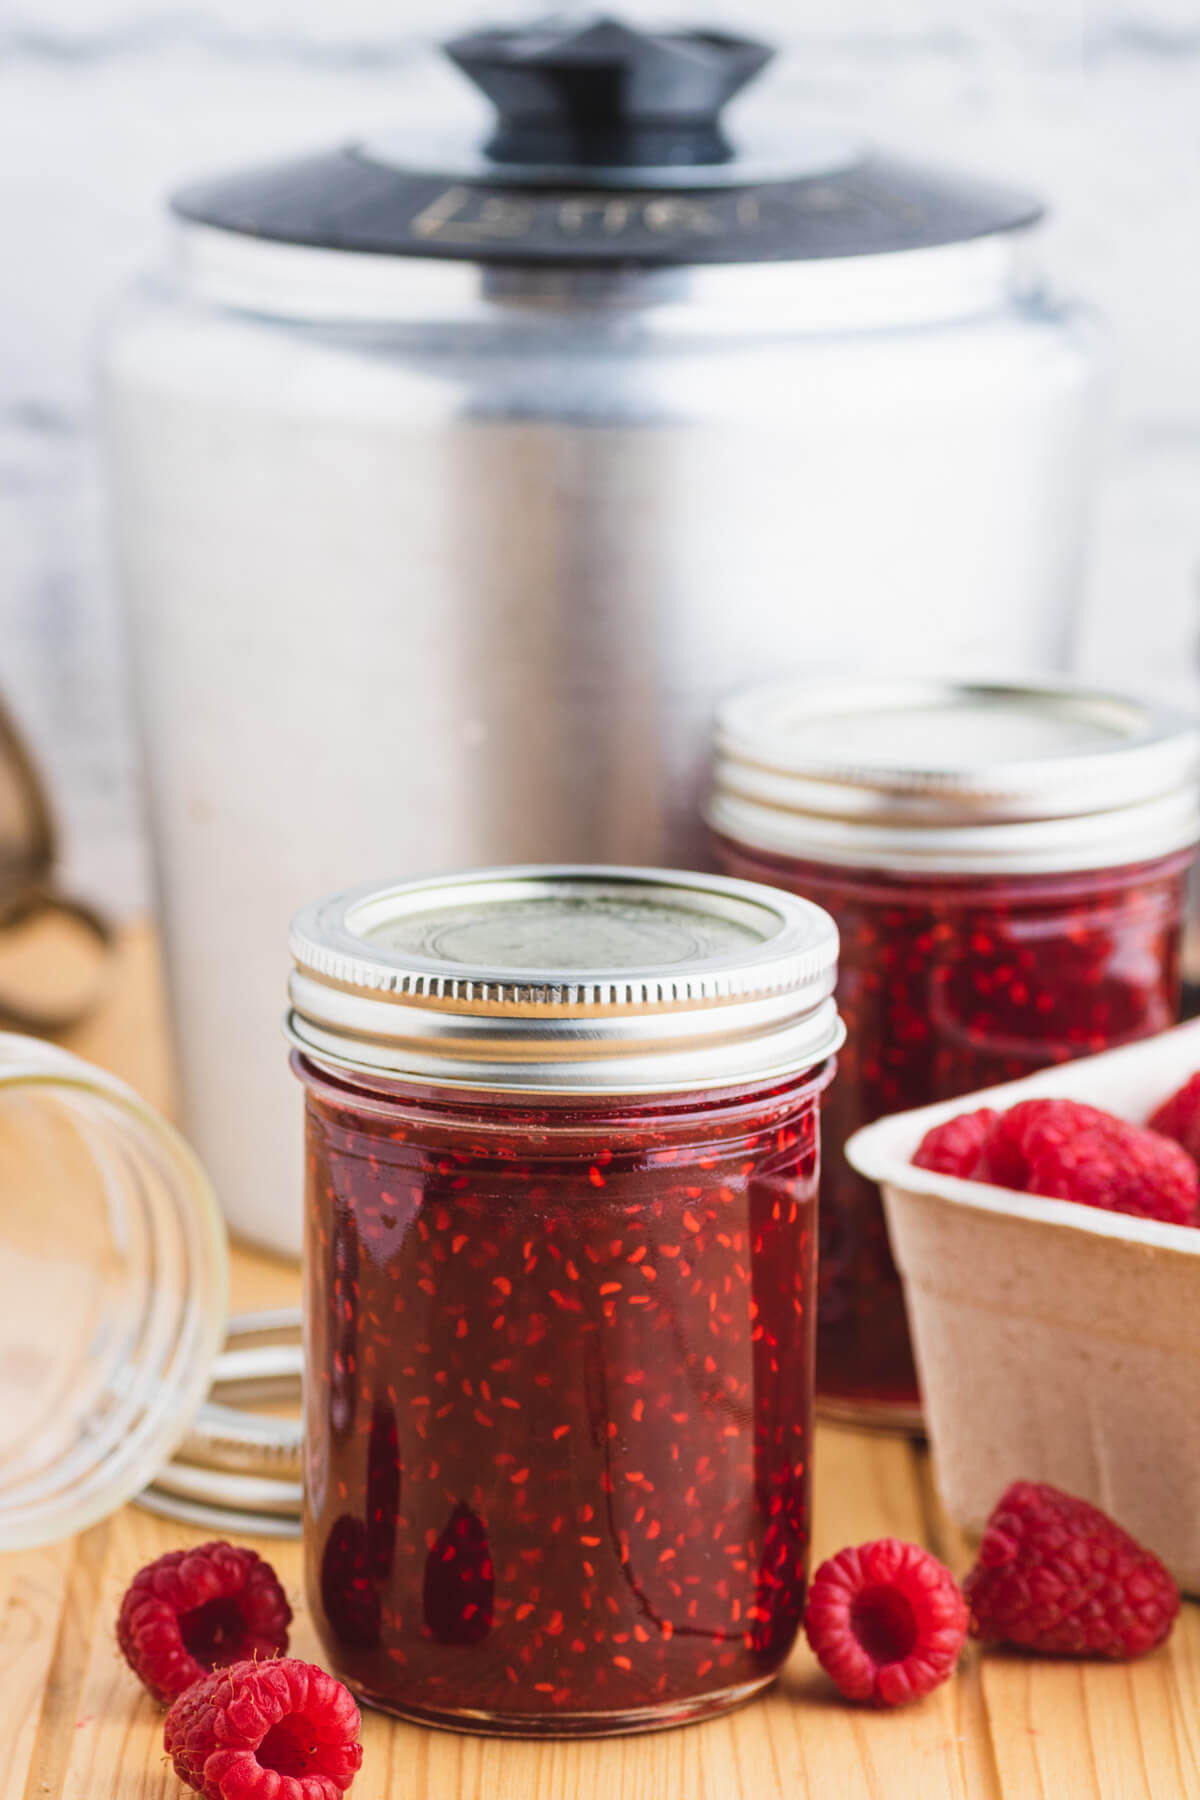
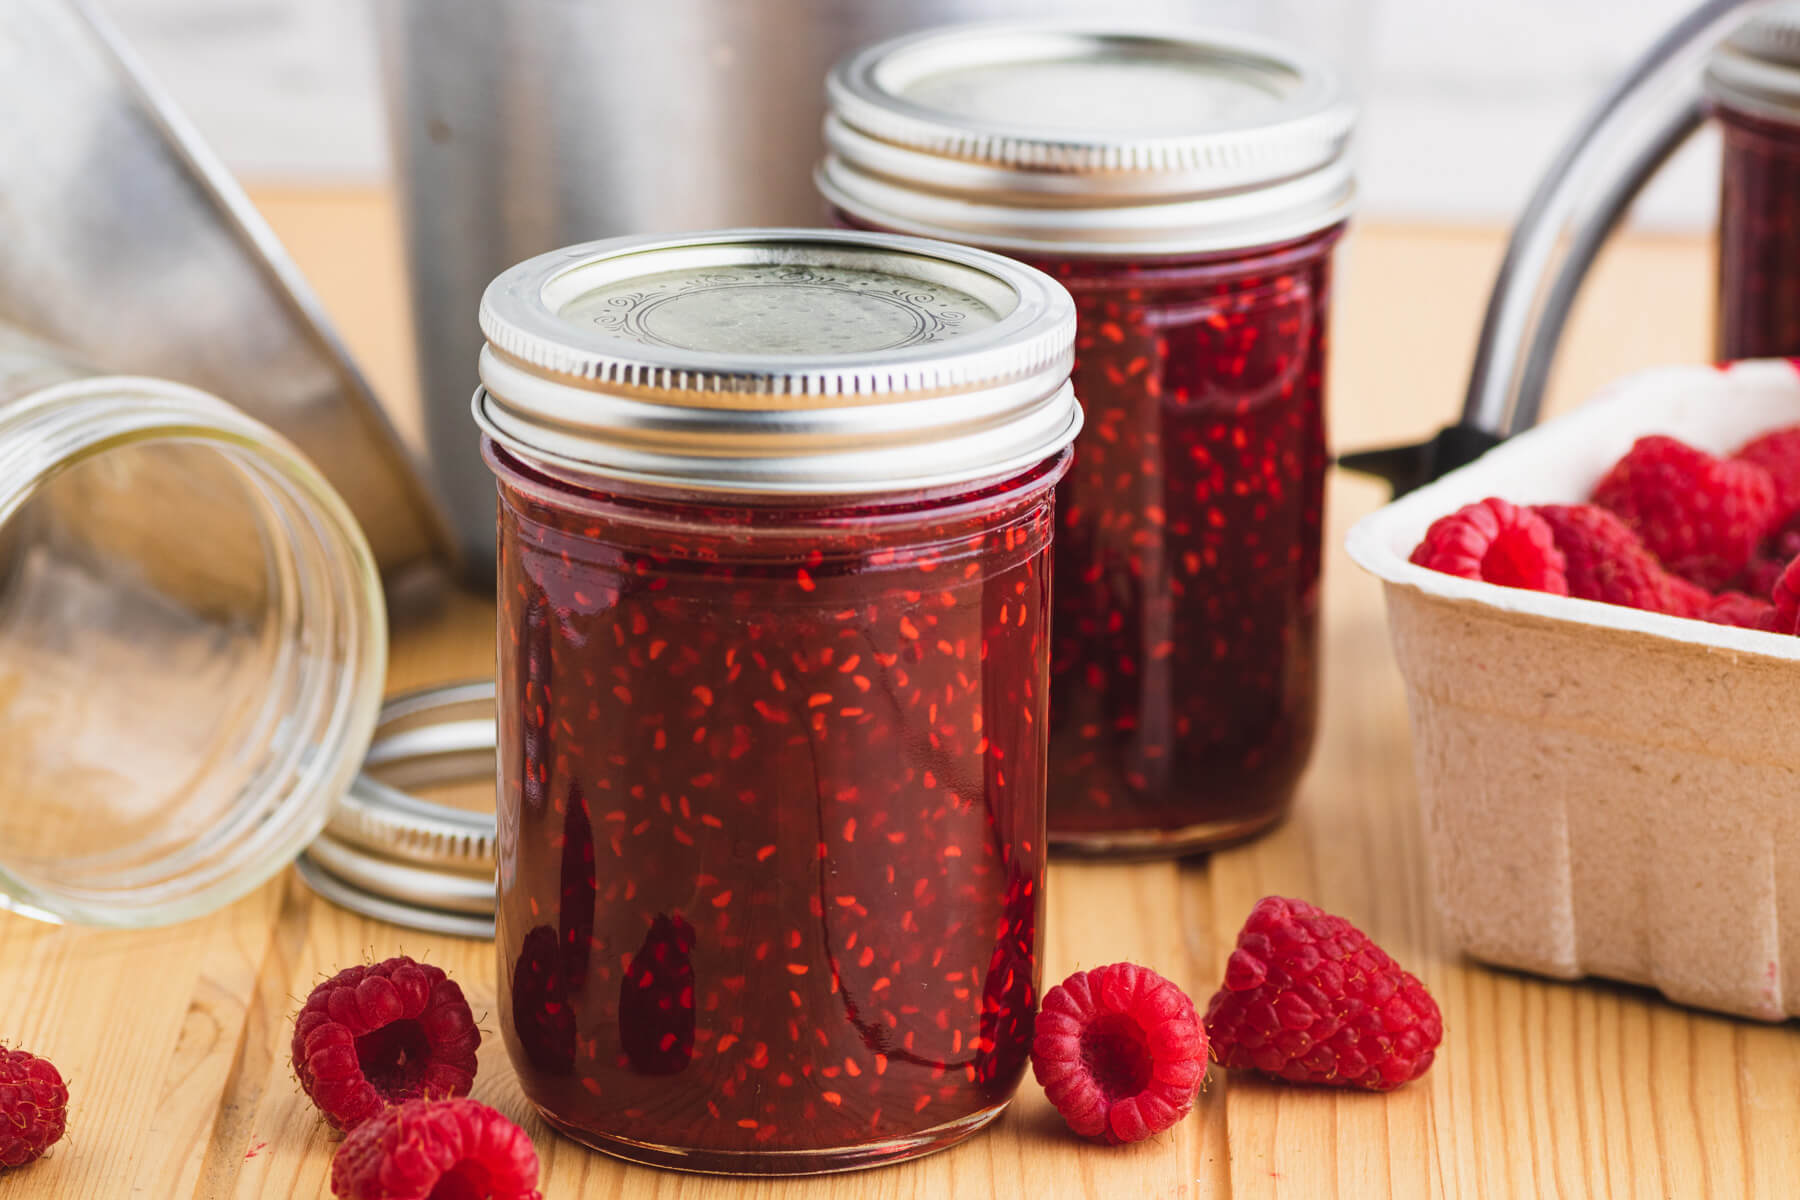
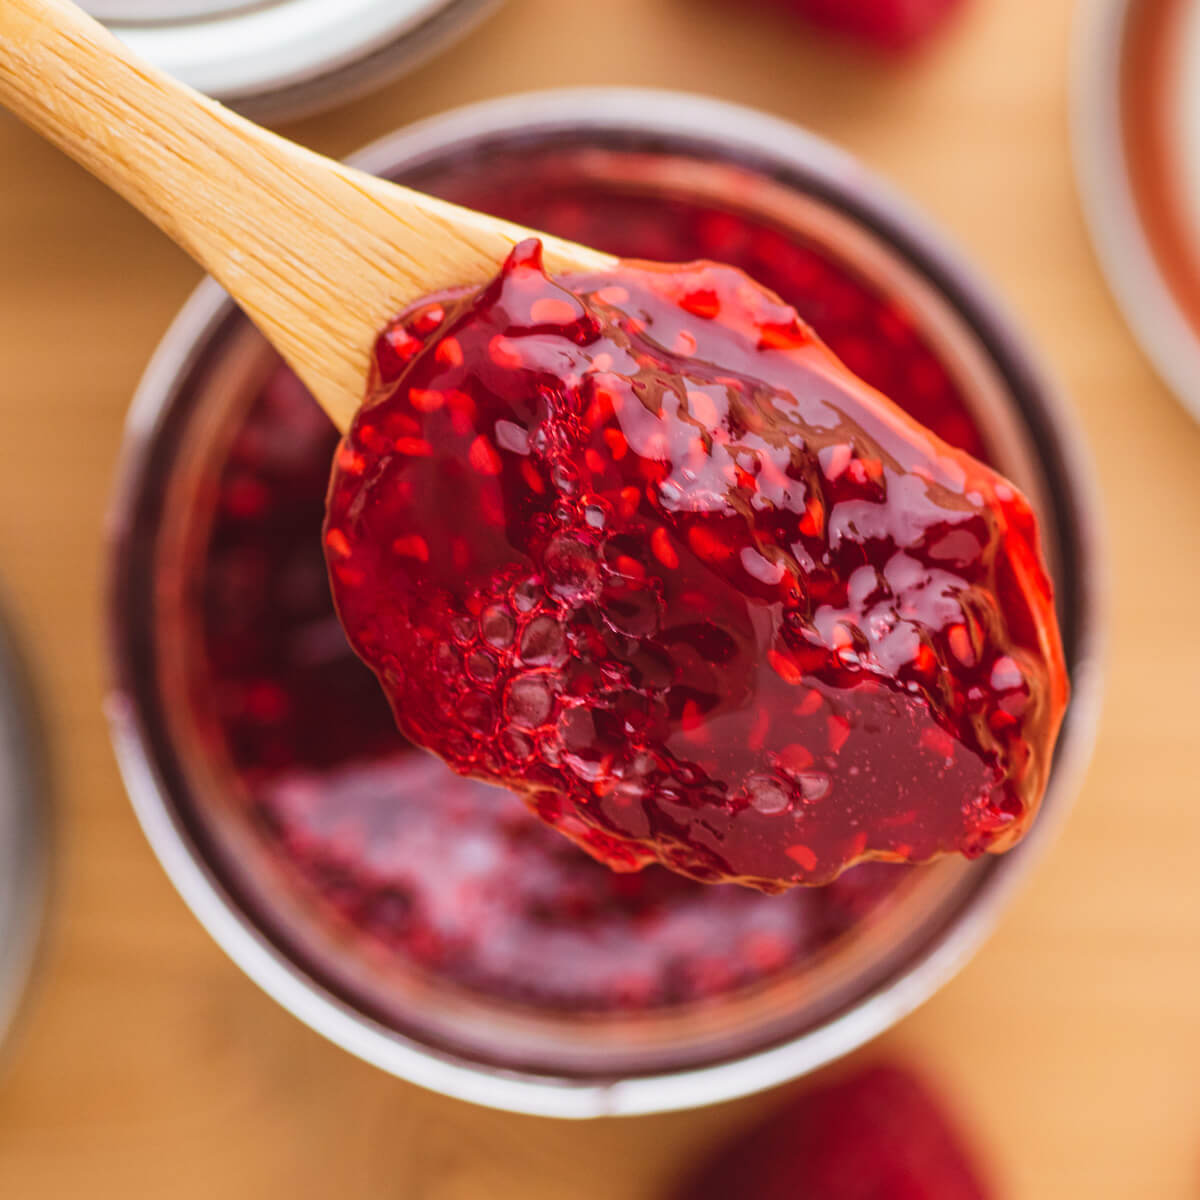
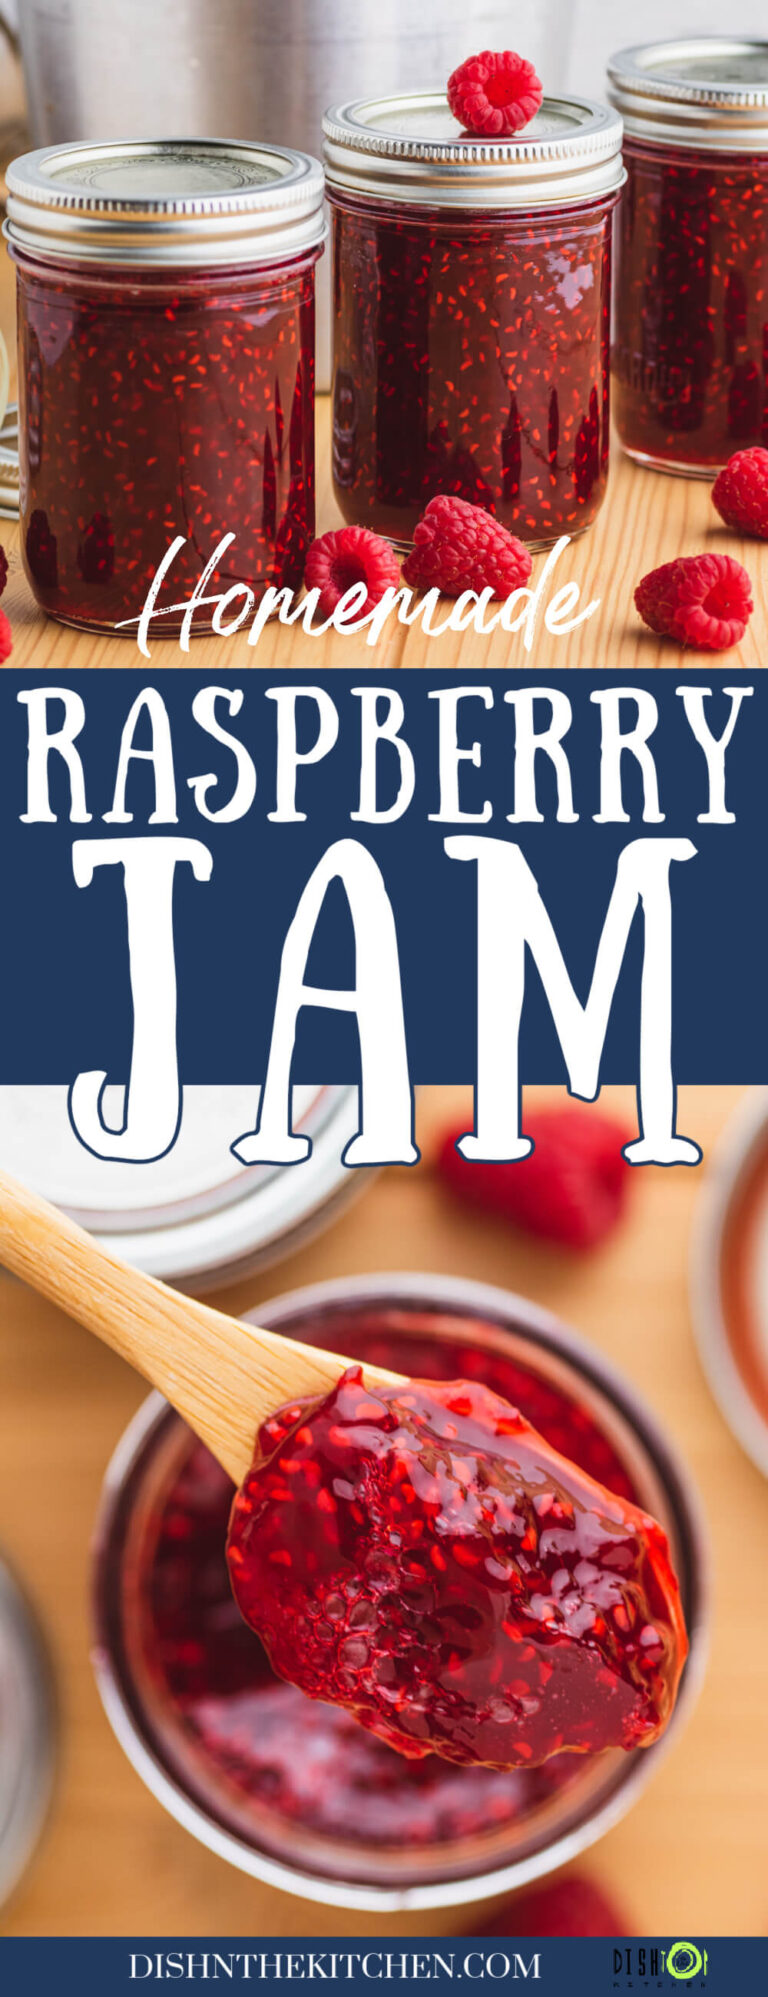
A simple Homestyle Raspberry Jam recipe celebrating the peak of raspberry season. Use this easy-to-follow small batch recipe to transform your raspberry crop into jars of stunning ruby red jam filled with vibrant summer berry flavour.
If you’re looking to preserve the flavours of summer to enjoy year-round simply type ‘jam’ into the search bar. You’ll find many easy small batch recipes from Amaretto Sour Cherry Jam to Vanilla White Peach Jam and everything in between.

Homemade Raspberry Jam
There are few kitchen projects more satisfying than making jams and jellies. If you have an excess of summer produce, you can preserve it to enjoy throughout the entire year. Nothing is more delicious than spreading this ruby red jam all over a buttery toast or a bowl of ice cream in the middle of winter!
Friends, this is a very basic recipe meant for both beginners and seasoned jam makers. If you are new to hot water bath canning, I hope you eventually enjoy it as much as I do. It might seem overwhelming at first but after using my kitchen tips and trips, you’ll soon become comfortable with small batch preserving.
This easy Raspberry Jam recipe is one I grew up making by my grandma’s side. We always began the canning season in Spring with several batches of strawberry rhubarb jam. Once they were made and put away in the canning room, it was time to pick and preserve raspberries!
I am old enough to remember her using rubber rings, glass lids, and pints in addition to sealing the jam with a layer of melted wax. Fortunately, jam making is much simpler these days. Half pint jars with metal rings and lids with integrated rubber seals simplify the process greatly.
This whole batch should take less than an hour, including prep time and cooking time (not including water bath time).
Raspberry Jam vs. Raspberry Jelly
For those of you who prefer a ‘seedless’ breakfast preserve, I recommend making Raspberry Jelly. The recipes for raspberry jam and jelly are very similar, with the latter requiring raspberry juice in place of whole fruit. The extra step involved is worth doing if you like a clear, seedless jelly.
Sometimes, when I don’t have the time to make jam (or it’s too hot), I cook the fruit down then strain it through a jelly bag to remove the seeds. The juice can be refrigerated or frozen until it’s time to make the jelly. By the way, you’ll need 4 cups of juice and less sugar than is required to make raspberry jam.
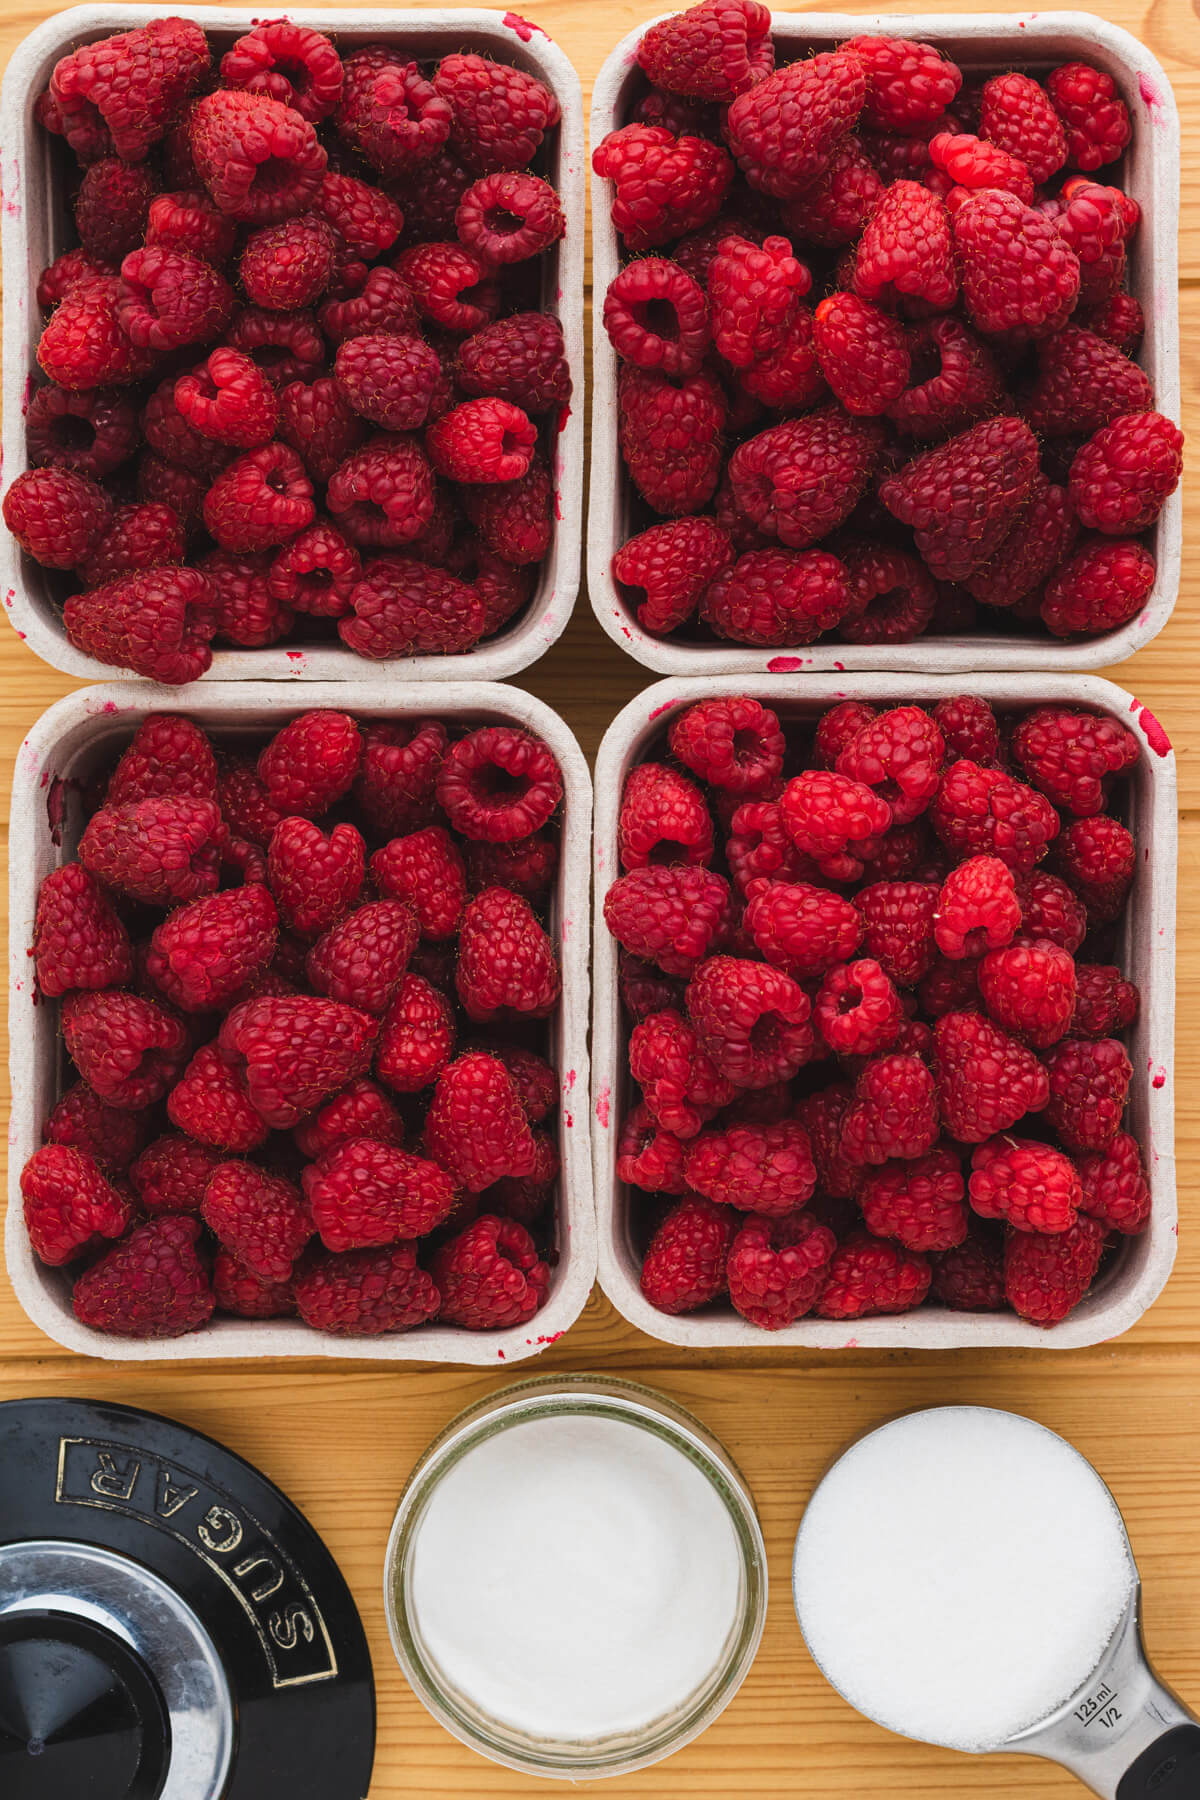
Ingredients for Raspberry Jam
The ingredients list for this jam is short…and sweet. There are only three ingredients, including sugar.
- Raspberries
- Pectin
- Sugar
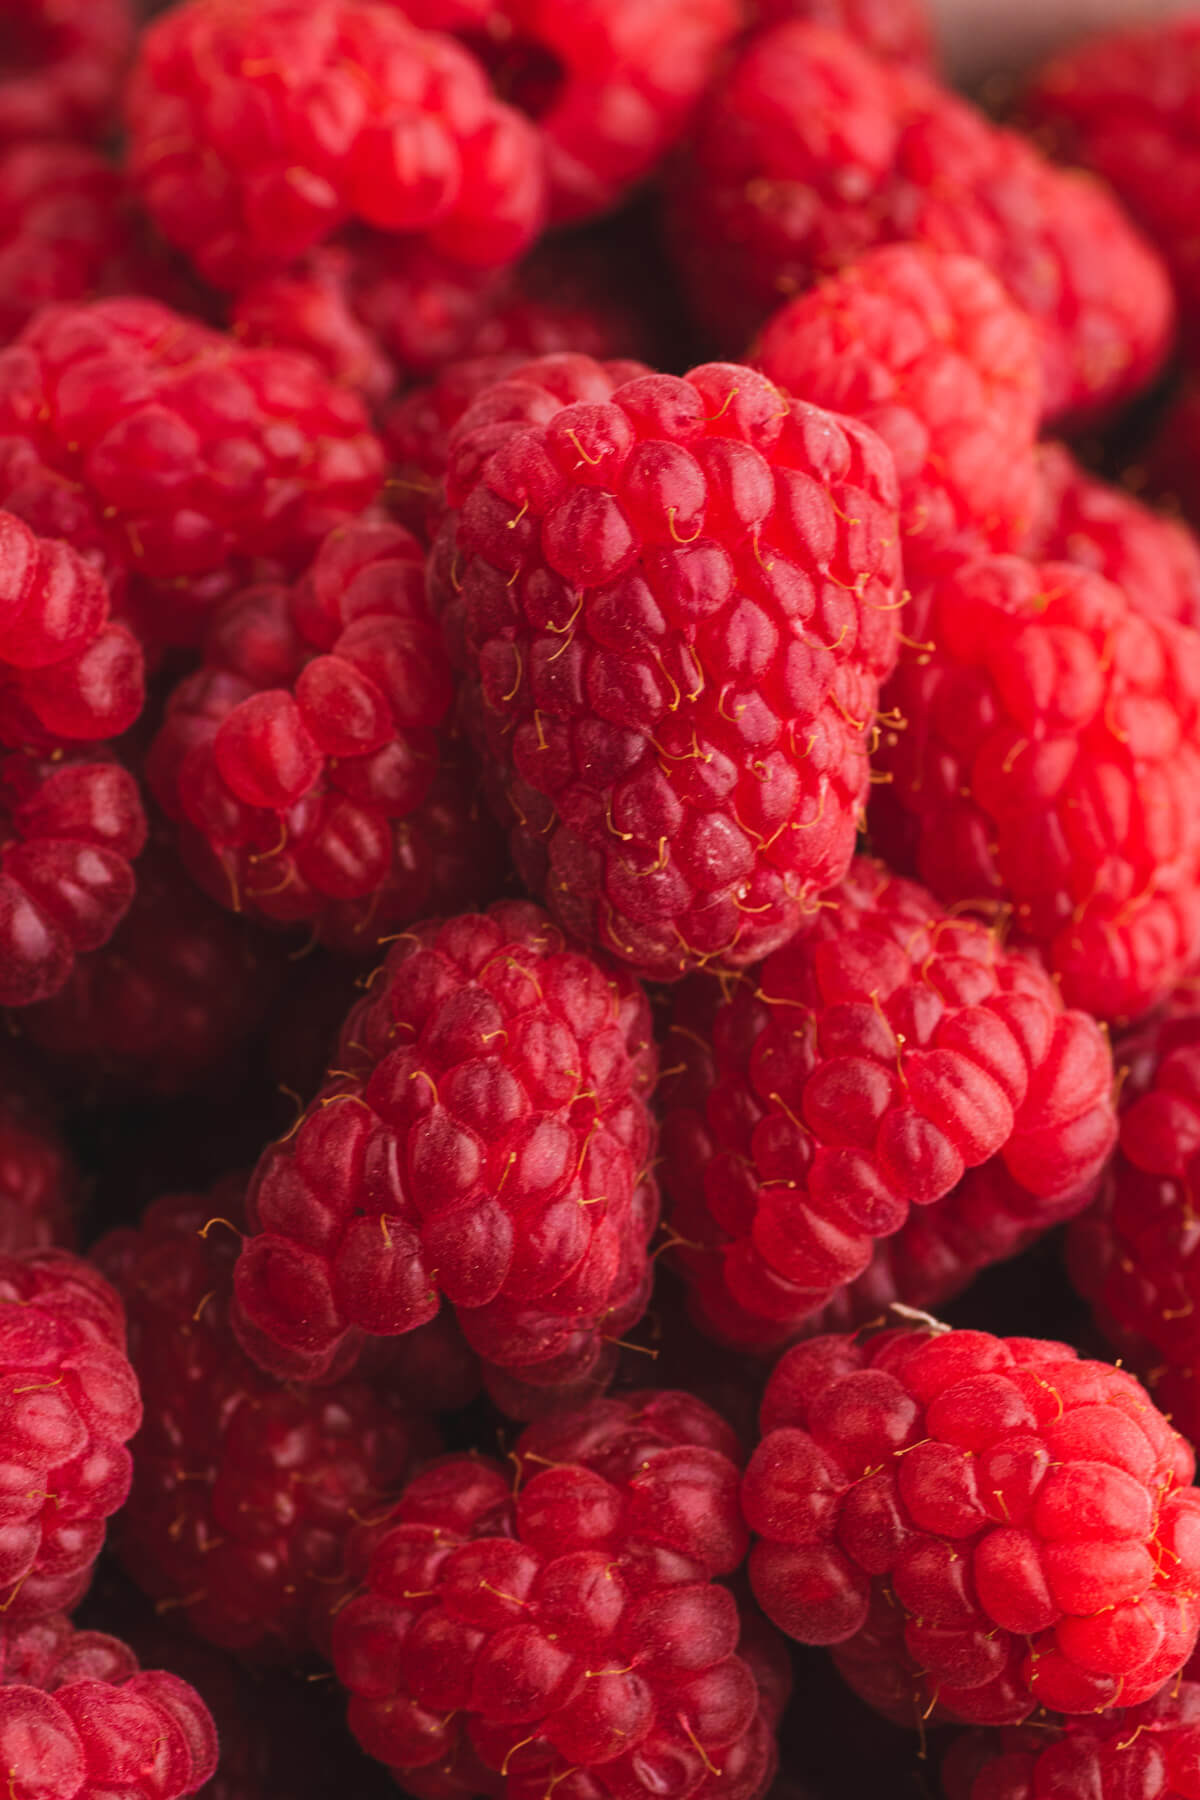
I highly recommend that you source the very best produce available. Many people buy soft or over ripened fruit for jam making but this is not ideal. Sun ripened red raspberries are so tart and sweet when in season, why mess with a good thing?
Some people add a tablespoon or two of lemon juice to increase acidity in jams and jellies but raspberries are highly acidic and require no further acidity.
If you’ve never made jam, you may be concerned at how much sugar jam and jelly recipes contain. Remember that this simple three ingredient recipe contains no preservatives (which can be found in store bought preserves). In these recipes, sugar is the preservative.
Why is Pectin Important in Jam?
Fruit Pectin is an important component in jams and jellies, because it helps the jam set. This naturally occurring soluble fiber is found in fruits and vegetables, especially apples and citrus peels. It turns out that raspberries also have a high amount of pectin.
All jams contain pectin in some form, whether it is an added product or a natural component of the fruit. Those that claim otherwise are misrepresenting the truth.
So, how exactly does pectin make jam gel? Pectin’s chemical structure changes and reacts when it’s added to a liquid then heated to a high temperature, causing it to thicken.
Pectin plays a huge role in this recipe. Without it, the jam would take much longer to reach the setting point, but it can be done.
How to Make Raspberry Jam
Preparing the Equipment
To begin, preheat the oven to 225 F.
Preparing equipment for making jam begins with inspecting and washing the jars in hot soapy water. After a thorough rinse, set the jars upside down in a tray of water in the oven, set at 225°F. Place washed lids and rings in a pot of water along with the tongs, measuring cup, and funnel (if using).
Sterilize the jars in the oven for ten minutes and heat the saucepan until it almost reaches the boiling point. Keep lids warm at this temperature while you prepare the fruit.
Preparing the Raspberries
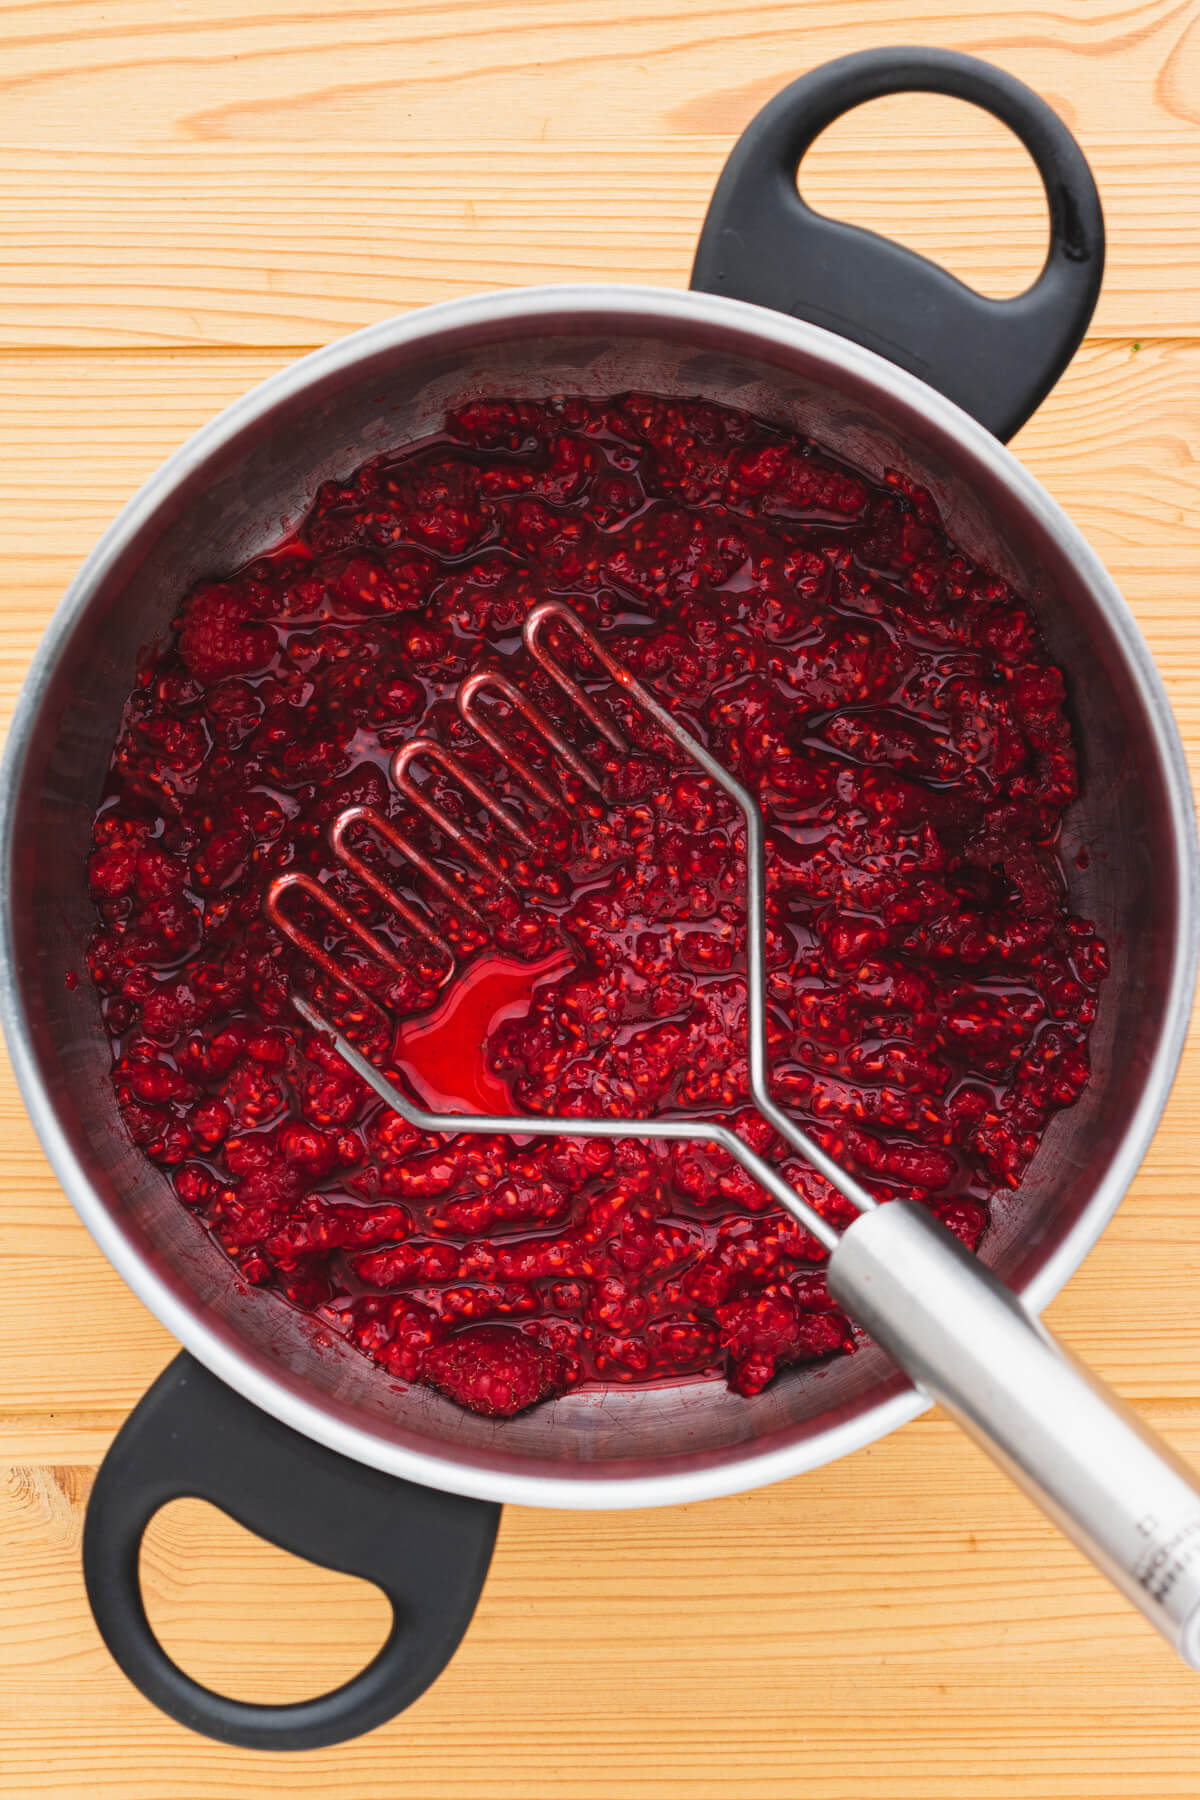
Next, it is time to prepare the fruit. Wash the raspberries in cold water and inspect for any mold or bugs. Drain the raspberries well and place 1/3 raspberries in a large pot. Use a potato masher to smash them into a jam-like consistency. Repeat this step two more times with the remaining 2/3 raspberries.
Cooking Raspberry Jam
Once all raspberries are smashed, add the pectin all at once and stir well. Turn stove to medium-high, stirring frequently with a wooden spoon as mixture heats up. Measure out the sugar.
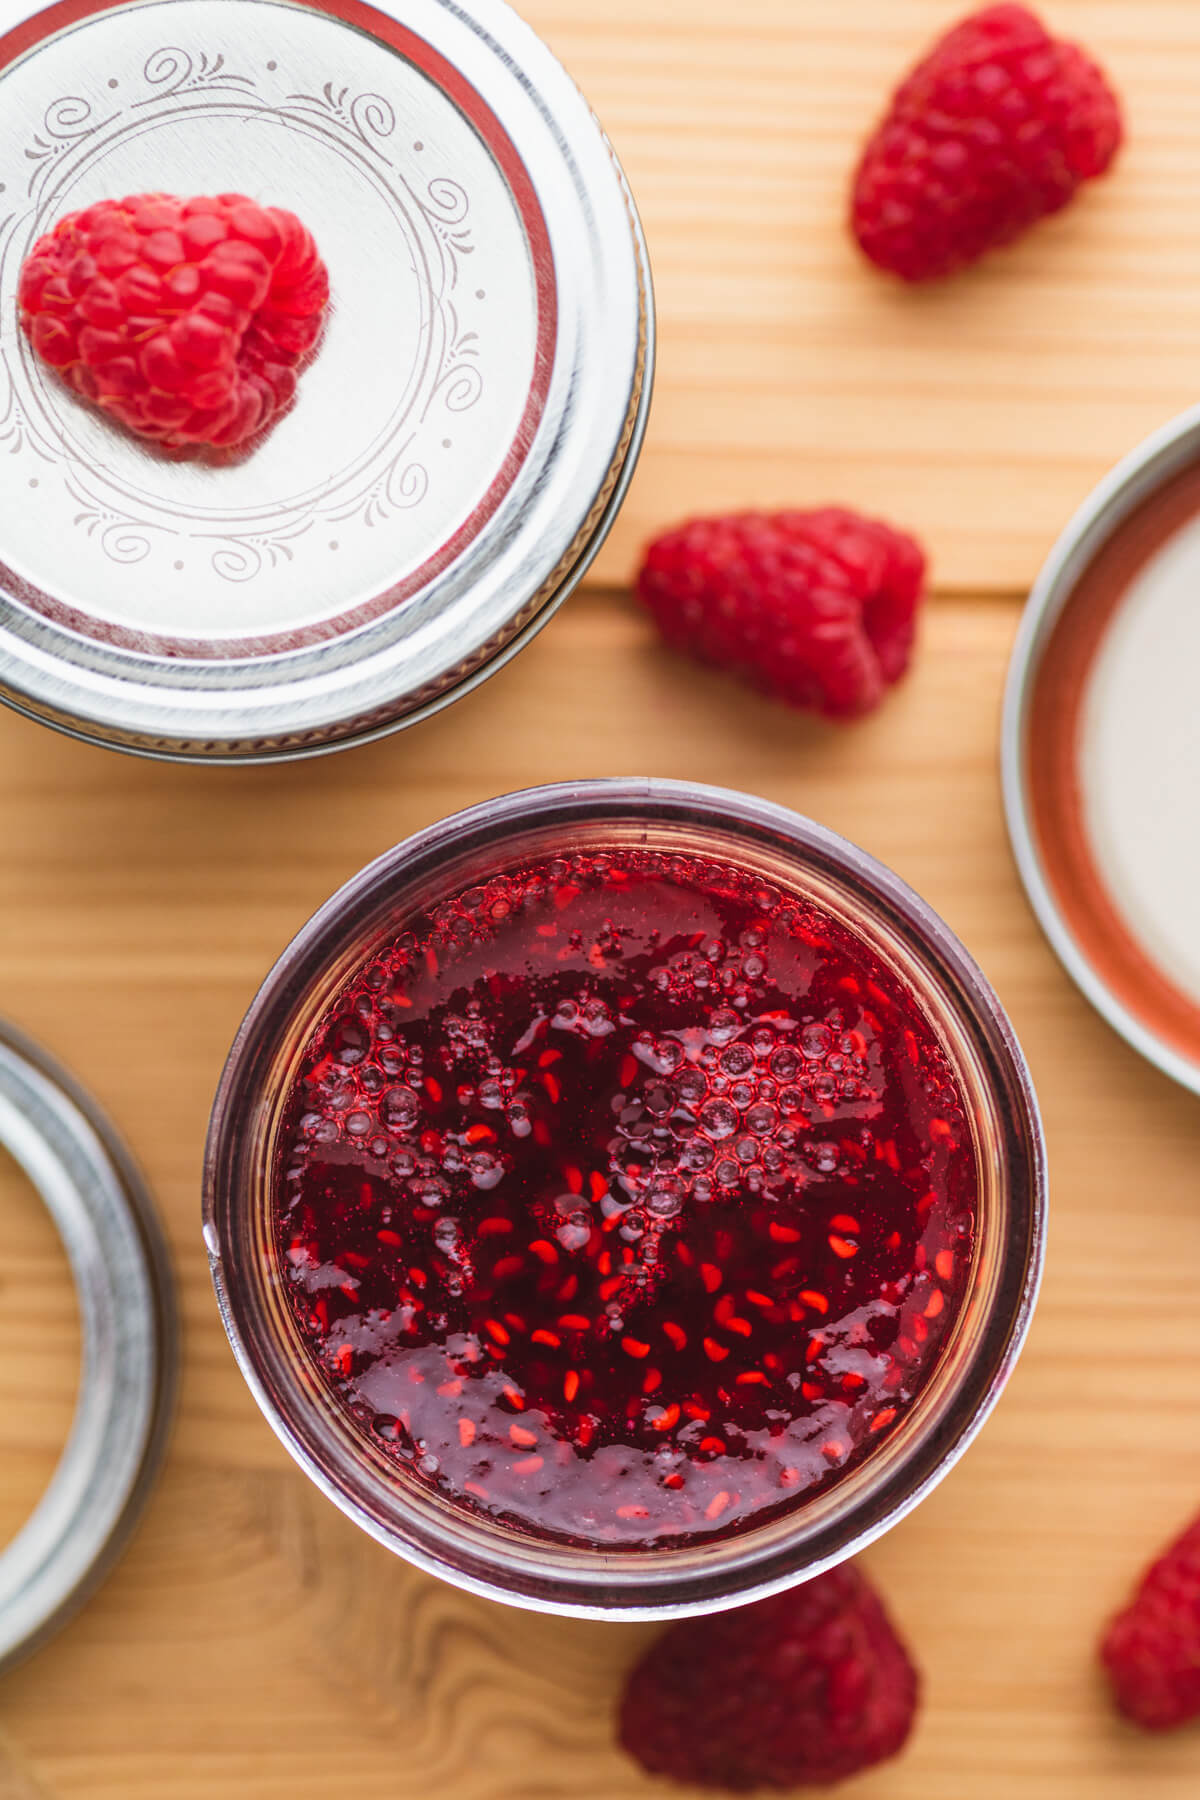
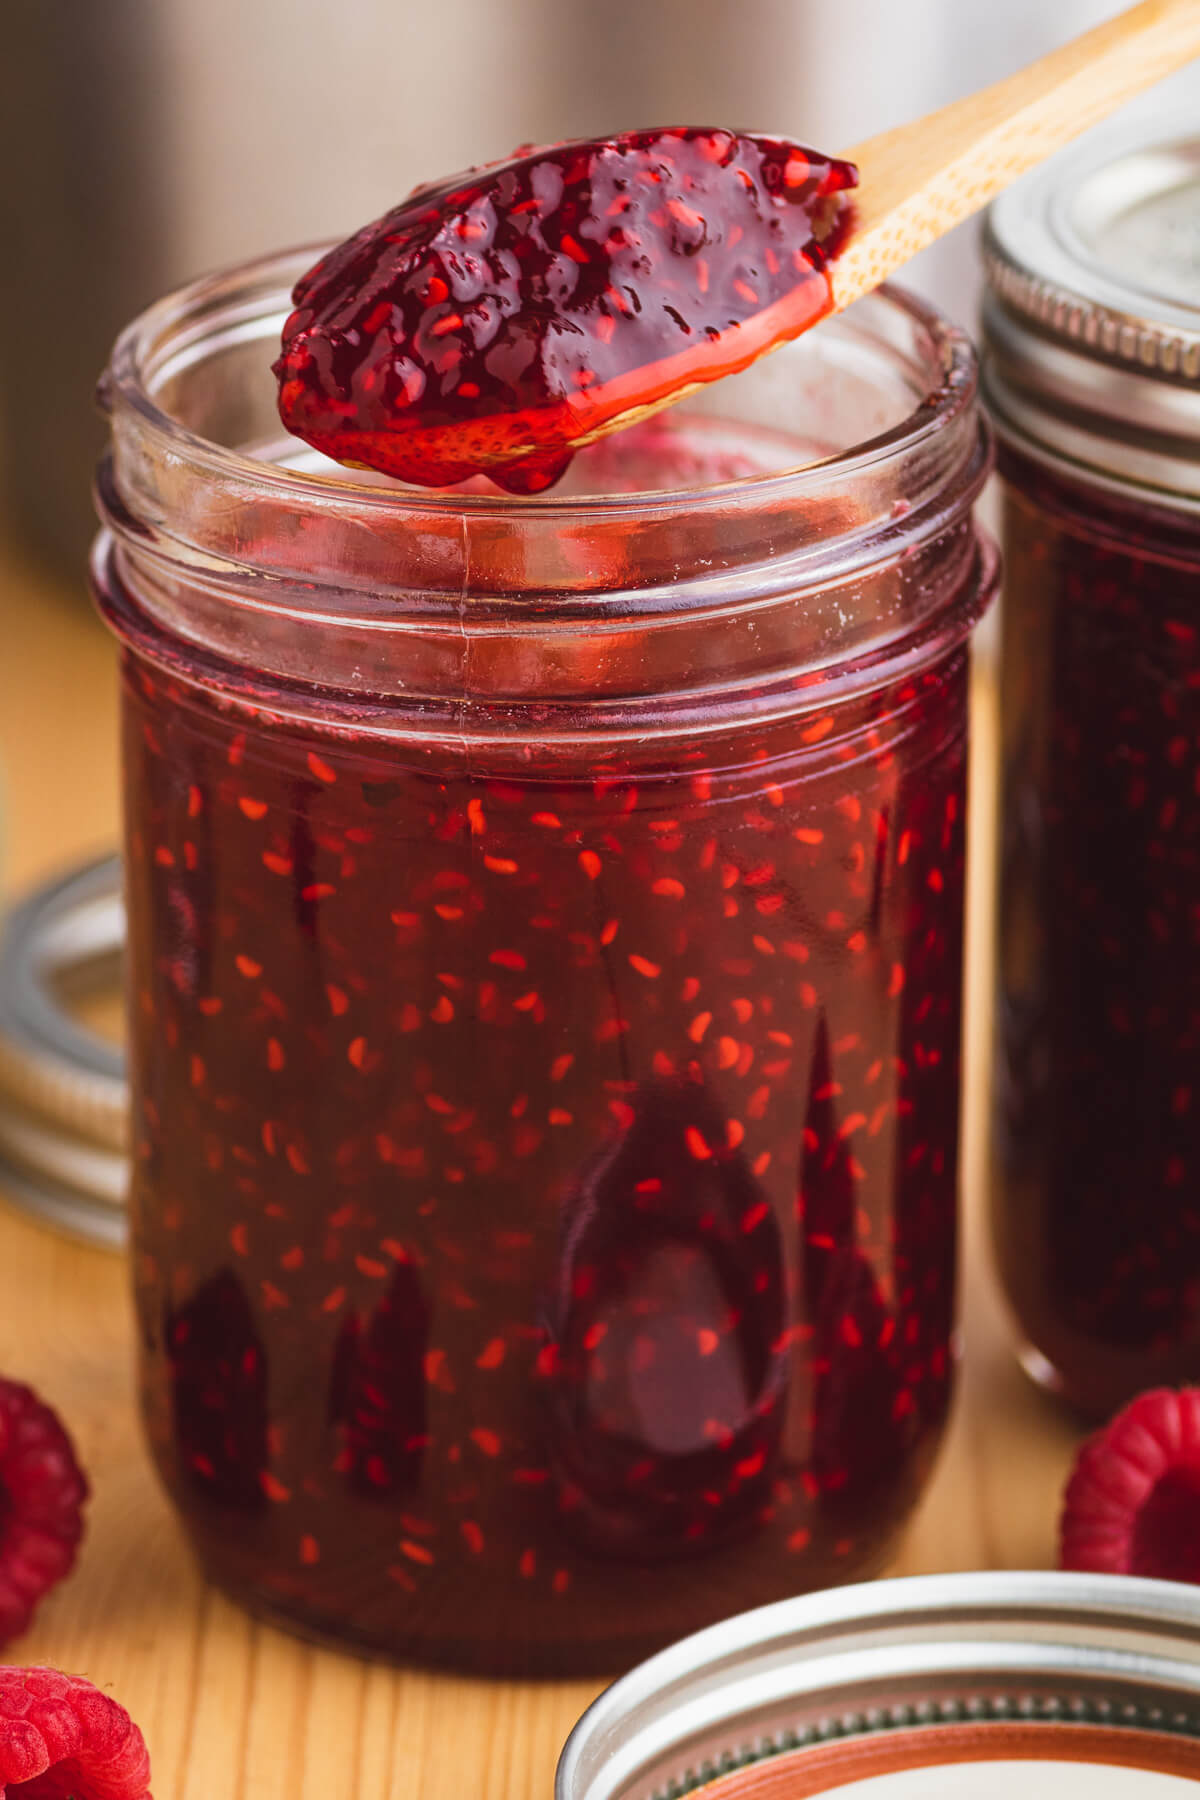
Once the jam mixture reaches a rolling boil, add sugar all at once then allow to return to a rolling boil. Boil for one more minute. Remove jam from heat and continue stirring constantly another 5 minutes. Skim any foam that accumulates on the surface.
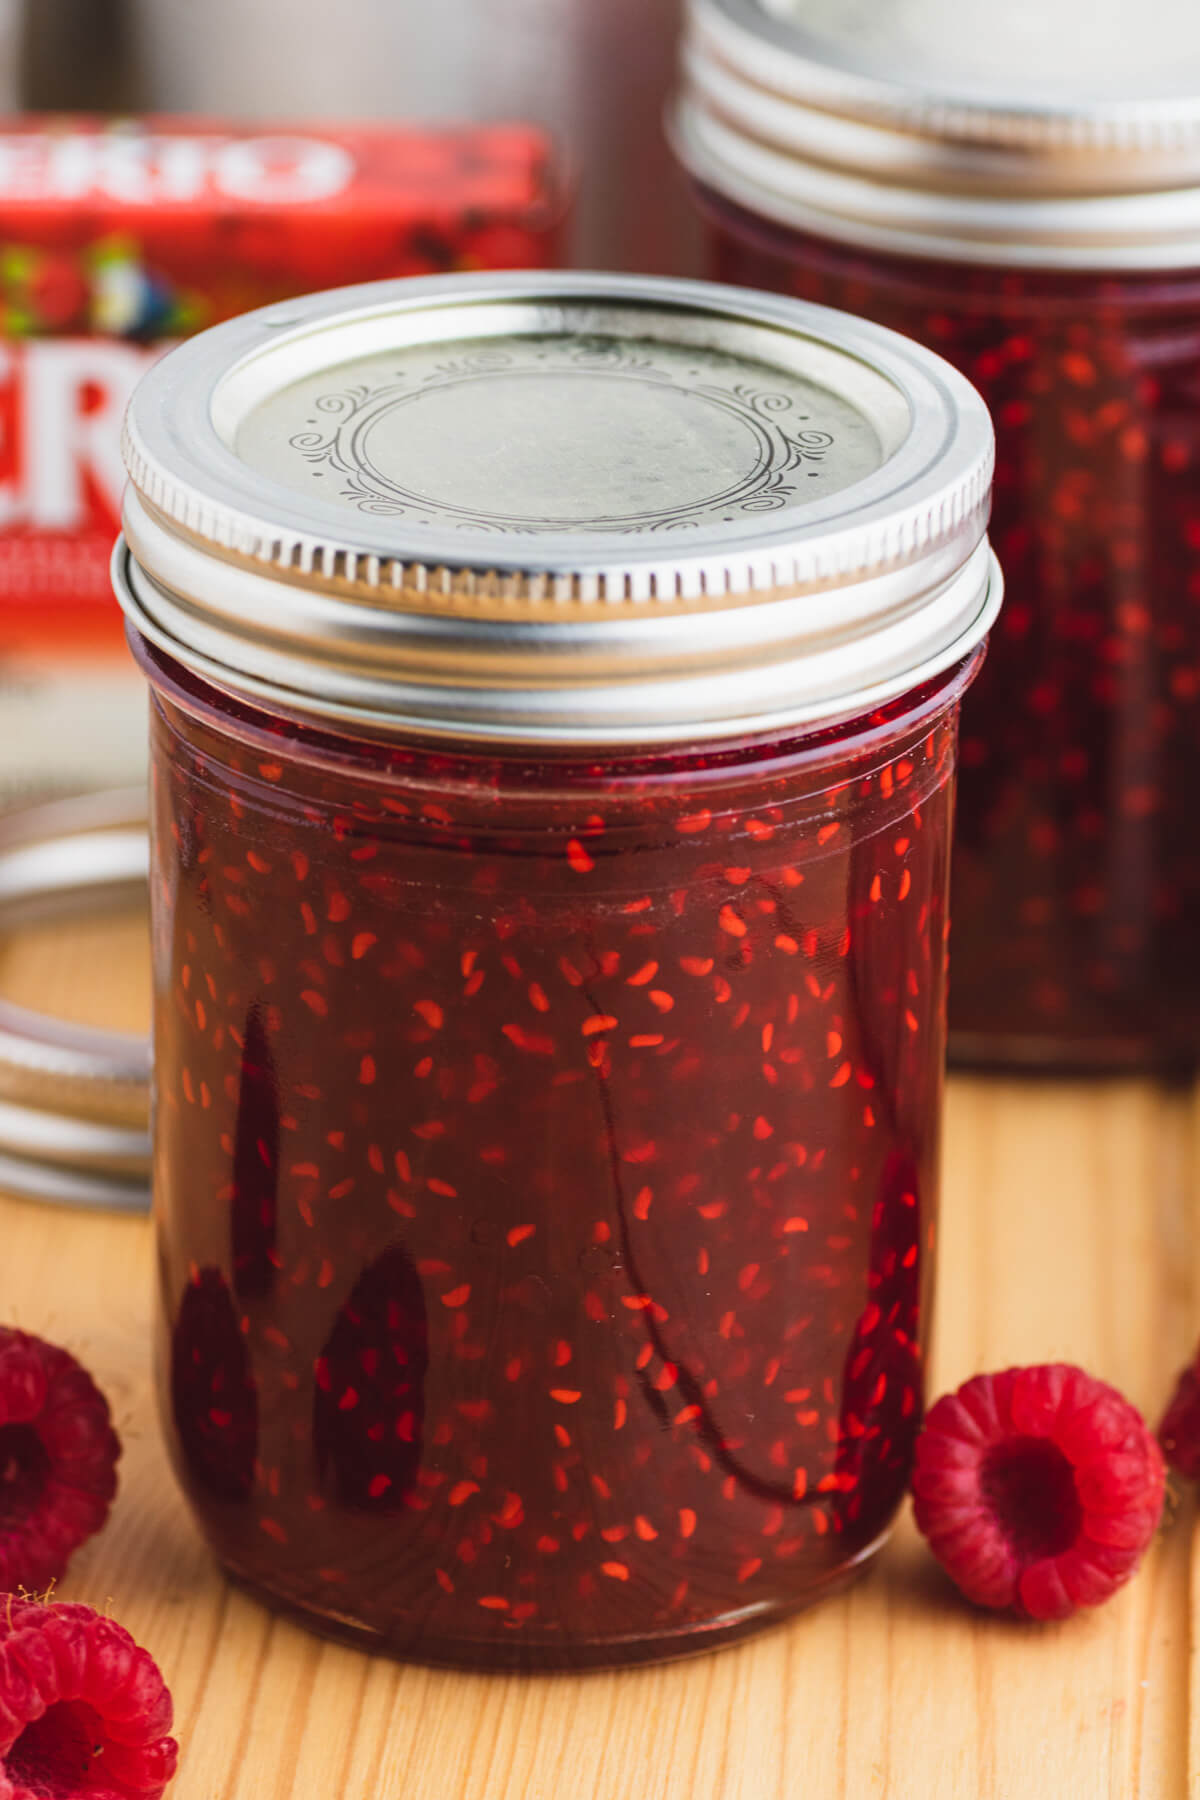
Carefully but quickly ladle hot jam into hot jars (or use a funnel). Wipe the jar rims with a clean cloth then cover with lids. Screw the rings on but not too tightly.
At this stage, I allow the jam jars to cool overnight and check the seals in the morning. I refrigerate any jars that have not sealed. However, many people prefer to process their jam using the hot water bath method.
The hot water bath method: Fill a water bath canner (with a jar rack) with water at the beginning of your jam session and allow it to come to a full boil over high heat.
After step 8, lower the jars into the boiling water (ensure the jars are covered in one inch of boiling water) and process for 10 minutes, or according to altitude.
Hi! I’m Bernice Hill and I’ve been the sole recipe developer, photographer, and writer at Dish ‘n’ the Kitchen for the past eleven years. It is my pleasure to share easy to follow recipes that are delicious, nutritious, and approachable for the whole family.
If you make this Homestyle Raspberry Jam recipe, I’d love to hear about it in the comments section or in a recipe rating. Be sure to follow me on Facebook and Pinterest for my latest recipes. Also, if you do make this recipe, please share your photos and tag me on Instagram. I hope you like this recipe!
Homestyle Raspberry Jam
A simple Homestyle Raspberry Jam recipe celebrating the peak of summer raspberry season. Use this easy to follow small batch recipe to transform your raspberry crop into jars of stunning ruby red jam filled with vibrant berry flavour.
Ingredients
- 10 cups fresh raspberries; (5 cups prepared)
- 1 box Certo pectin powder
- 7 cups granulated sugar
Instructions
- Inspect and wash 8 half pint (250 ml) jars and lids in hot soapy water; rinse well (I like to do a few extras as described here).
- Wash raspberries.
- Smash raspberries in layers in a big pot. Approximately 10 cups raspberries equals 5 cups smashed.
- Add pectin and stir well.
- Turn stove to medium-high and stir with a wooden spoon as mixture heats up.
- Once it comes to a rolling boil (see photo), add sugar all at once then allow to return to a rolling boil. Boil for one more minute.
- Remove jam from heat and continue stirring another 5 minutes. Skim any foam that accumulates on the surface.
- Carefully ladle into hot jars, wipe the rims with a clean cloth, and cover with lids. Make sure rings are snug but not too tight.
- Allow jam jars to cool overnight. Check seals and refrigerate any lids that have not sealed.
Notes
*If you prefer to use a hot water bath to seal the jars, fill a water bath canner (with a jar rack) with water at the beginning of your jam session to allow it to come to a full boil.
After step 8, lower the jars into the boiling water (ensure the jars are covered in one inch of boiling water) and process for 10 minutes, or according to altitude.
Nutrition Information:
Yield:
57Serving Size:
2 tbspAmount Per Serving: Calories: 109Total Fat: 0gSaturated Fat: 0gTrans Fat: 0gUnsaturated Fat: 0gCholesterol: 0mgSodium: 2mgCarbohydrates: 28gFiber: 1gSugar: 25gProtein: 0g
Nutritional calculation was provided by Nutritionix and is an estimation only. For special diets or medical issues please use your preferred calculator.
The post Homestyle Raspberry Jam appeared first on Dish 'n' the Kitchen.