
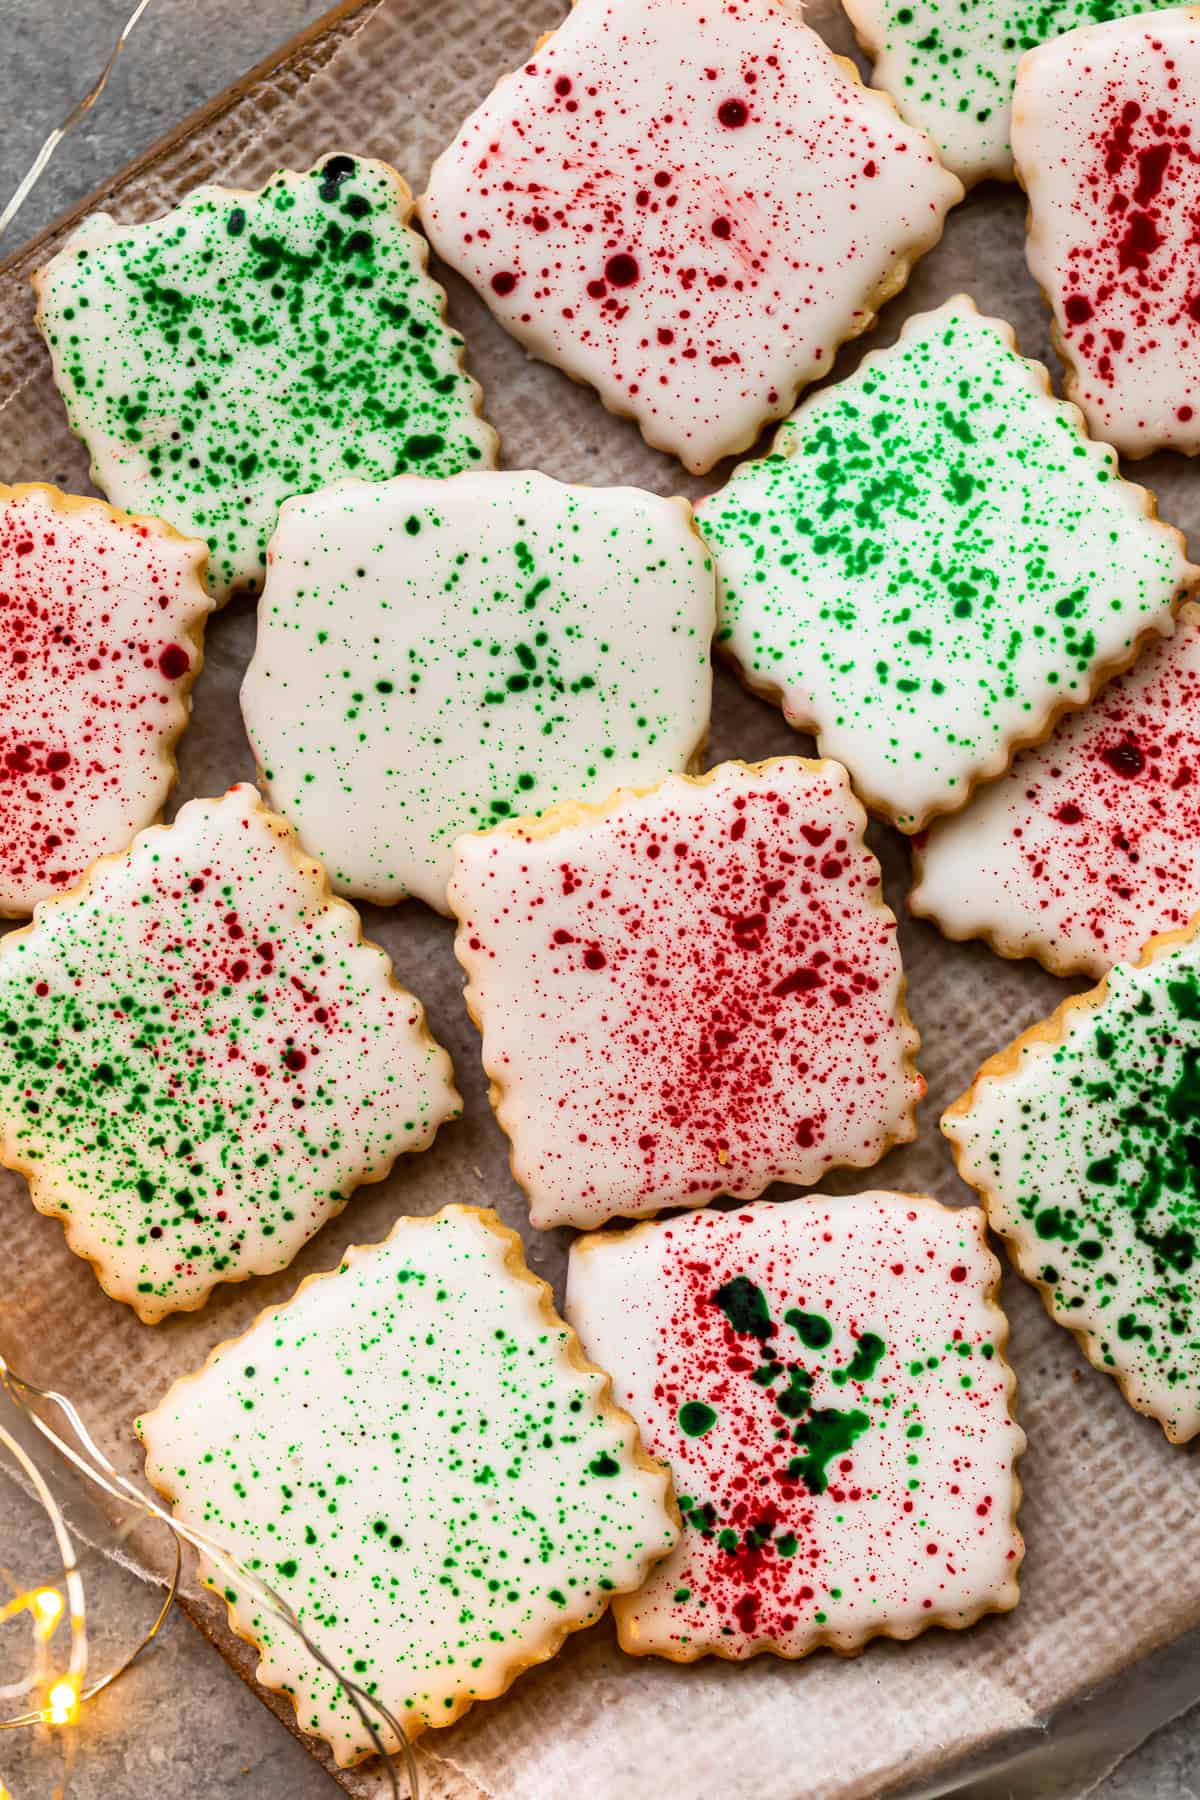
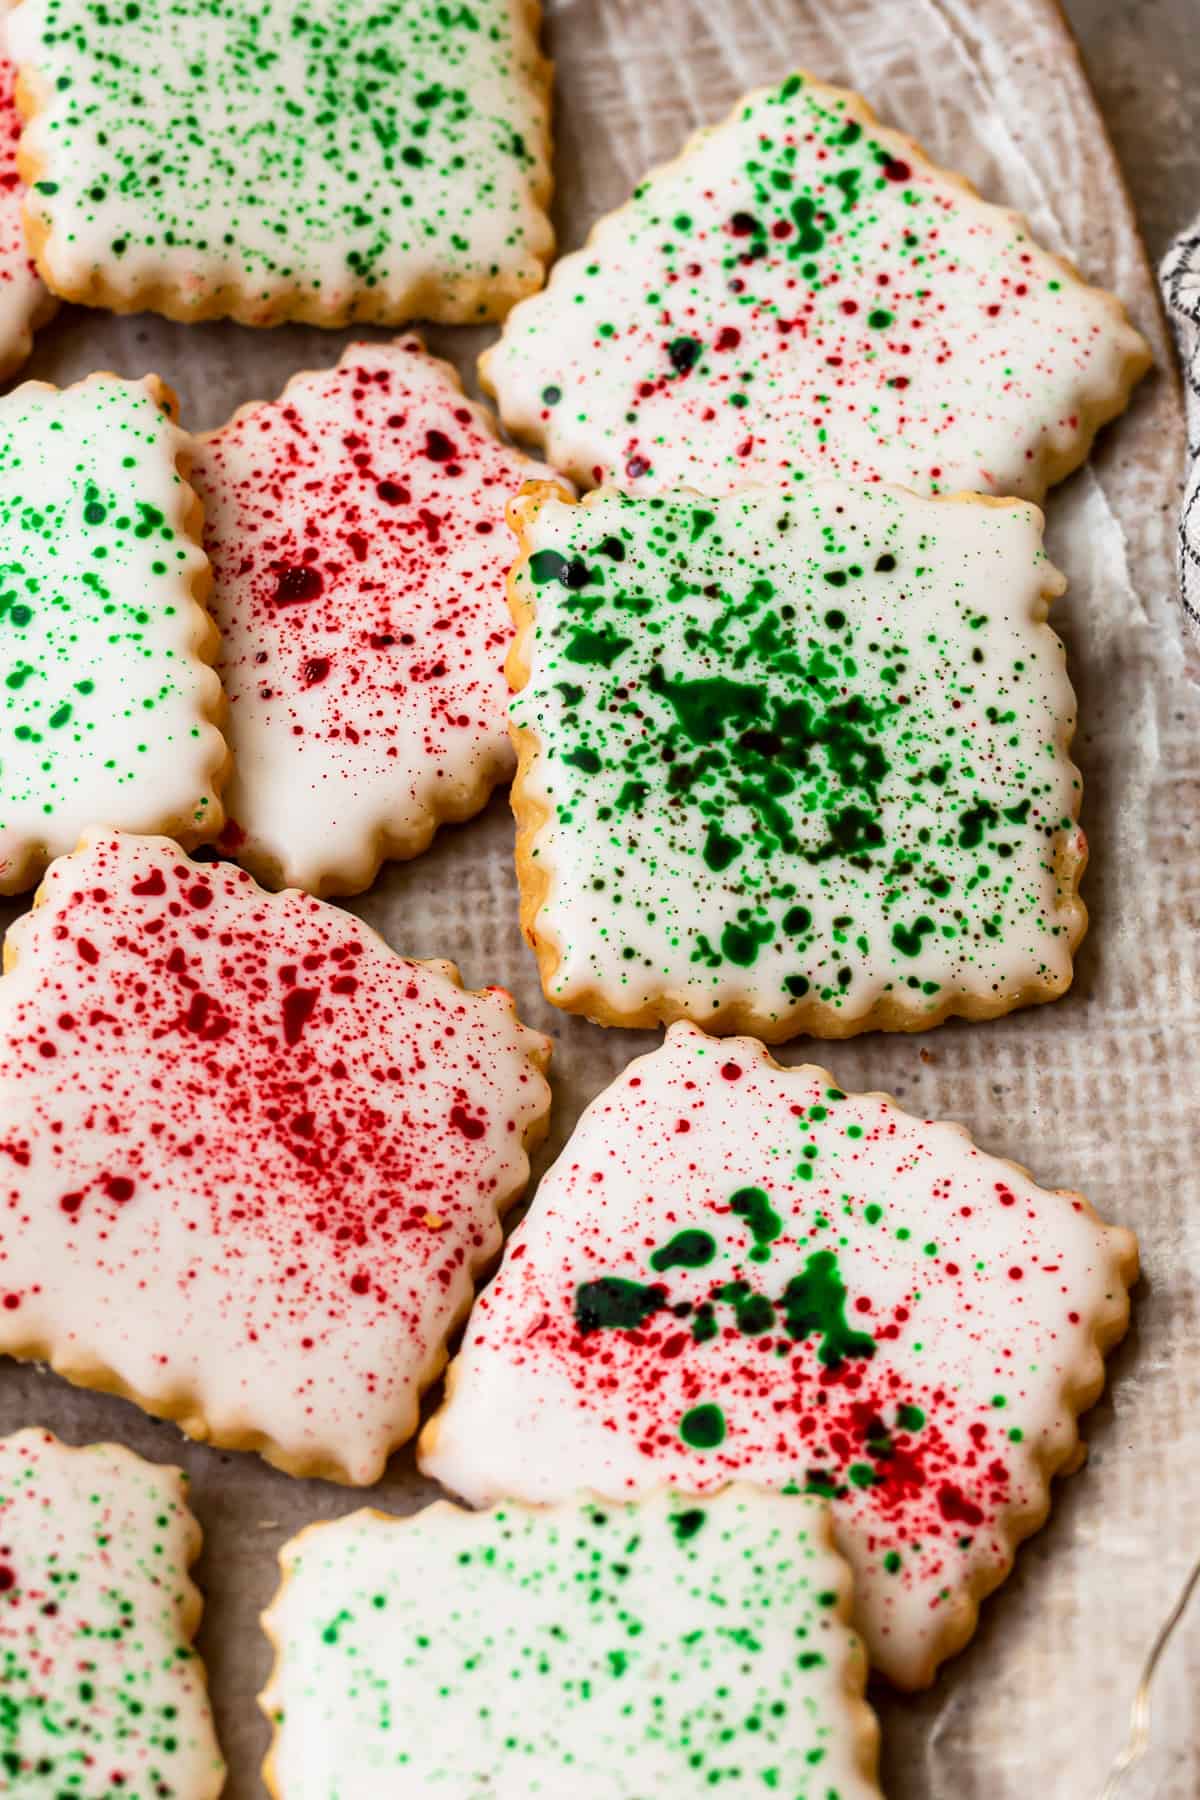
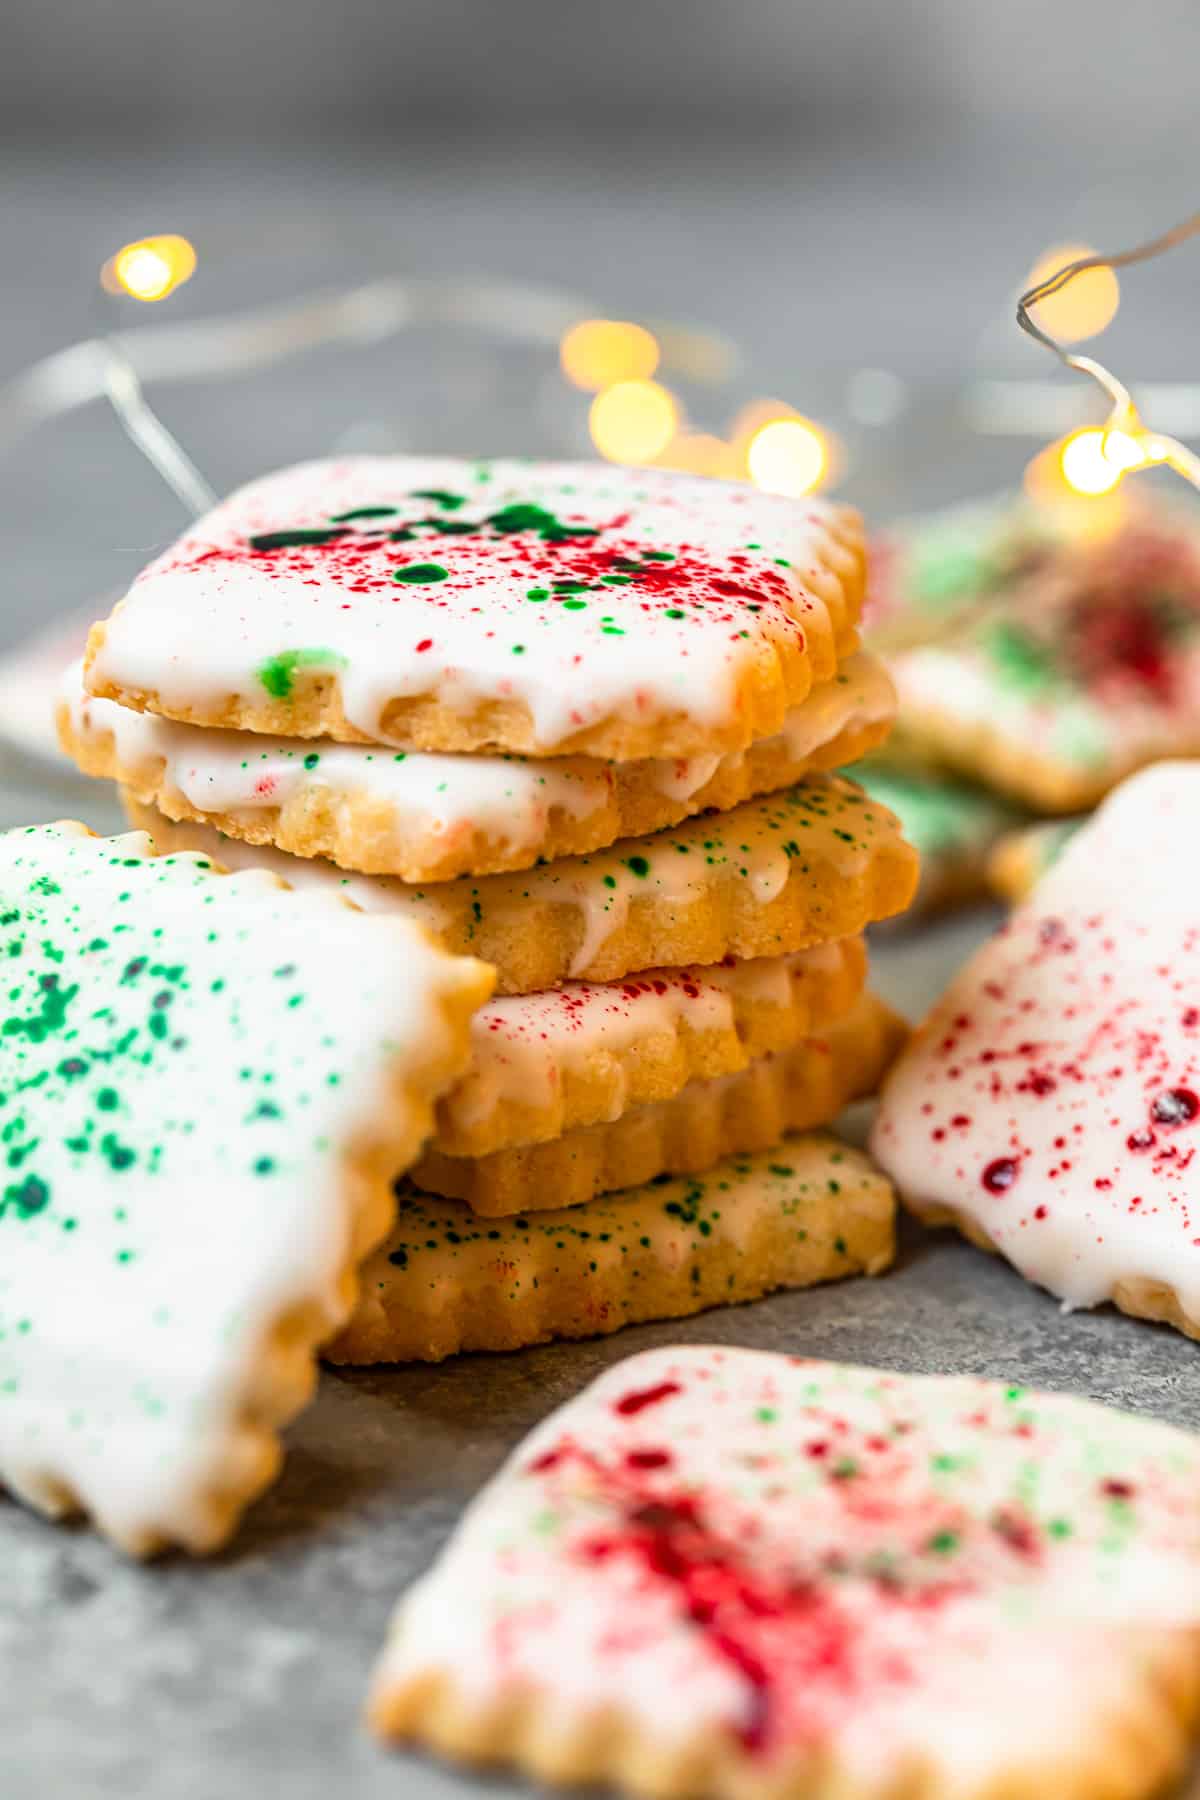
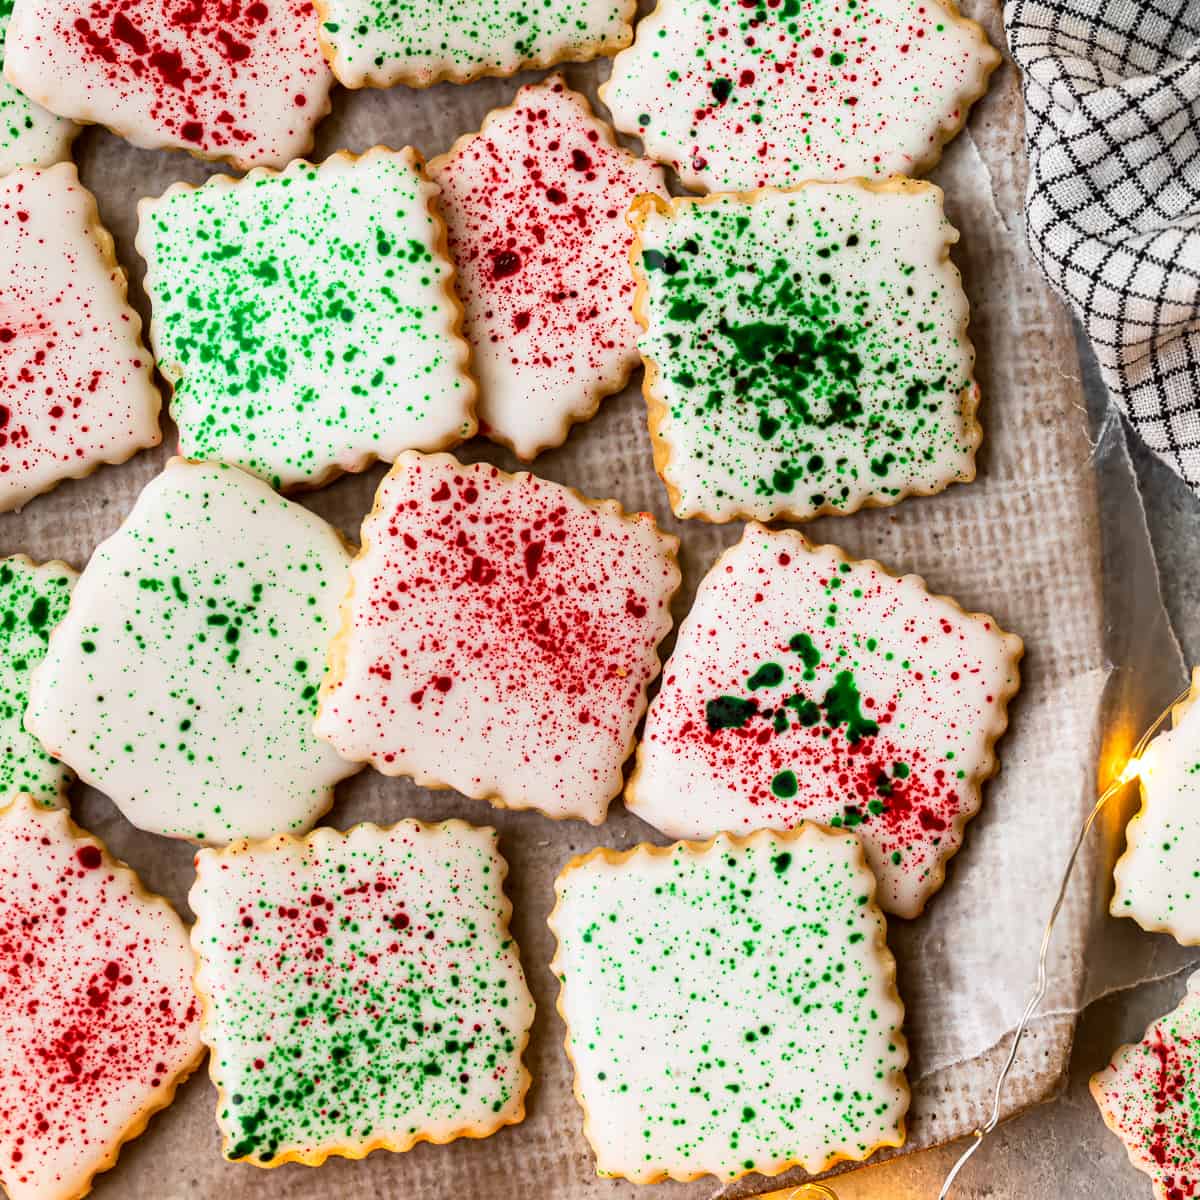
These splatter paint cookies are the perfect way to treat friends and family this Christmas. Delicious sugar cookies are topped with frosting and then decorated with colorful red and green paint splatters that are ideal for the festive season.

Paint Splatter Christmas Cookies
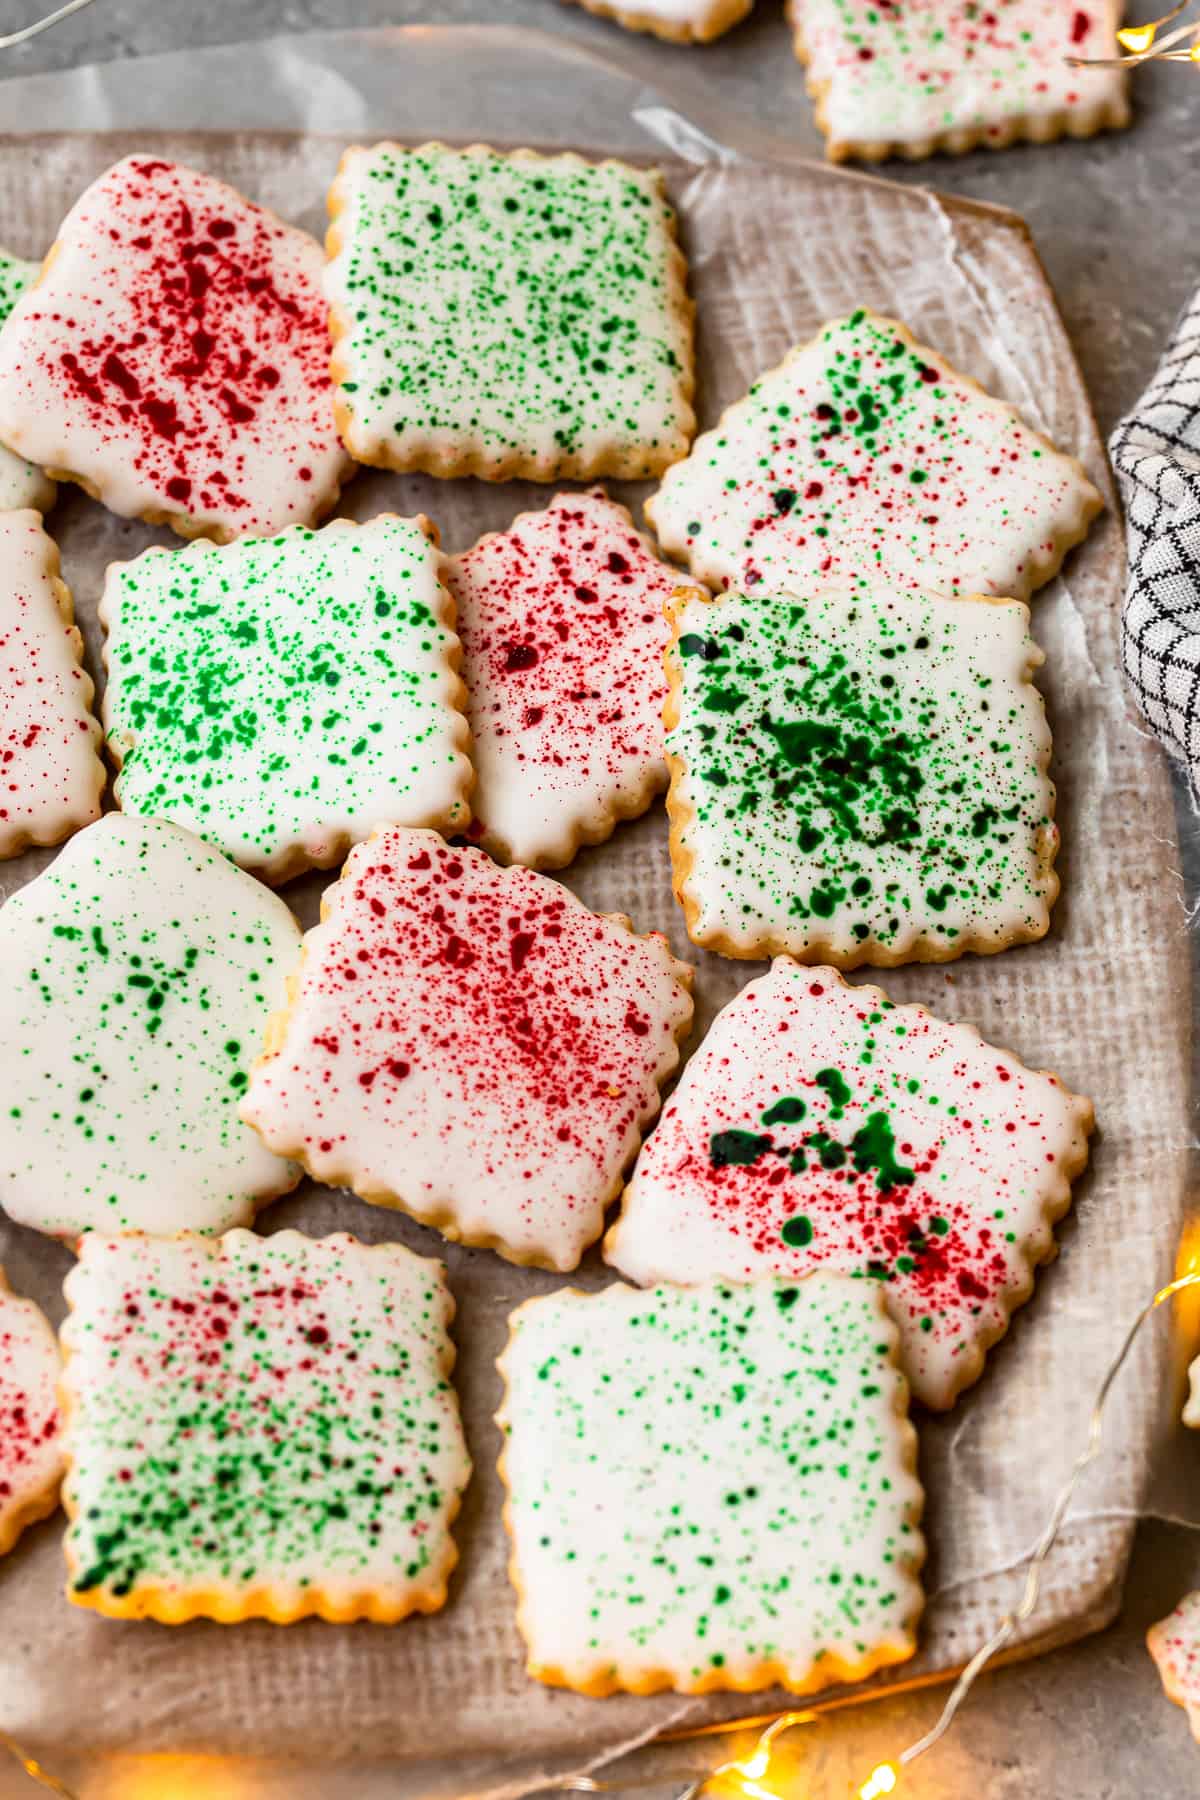
The holiday baking season is well and truly here, and these fun and colorful cookies will make an excellent addition to your festive table and perfect to take to a cookie exchange.
My Mom, Susie, came up with these cute and easy holiday cookies, inspired by Jackson Pollock! They’re unique, fun, and fully customizable.
Deliciously sweet traditional sugar cookies are topped with white frosting before being decorated with vibrant red and green splatters. Jackson Pollock eat your heart out!
Be sure to try my Christmas Butter Cookies and Shortbread Cookies too!
Why You’ll Love this Christmas Sugar Cookie Recipe:
- EASY: There’s nothing complicated about this cookie recipe and hey look like you bought them from a fancy bakery! Just make sure you allow enough time so that the icing fully sets.
- SIMPEL INGREDIENTS: There’s nothing complicated about this cookie recipe. If you are making baked goods during the holidays, you’ll likely have most things to hand already.
- SO FESTIVE: Sugar cookies are always a popular choice for the holidays, and the paint splatters make them extra special!
These easy cookies are so fun to make and they’re sure to stand out during your Christmas parties!
How to Make Splatter Paint Christmas Cookies
Be sure to see the recipe card below for full ingredients & instructions!
- Mix together the wet ingredients and mix the dry in a separate bowl.
- Combine the wet and dry ingredients.
- Roll out the dough and refrigerate.
- Bake in the oven and let cool fully on a wire rack.
- Whisk together the ingredients to make the icing.
- Frost the cookies and let dry completely.
- Mix the food coloring with water or vodka.
- Splatter teh cookies with the food coloring.
- Allow to dry fully before serving.

All the Holiday Cookies
25+ Favorite Christmas Cookies
Baking and Christmas go hand in hand. See our guide for our fave recipes + tips and tricks for perfect cookies.
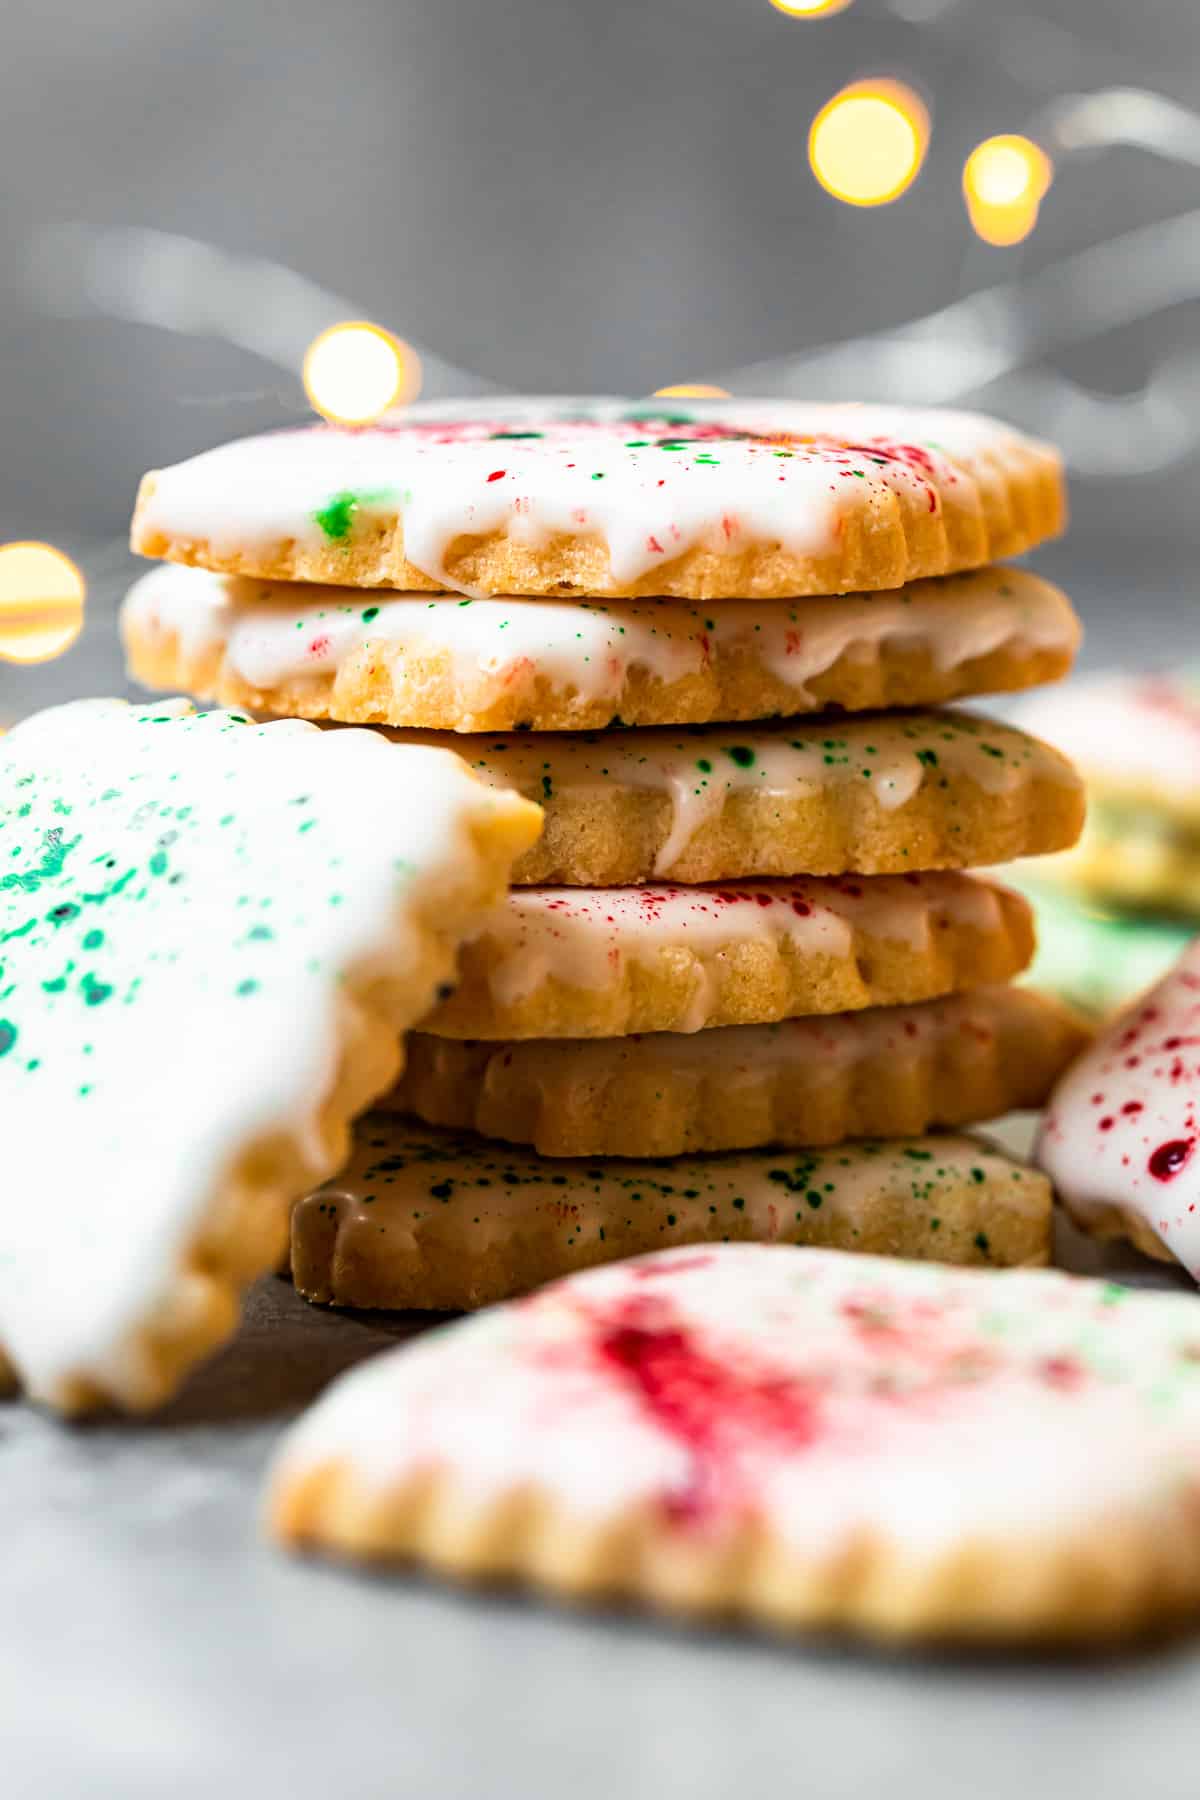
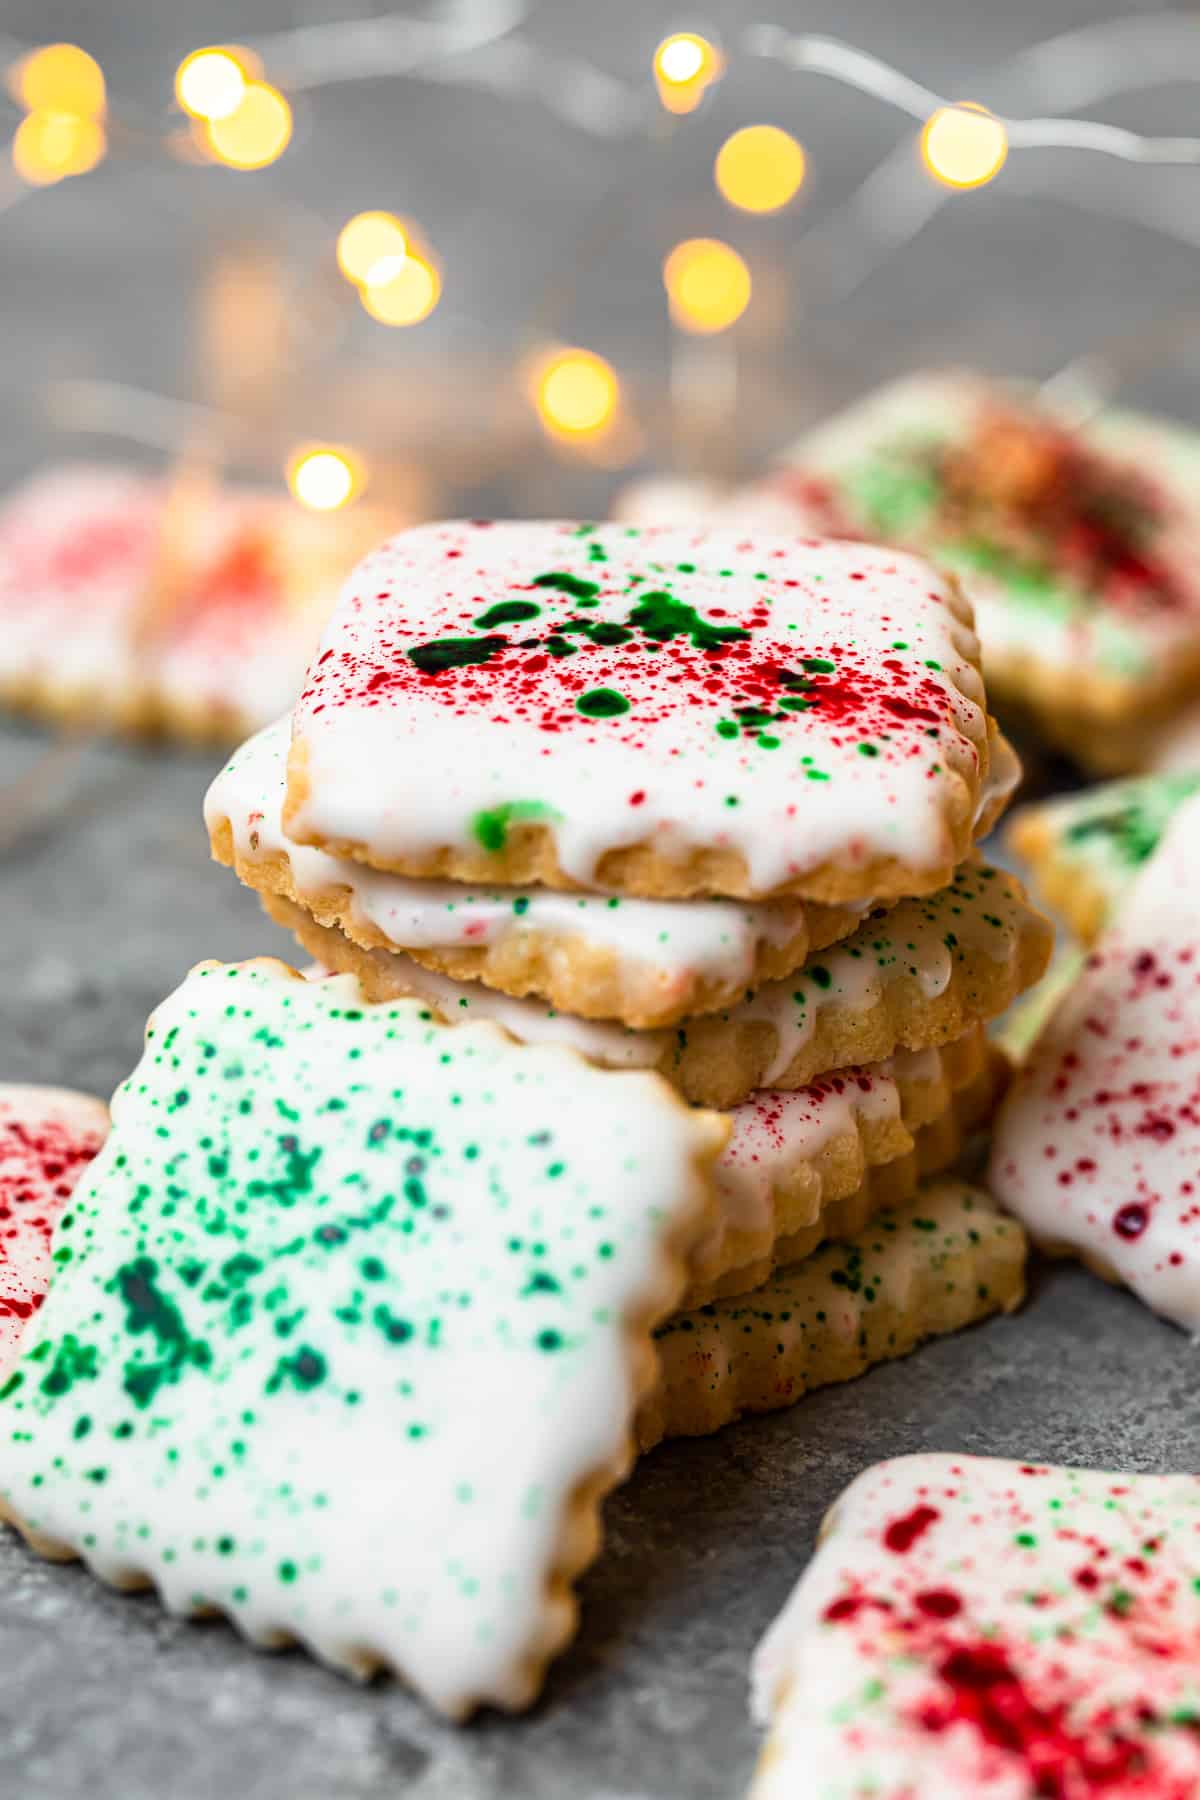
It’s best to plan ahead when making these cookies and allow two to three days to make them in stages, so that they have time to fully cool and for the layers of icing and food coloring to set. The cookies will keep well in an airtight container for up to 5 days at room temperature.
These cookies freeze well and will keep for 2 to 3 months. They freeze well with the icing. Make sure the icing is fully set, and you can either freeze them solid on a baking sheet and transfer to an airtight container, or, layer them in a container separated with parchment. Thaw the cookies at room temperature.
This recipe makes 36 iced sugar cookies and is easily doubled if you want to make more. Use the toggle in the recipe card below to adjust amounts for your needs.
I opted for a classic sugar cookie recipe, but you can use your favorite sugar cookie recipe if you have one. Chocolate would be a great treat!
These splatter paint cookies are so fun to make! You can easily make them outside of the holidays too, just mix up the colors!
Tips!
- Don’t over mix the sugar cookie dough when you add in the flour. The gluten can overdevelop and your cookies can turn out heavy and chewy.
- Let the cookies fully cool before icing and after each layer of decoration.
- It is best to start making these cookies 2-3 days before serving to allow the icing to completely dry.
These cookies are and easy way to add some festive flare to the holidays, plus they taste DELICIOUS!
Question 1
answer (these questions should be more specific than the google FAQ block above)
How do you splatter food coloring?
Splatter the ‘paint’ by dipping the paintbrush in the food coloring, hold it (brush side down) over what is being splattered, and use your other hand to tap your wrist.
Alternately, this is very messy but works a little better, hold the brush (brush side down) over the cookie and flick the food coloring off of the brush and onto the cookie with the tip of a finger on the opposite hand.
What food coloring is best for paint splatter cookies?
I find that gel food coloring works best for the paint splatters. We dilute it a little with water or vodka to create the perfect consistency but still keeping the vibrant colors.
More Christmas Cookie Recipes We Love
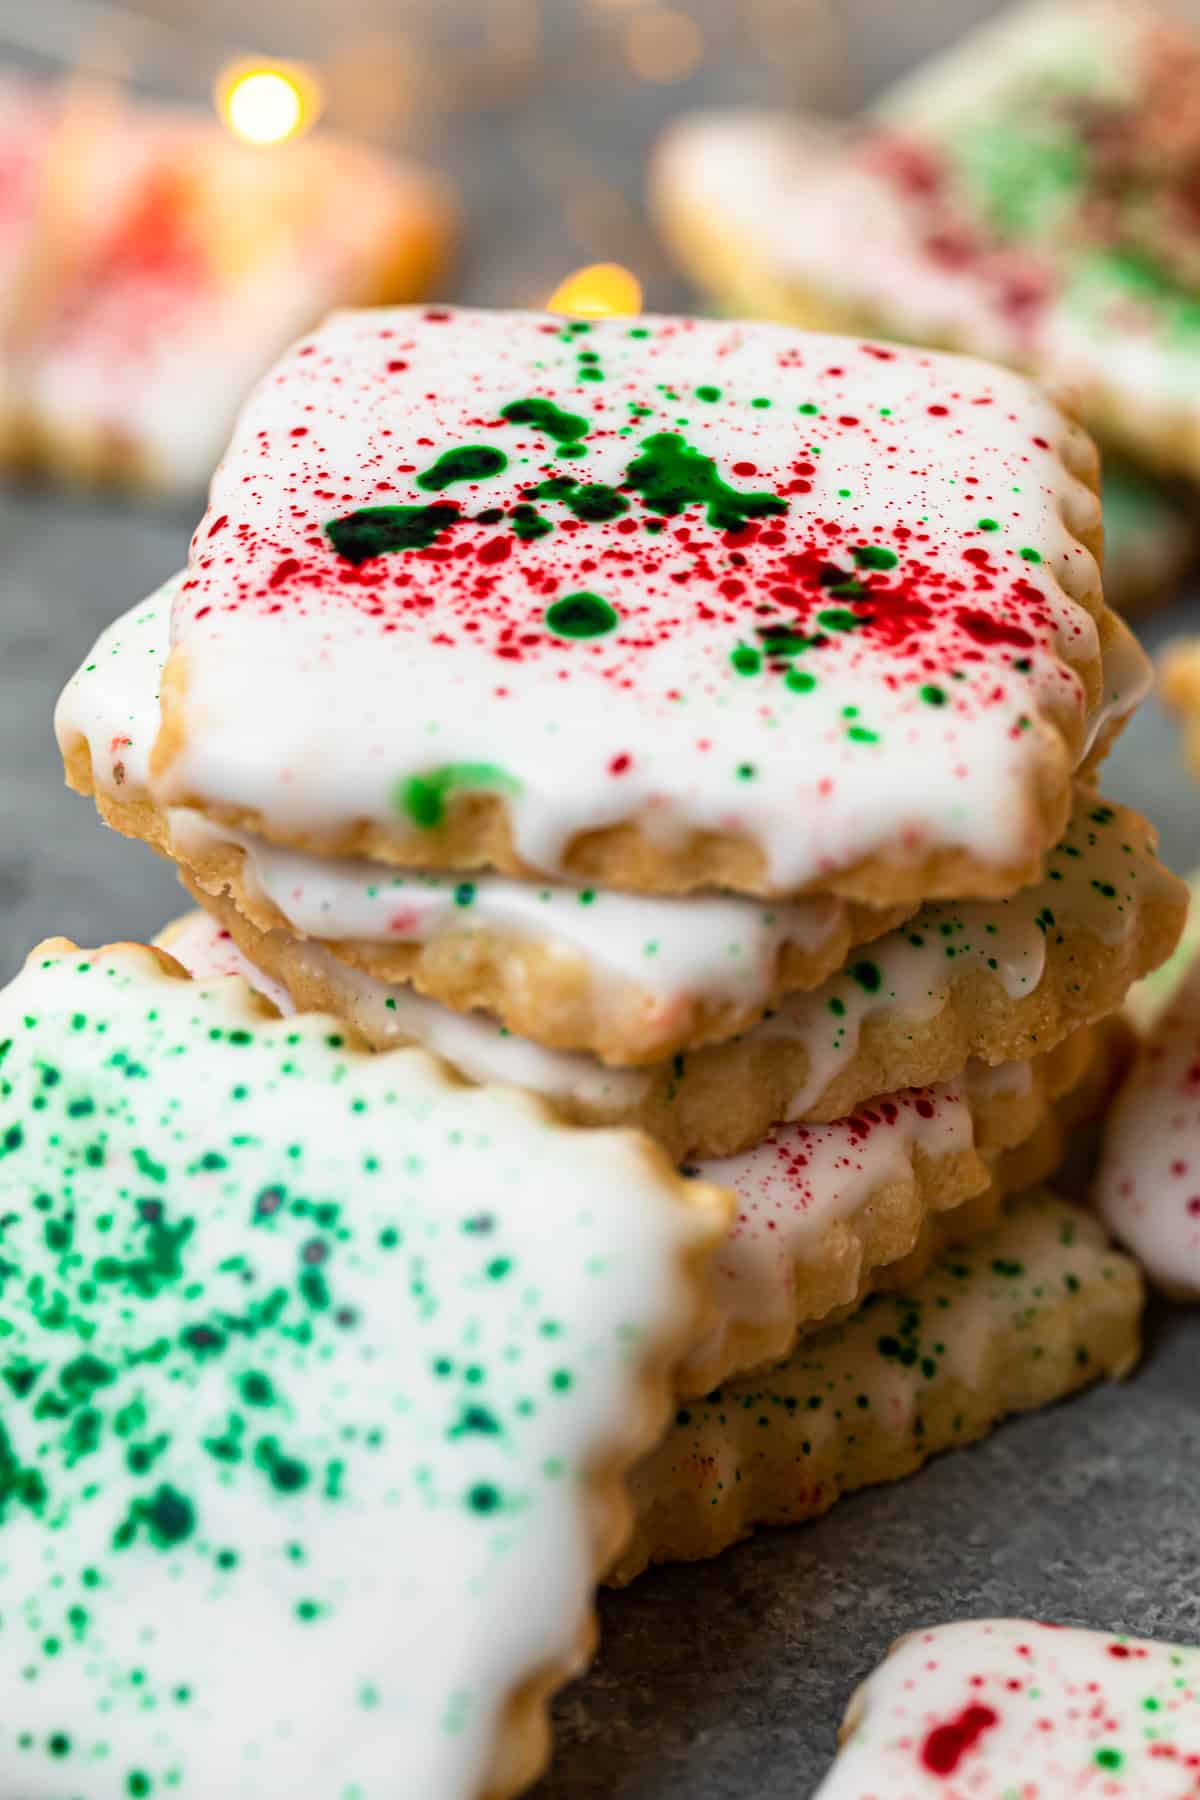
These paint splatter Christmas cookies are so fun and festive! They make for great holiday gifts for friends and family too!
More Holiday Desserts to Try
- Cranberry Bliss Bars
- Pecan Sandies
- Candied Pecans
- Strawberry Pound Cake
- Pecan Pie
- Sopapilla Cheesecake
If you make this recipe be sure to upload a photo in the comment section below or leave a rating. Enjoy!
Splatter Paint Christmas Cookies Recipe
Ingredients
For the Cookies
- 1 cup unsalted butter
- ⅔ cup granulated sugar
- 1 egg lightly beaten
- 1 teaspoon pure vanilla extract
- ¼ teaspoon almond extract
- 2¼ cups all-purpose flour
- ¼ teaspoon table salt
- ¼ teaspoon coarse sea salt
For the Icing
- ¼ cup light corn syrup divided
- ¼ cold water divided
- 4 cups confectioners’ sugar
- ¼ teaspoon almond or pure vanilla extract
For the Splatter Paint
- Food coloring white, red, and green
- Extra water or vodka
- 3 food-safe small paintbrushes
Instructions
For the Cookies
-
In the bowl of a stand mixer fitted with the paddle attachment, beat together butter and sugar at medium speed until light and fluffy, about 3 minutes.1 cup unsalted butter, ⅔ cup granulated sugar
-
Add egg, vanilla, and almond extract and beat at medium speed until well incorporated, about 1 minute.1 egg, 1 teaspoon pure vanilla extract, ¼ teaspoon almond extract
-
In a separate bowl, whisk together flour, table salt, and coarse sea salt.2¼ cups all-purpose flour, ¼ teaspoon table salt, ¼ teaspoon coarse sea salt
- In one addition, add the dry ingredients to the wet ingredients and mix on low speed just until no flour is visible. Do not over beat the dough or the cookies will be tough.
- Scrape around the sides and bottom of the bowl with a rubber spatula to ensure all flour has been incorporated.
- Divide the dough in half and place one half on a large piece of parchment paper. Roll out the dough to be ¼-inch thick, and transfer the dough with the parchment paper to a large sheet pan.
- Roll out the other half of the dough and place the rolled dough (with the parchment paper) on top of the first half of rolled dough on the sheet pan.
- Cover the dough with plastic wrap and refrigerate for at least 2 hours. (To freeze the cookie dough at this point, cover the rolled dough on the baking sheet with plastic wrap and foil. Freeze until ready to bake).
- After the cookie dough has chilled, preheat the oven to 350°F. Line baking sheets with parchment paper.
- Cut the rolled and chilled cookie dough into desired shapes. Place onto prepared baking sheets.
- Bake for 10-12 minutes or until the edges and bottoms are just beginning to darken.
- Remove cookies from the oven and let cool for 1 minute on the baking sheet, then use a metal spatula to transfer cookies to a cooling rack. Allow cookies to fully cool before icing.
For the Icing
-
In a liquid measuring cup, whisk together corn syrup and water.¼ cup light corn syrup, ¼ cold water
-
In a large bowl, whisk together confectioners' sugar, 6 tablespoons of the corn syrup/water mixture, and flavoring (reserve the remaining corn syrup/water mixture to thin the icing, if needed).4 cups confectioners’ sugar, ¼ teaspoon almond or pure vanilla extract
-
Mix in enough of the white food coloring to make white icing. Pour the white icing about an inch deep into a dish slightly larger than the size of a cookie.Food coloring
- Test the icing consistency by turning a cookie upside down and dipping it halfway top-down and flat into the icing. Let the icing drip off the top of the cookie, then quickly flip the cookie over and place on a wire rack. The icing should be thin enough for dipping but thick enough not to drip off the cookies. (If too thin, add a little more sugar, if too thick, add a little corn syrup/water mixture.)
- Frost all the cookies with white icing and let them dry several hours or overnight.
- When the icing has dried, splatter each cookie with gel food coloring of your choice and allow to dry overnight before storing.
How to Splatter Paint Cookies
-
Use a different food-safe paintbrush for each color.3 food-safe small paintbrushes
-
When the cookies are completely dry, add several drops of one color of gel food coloring to a very small bowl. Add a tiny bit of water or vodka and mix well.Extra water or vodka
- Before splattering the cookies, test the food color consistency over a piece of paper or paper towel – it should splatter easily – not too watery or thick.
- Splatter the ‘paint’ by dipping the paintbrush in the food coloring, hold it (brush side down) over what is being splattered, and use your other hand to tap your wrist. Alternately, this is very messy but works a little better, hold the brush (brush side down) over the cookie and flick the food coloring off of the brush and onto the cookie with the tip of a finger on the opposite hand.
- Use a different paintbrush for each color and splatter one color until done with that color, then repeat with other colors until all cookies are decorated.
- Let cookies dry overnight.
- Arrange on a serving platter and enjoy!
Notes
- Plan Ahead: It is best to start making these cookies 2-3 days before serving to allow the icing to completely dry.
- Storage: Store cookies in an airtight container for up to 5 days at room temperature.
Nutrition
The post Splatter Paint Christmas Cookies appeared first on The Cookie Rookie®.